Month: August 2013

Committed goes beer tasting

5 Reasons The Long Weekend RULES

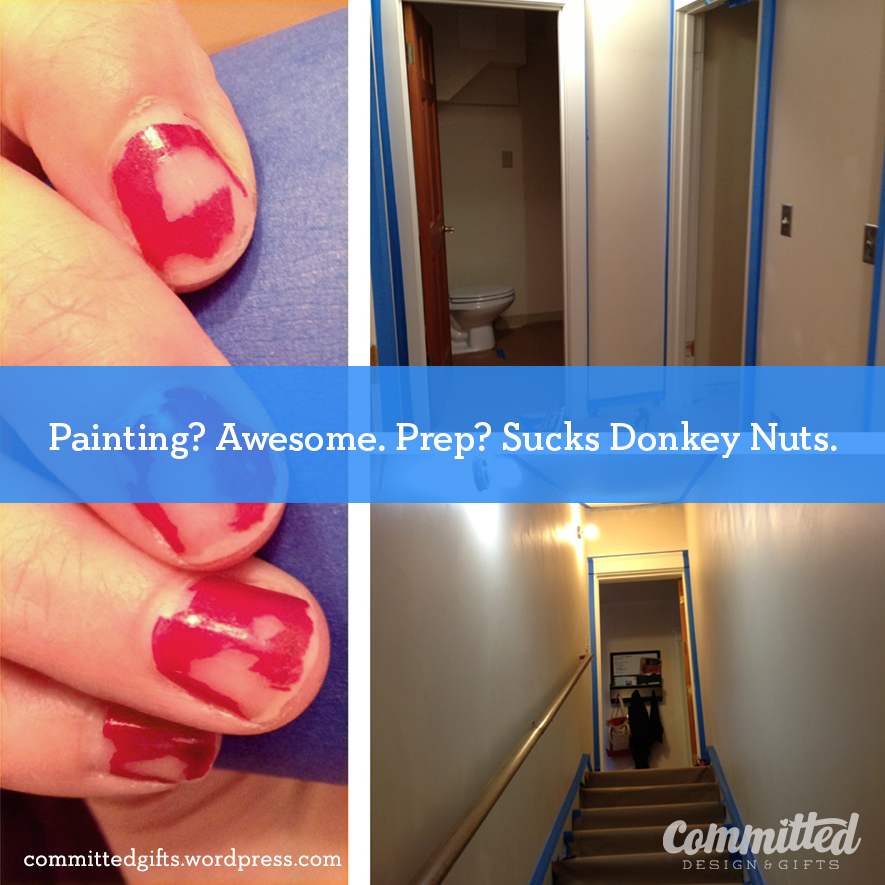
5) I don’t have to look at painter’s tape for THREE DAYS.
Sidebar: this has been the project from hell. Talk me off a ledge if I attempt a painting project this large on my own again.

Paint project from hell.
Want to paint a stairwell, basement hall, bedroom and bathroom? Don’t.

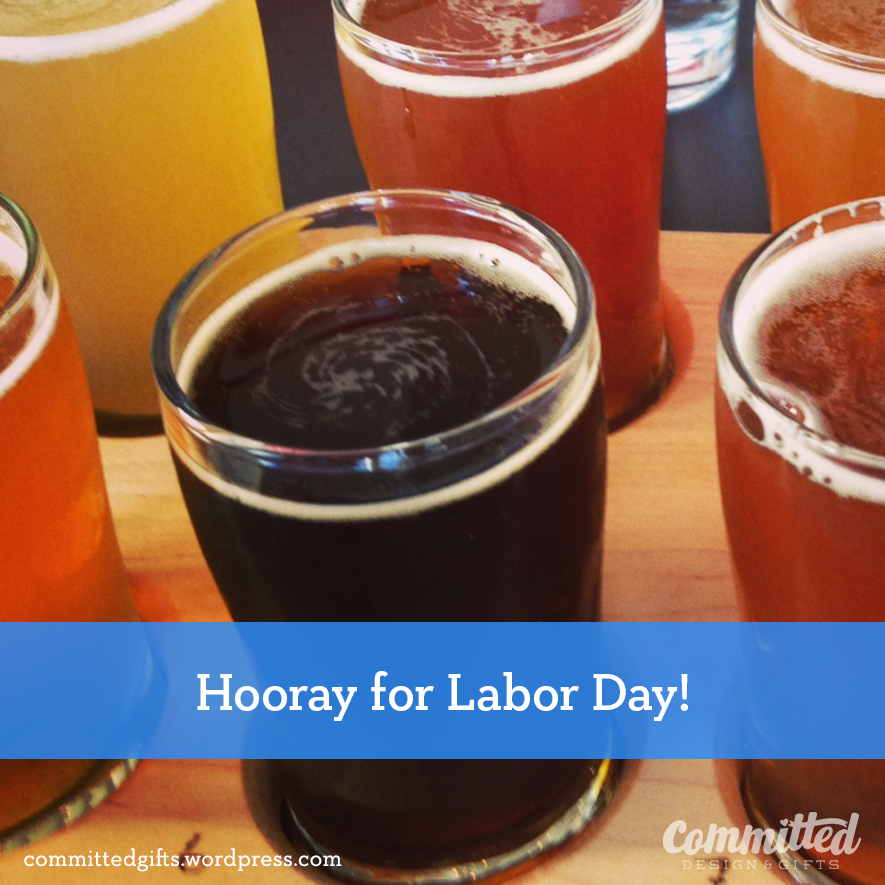
4) NO WORK! MORE BEER TASTING!
Freelancing is 24/7. Shutting off my brain and laptop for the next three days.

Committed goes beer tasting
Taking a much-needed break, 4 ounces at a time.

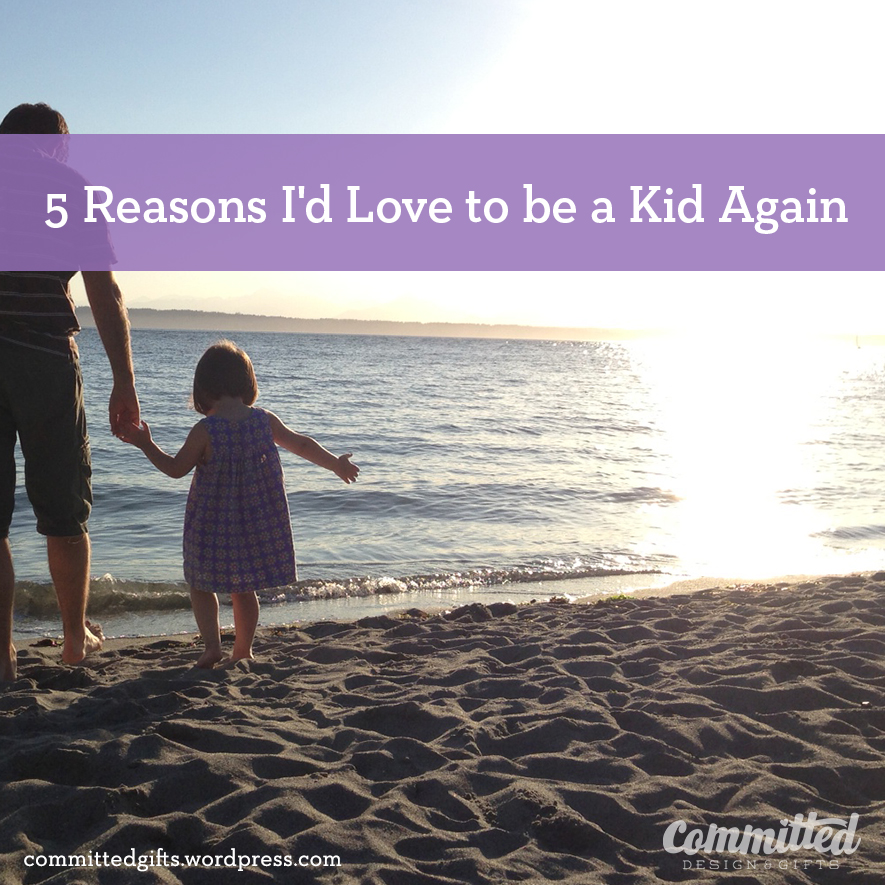
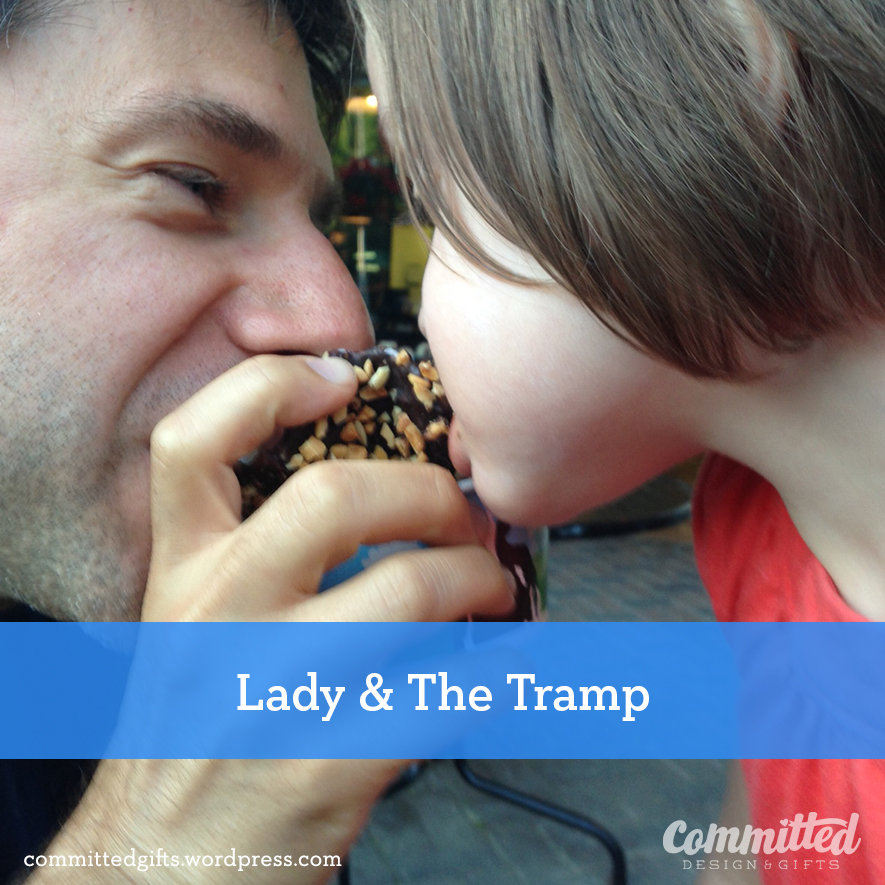
3) I get to hang out with these two lovely people.

Committed Long Weekend Food
Good food with good people.

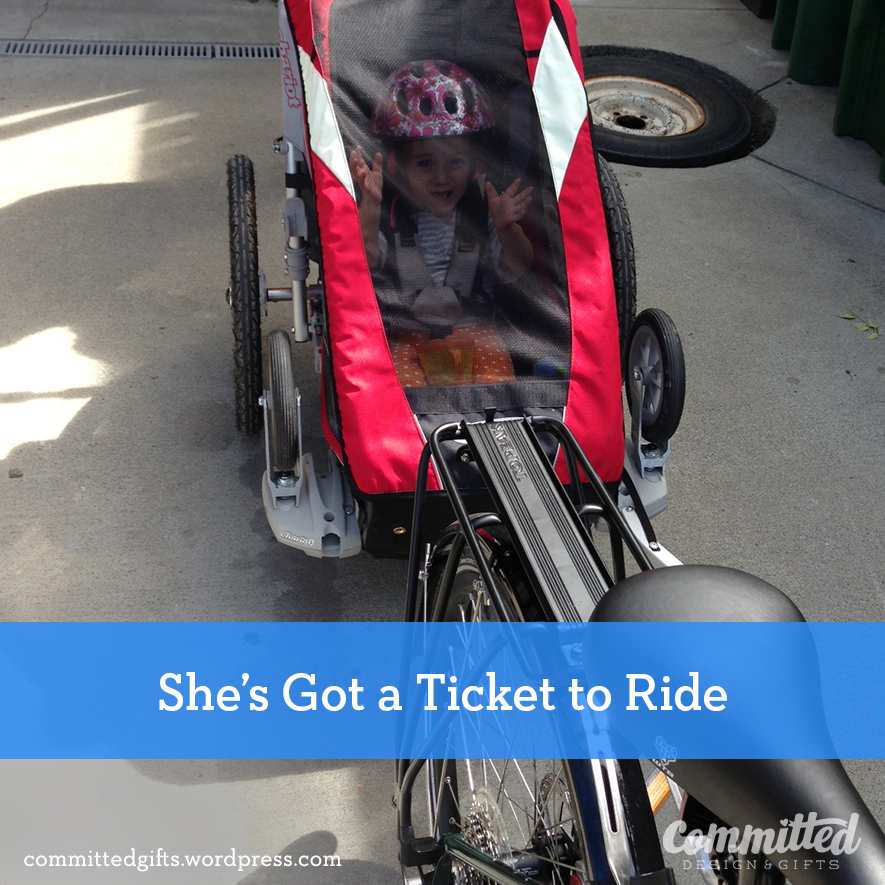
2) Bike! Bike! Bike!

Committed Takes the Toddler for a Bike Ride
Without an agenda, we’re putting the “joy” in “joyride.”

1) SLEEPING IN.
Fingers crossed that kiddo sticks with the 9:45 wake-up call that has been once per weekend.

What are you looking forward to this weekend? Got any plans to get out of town?

You can do some exercises with your toddler

Fitness is a Family Affair

We had ants in our pants this weekend. Kiddo was running wild, definitely restless, and DEFINITELY not up for sitting in the bike trailer for an hour while mommy and daddy went for a joyride to get some exercise.

So. We did a family workout instead.

I’ll admit it, that even though I often feel like being lazy, I LOVE exercising.

I made a plan, based on the tiny park layout. There was a bench, and some cement ball sculpturey things, and a small lawn to work with. We brought one set of 10-lb weights, my phone with an interval timer app, an exercise mat, water, and towels (and some snacks for the kiddo).

HIIT workout plan
Failure to plan is planning to fail…or somesuch.

~Please note: I am not a trainer or a medical practitioner. Always check with your doctor before trying a new fitness regimen and never work beyond your ability. Do your research for proper form and technique. This routine is for people who are fitness-savvy.~

Continue reading “Fitness is a Family Affair”

A Tisket, a Tasket, Bags go in the Basket

In Seattle city limits, plastic bags are ILLEGAL. You go to jail if you are caught smuggling those into a supermarket.

Not really. It’s just that stores aren’t allowed to use them any more. There’s no more “Paper or plastic, ma’am?” happening. It’s “Did you bring your bags today?” now. The choices for bagging your purchases are:

  1. Pay a 5-cent tax and have the store give you paper bags
  2. Bring your own shopping bags

Mind you, this isn’t just for groceries. It’s for EVERY STORE. You wanna drop $300 on clothes? Better fork over a nickel for a paper shopping bag. Forget your bags at the checkout? Feel the disapproval and shame of your checker as they give you dirty looks and spitefully add the nickel tax to your purchase. (Honestly, I’d pay A DOLLAR to end the harassment that is associated with forgetting your shopping bags.)

It’s a little ridiculous, but honestly, I agree with getting rid of plastic bags. They’re handy, but overall evil. Don’t let me hop up on my soapbox about the Pacific Gyre, or Midway Island albatross population

Regardless, the reusable shopping bags are a hassle. And they end up ALL. OVER. OUR. HOUSE.

Keeping it real:

Do not do: store grocery bags on hooks
The grocery bag monster hanging over a paper bag molehill.

The family who owned our house before us were OBSESSED with hanging hooks. They’re on all the doors (some doors have 2 racks), several walls, in the bathrooms…It’s a little odd, if you ask me. I thought it would be a handy spot for storing all these bags, but it just became a hanging bag monster hovering over a brown bag molehill in our closet. Annoying. A little dangerous. Inconvenient.

I hunted for a tall, not-too-deep basket at Goodwill, but came up short after a couple (ahem, 3) visits. At Ikea, I finally found this:

Storage for reusable bags: from Ikea
Knarra basket from Ikea. $14.99 for handy reusable bag storage.

It’s a little more than I wanted to spend, but hey, what price can you put on sanity?

The result? Paper AND reusable bags, living in harmony.

Get organized: stash bags in a basket.
Can’t we all just get along?

Just fold in half and tuck it in. Or, just ball it up and cram it in (which is what I’m sure will be happening after our next shopping trip).

Do you use reusable shopping bags? How do you keep them from taking over your house?

5 reasons to be a kid again

5 Reasons I’d Love to be a Kid Again

5 reasons to be a kid again
Being young is AMAZING.

1. Whenever I’m tired, all I want to do is run. Run like a crazy person.

2. I can eat a bowl full of junk food and feel like a total rock star afterward.

3. Chores are super fun!

4. I don’t need coffee. I’m fueled by 12 hours of sleep and boundless energy.

5. Nothing hurts! I can land face-down on hardwood and be ready to try it again in 10 seconds.

BONUS: When I don’t feel like walking, PEOPLE CARRY ME. It’s awesome.


Tell me, why would you LOVE to be a kid again?

My Milkshake Brings all the Boys to the Yard

“Just get the perfect blend
Plus what you have within
Then next his eyes will squint…”

Read more: Kelis – Milkshake Lyrics | MetroLyrics

If those boys were interested in healthy living, and liked chocolate, they’d totally come to my yard for these smoothies.

I saw a Dr. Oz once where he added avocado to his breakfast smoothie. Gross? Good? I had to try it. I have to say, pretty good. What’s great about it is that it adds a nice creamy texture. Cutting back on how much you add helps tame the avocadoey flavor (if that’s not your gig).

AND THEN. I started following Liz Dialto for fitness tips. She had a great tip: use coconut water and almond milk in smoothies instead of milk or yogurt. WHAT? I’m not a huge fan of the taste of either, but let me say, together they are okey-dokey.

Anyway, I have to share this because it’s fucking delicious. And around, 200 calories.

Smoothie ingredients
Bring in avocado and ice, and you’ve got a party in your mouth.

Continue reading “My Milkshake Brings all the Boys to the Yard”

Gift tag business cards.

Crafted Connections (and a DIY Business Card Tutorial)

I should be a self-help junkie. I love going to events, getting sparked by a lecture, meeting fascinating people and gleaning knowledge from their stories. But I’m not a kool-aid drinker…yet. Last night I attended Crave’s Urban Campfire, where incredible women opened their hearts and shared their vulnerability to empower the rest of us. (Okay, I sound like a kool-aid drinker for sure.)

I want to process some of what I learned in that event before I write about it, so I thought I could at least share with you my process for making my own business cards.

But I can get cards on VistaPrint for like free, right? Yes, but as a designer and whatever else I am (still figuring that out…cough…cough), it doesn’t reflect ME to do that. I make stuff. I solve problems.  If you are in a creative industry, or thinking about getting into one, perhaps you can think beyond the card too!

I also disobey the rules and change the look of my cards and online presence ALL THE TIME. I don’t think there’s anything wrong with it, since to be honest, I’m still figuring out who I am and what I do (or really, what skills I have that I want to sell). So, enough kool-aid, on to the tutorial…

I decided a few months ago to try using stickers as my card. I remember seeing a designer who had taken other peoples’ old business cards and slapped a sticker with his information on them–the ultimate in recycling. It appealed to my inner greenness and opened up some possibilities.

So I whipped up a pattern, printed on both sides of Bristol board, then printed stickers on the full-sheet Avery labels, and made these:

First try at DIY business cards
Too much cutting, not enough time.

Cute, but SUCH a time-consuming venture. Plus, the white of the sticker was a little transparent, which meant that I could see the pattern through the logo side. It wasn’t exactly right for me. My final complaint? The pattern wasn’t as vibrant as I wanted. I like to think of Committed as colorful and fun. This fell a little short. Luckily, DIY means small quantities, so no harm, no foul.

Moving on.

Upcycled business cards.
Next attempt: upcycled pulpboard with ribbons.

I had a bunch of pulpboard lying around, and figured, hey, let’s use it! So I went bolder with the colors, and added a ribbon, since hey, it’s cute, and my domain name is Committed GIFTS. Gift tag, get it?

Even though I LOVED how these turned out, they were a colossal pain in the ass. (That’s P.I.T.A. for short). I used the same Avery labels, which required tons of slicing. The cardstock was so thick, it took several passes to cut, then the ribbons were slippery. In the end, they were so thick, I could only gracefully carry a few around at a time. It wasn’t worth it.

FINALLY…

I figured it out. Buy PRE-CUT stuff, Smarty! The cutting was the biggest time-suck. You can learn from my mistakes! This is easy, and really cute. Plus, you could do this for actual gift tags, mommy cards, basically anything. Easy easy easy.

Materials (I’m linking to these on Amazon, but they are not affiliate links, for reference only):

I have 10 years in graphic design and mockup experience. All of these tools are incredibly useful in making a clean, crisp product. It takes practice and patience, but when you get the hang of cutting and folding carefully, you can make it look like it wasn’t handmade.

Tips:

  • Alwaysuse a fresh blade. As soon as they start to get dull, swap them out. They tear your precious printouts and take more of your time. Isn’t it worth the extra 10 cents to do it right?
  • Hold the ruler upside-down (smooth side down) and press down hard to get a perfect straight edge for cutting and folding. When you place it cork-side-down, the gap allows your blade to travel side to side a little. If you make more than one pass, you end up with slivers of paper.
  • Be gingerly. Don’t cram your blade in and go for it. Take a couple of light passes to make your cuts. You’ll get a feel for how deep to go to get a nice edge.
  • Practice printing on regular paper to make sure everything lines up. Then set your print settings to “highest quality” and make sure you’re feeding the sticker sheet properly.

Tutorial:

Print your stickers first. Use high quality settings.

To fold the stickers in the right place, line your ruler up with the fold and stick it through the paper at the top and bottom.

Mark the fold.
Mark the fold on your printout.

Flip the sheet over, line the ruler up again, and score the page. Hold your ruler down tight, and press the bone folder (or credit card) against the edge. Take a few passes to get a nice score.

Score the back by pressing down with the bone folder. Use the ruler as a guide.

Keep that ruler in place! Take your bone folder and slide along the underside of the sheet to start to fold it up. Do this in several steps, as folding too quickly can cause the printout to crack.

Folding.
Take several passes to fold the sheet.

Flip over the sheet.

You’ll notice that the edges of the stickers may not have printed. Not to worry, we’re slicing those off.

Hold your ruler down (face down) along the edge to slice. Use your Exacto knife carefully and take 2-3 passes to slice each edge.

Slicing your stickers.
Flip it over, and slice the rounded edges off.
Stickers are prepped.
Folded, trimmed, and ready to paste!

See how helpful that all was? You successfully prepped 20 stickers in just a couple of steps. This was seriously SO MUCH FASTER than how I was doing it before. At this point, I grabbed a stack of tags and sliced off the string that came with them. I didn’t think it added anything (I mean, it’s no magenta ribbon, right?) and moved on to sticking the stickers on the cards.

Okay, now line up the fold of your sticker with the edge of the card. You can eyeball it for centering.

Sticking the sticker to the card.
Eyeball it to center it.

It’s not PERFECTLY centered, but it’s so close. The important part is to not have your sticker hanging off the edge at some weird angle.

Gift tag business cards.
Finished! Gift tag business cards!

And there you have it! I like the unique shape of the tags, and the color shift from front to back. It was tough to decide what to include on the cards, but as you can see, I focused on social media touch points for these.

As I said, these can be for actual gift tags…or even to label your kool-aid.

A final note: I’m not including a template because (a) Avery has the tools you need to design these online or in Word or Illustrator and (b) this was a custom project. Who you are and what you want to say about yourself should be unique to YOU. So go to town! Design something awesome!

Thriftaholism: There is No Cure

Hi, I’m Jen. And I’m a Thriftaholic.

After discovering the awesomeness that is the Goodwill in my new ‘hood, I find myself wandering over there 1-2x/week.  This is an addiction I have no desire of curing, however. I abide by a few rules in my prowling:

– Will it serve a function in our home?

– Is it reasonably priced? (Sometimes they price things almost the same as, if not more than, retail).

– Will it add clutter or will it bring joy?

I believe I’ll be posting more and more about my finds. I’m realizing that I am a staunch believer in thrifting. I feel it encourages creativity and responsibility by reducing waste and requiring some thought about how to use something in a new way.

Case in point: my new Moroccan-inspired side table.

I found this gorgeous brass tray from Turkey for $6.99, and immediately thought: wouldn’t this make a great table top?

Brass tray makes a table top.
Tray chic! Just needed a little TLC.

Continue reading “Thriftaholism: There is No Cure”