
Hey friends,
I am using other outlets for creativity.
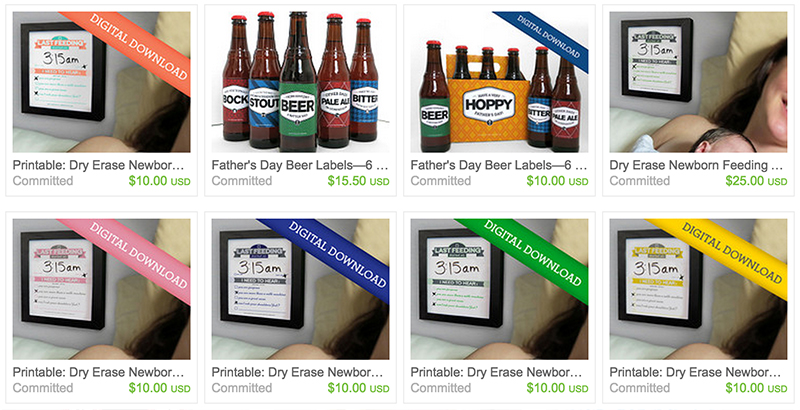
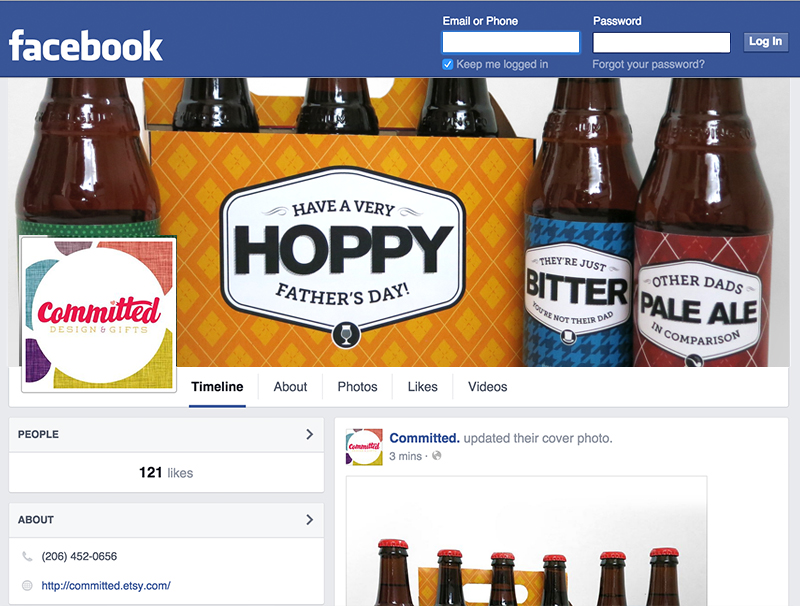
Please stay in touch via Instagram, visit my Etsy shop, and keep up on Facebook.
I’d love to go crazy together!
Etsy

Hey friends,
I am using other outlets for creativity.
Please stay in touch via Instagram, visit my Etsy shop, and keep up on Facebook.
I’d love to go crazy together!
***Originally posted February 12, 2014***
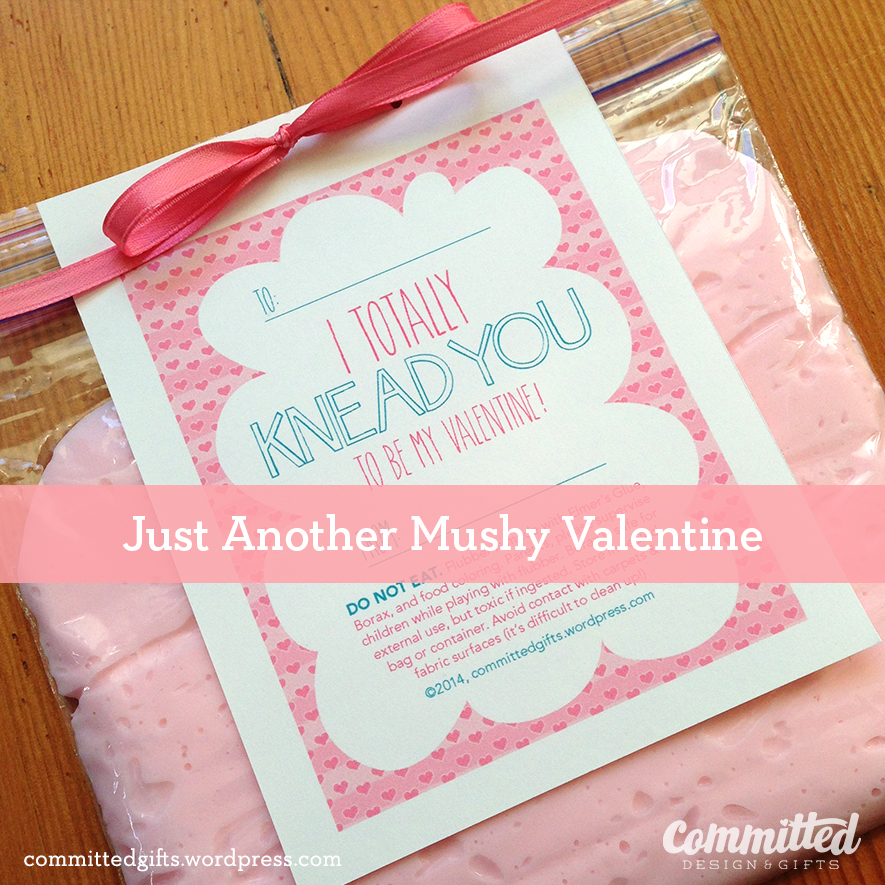
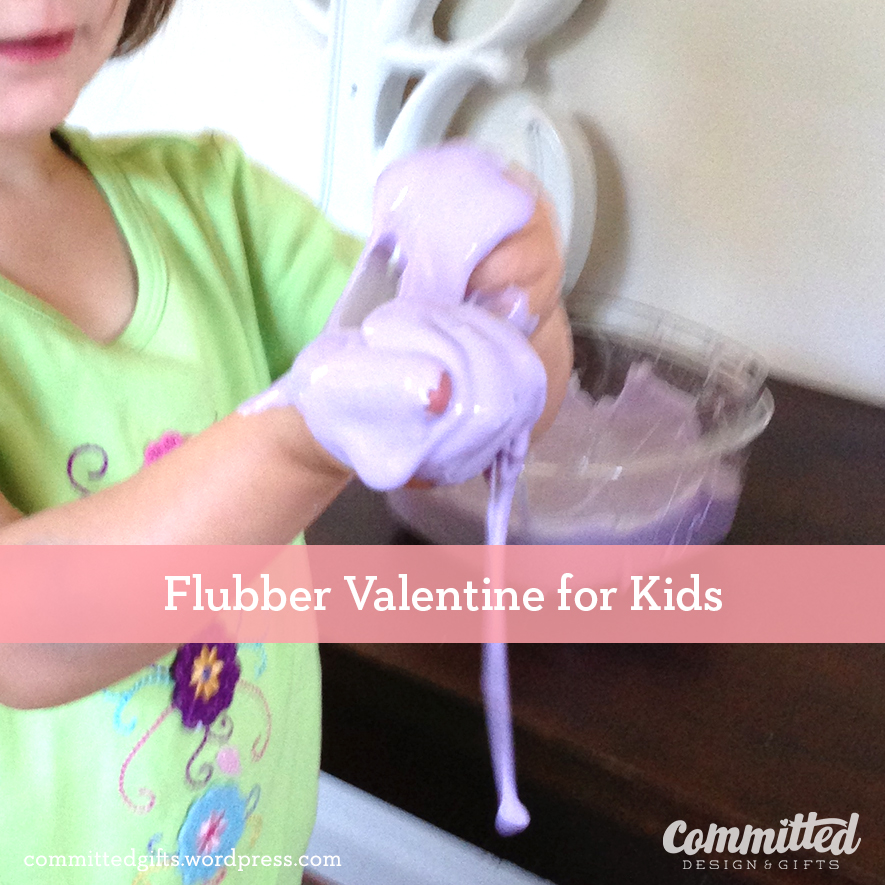
It’s a last-minute post, but I *just* figured out how to package this up. You’ve probably seen “Flubber recipes” all over Pinterest. The basic idea is to mix Elmer’s glue, warm water, and food coloring in one bowl, and water and Borax in another bowl. When you combine the two, you get Flubber! We made some over the summer, and the kiddo LOVED it. We had it in a tupperware container, and it lasted for months.
As you’ve seen before, I’m a fan of simple gifts that aren’t necessarily food when giving gifts to classmates. I’m just wary of dietary issues, and creating the expectation that all celebrations have to involve sugary treats! (What a party pooper!) But really, I want to give things that kiddo can help make, and that are an alternative to the inevitable influx of candy. (Trust me, I LOVE the candy…) So I thought giving out homemade flubber would be a great gift for 2-3 (or 4 or 5 or 6) year-olds.
Continue reading “I Flubber You: Valentine for Kids (& Free Printable!)”
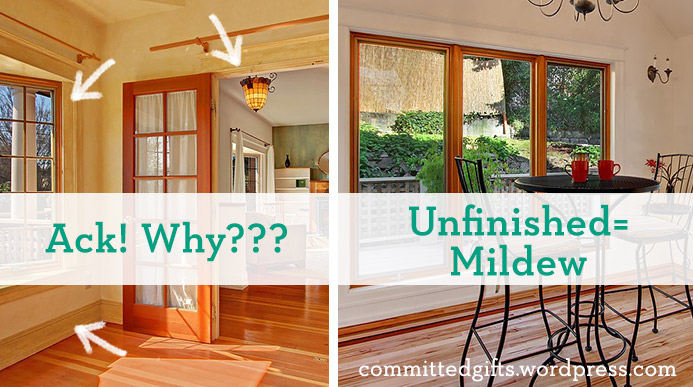
I love the look of ornate frames, but I VERY STRONGLY DISLIKE the typical aged-bronzey goldish finish. Case in point:
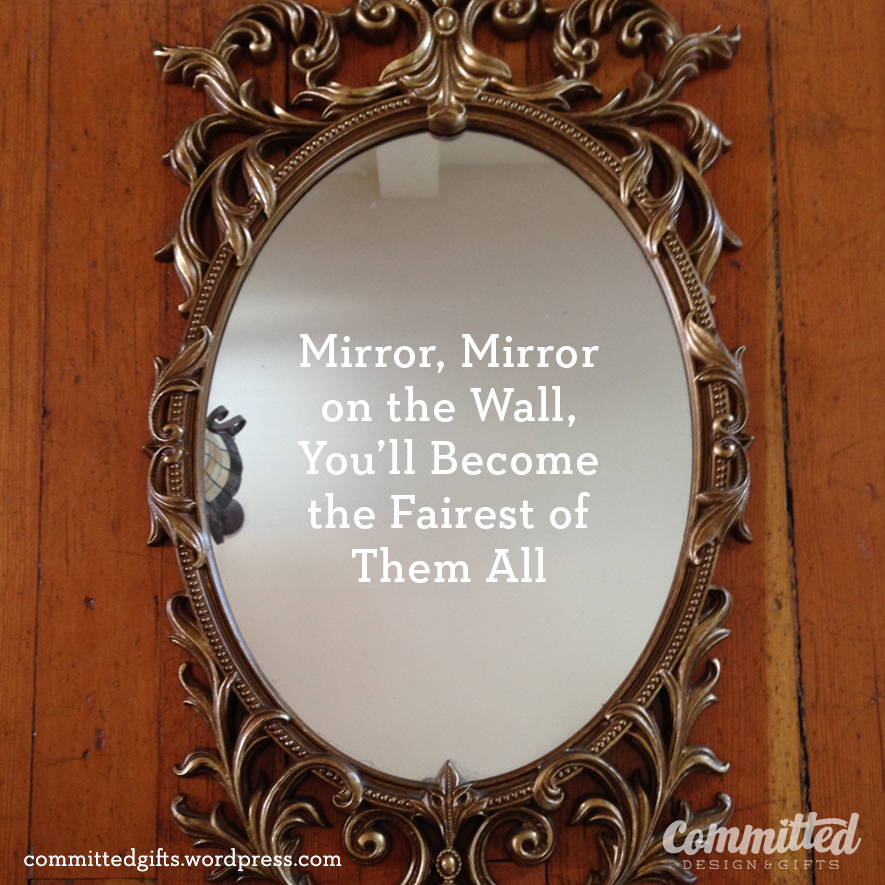
However, it’s a super easy fix. Hint: it rhymes with “Schpray Schraint.”
Continue reading “Makeover Monday: Making A Dated Mirror Modern”
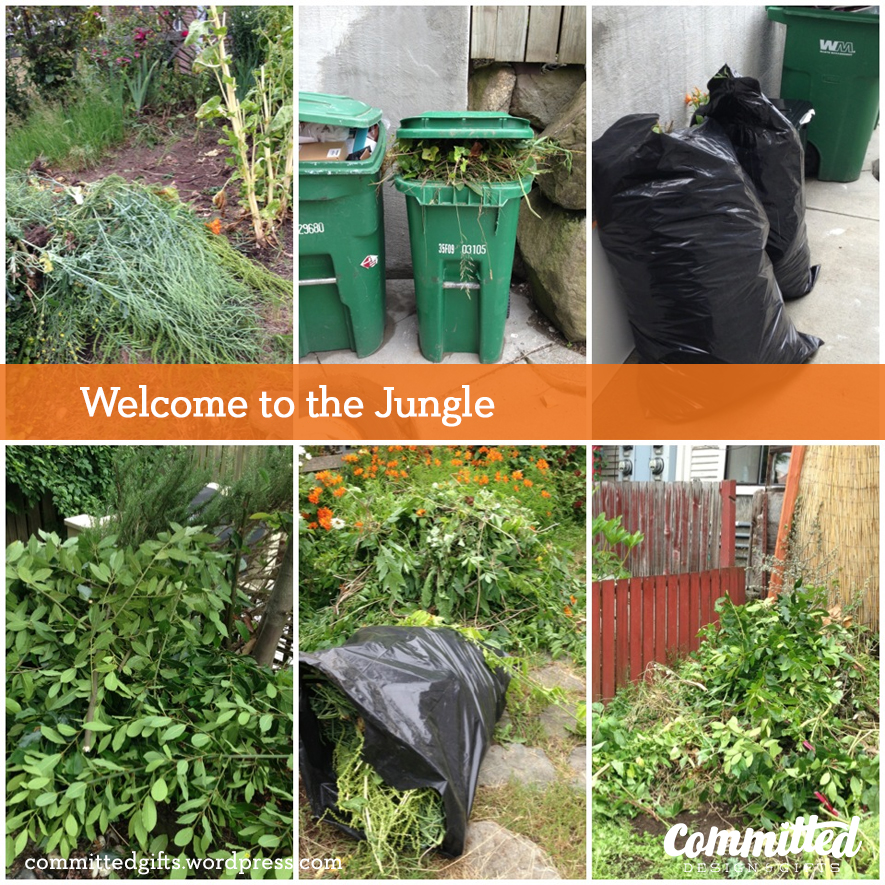
I’ve posted about our crazy garden before. The previous homeowners were very conscientious organic gardeners and had worked their way up to a self-sustaining edible and flowering garden. It was amazing when we first saw the house, then it quickly became a tangled, invasive jungle. I mean, kale growing 6′ tall. Bushels of flowering broccoli (aka, beyond edible). And then the morning glory, wisteria, alstrumeria, Chilean jasmine, midnight berries, and others that were just TAKING OVER. (Doesn’t it sound like I know something about plants? I don’t. I just fake it.)
I thought I could handle it myself. So I pulled, chopped, yanked for about 12 hours straight. And managed to tweak my neck to immobility for a week. Fail. Oh, and all that overgrowth came back in a few weeks! Plus some!

I’ve mentioned before that we moved into a 107 year old house last summer, right? Well, the family who lived there before did a renovation in the late 1990’s…and that’s where the house has stayed since. I’m hesitant to embark on any major updates since we’re planning to do some renovations and upgrades soon and I don’t want to make anything that will end up being ripped out in a couple of months, but there are a few things on the list that can become a project. Mostly because they irritate the hell out of me, but partly because they might end up being part of the new design. The biggest constraint is to keep the budget small…as in, miniscule. So this week’s project was a small one, but kind of fun because I got to whip out my paints and experiment….
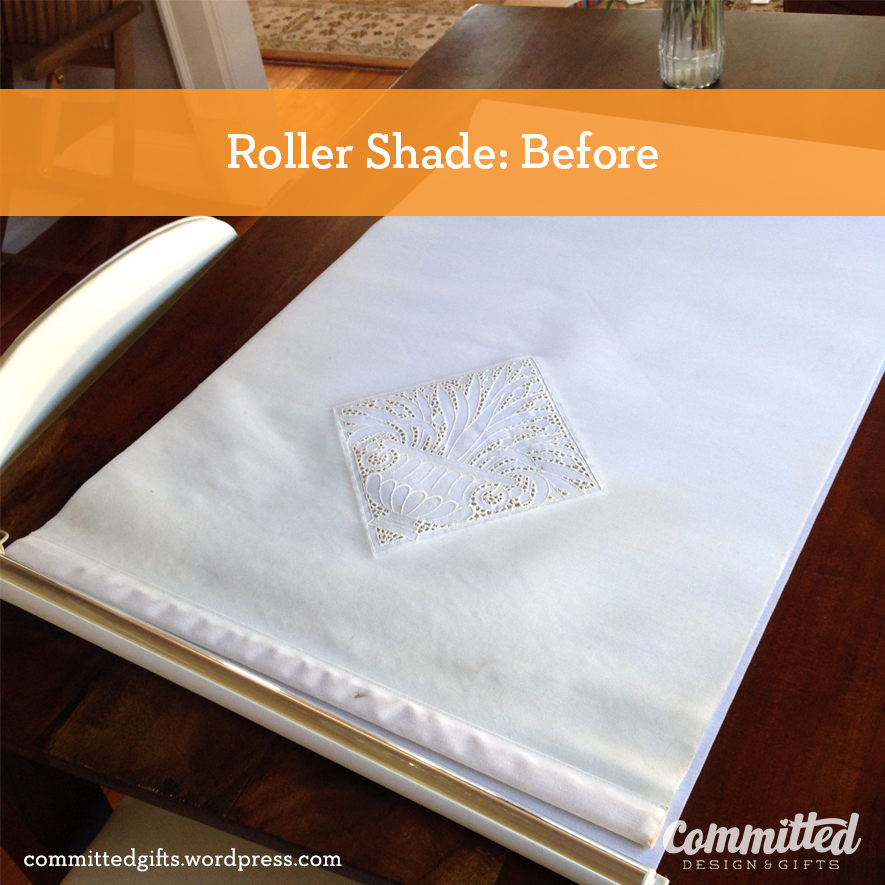
Upgrade the Shade
Our kitchen is pretty dark and has one small window facing North. The roller shade on it fits well and does the job to give us privacy from the next door neighbors but it was NASTY. Decades of dirty dish water spray and kitchen gunk discolored it. Plus, it was a country-cottage style that I’m not terribly fond of. So, I decided to touch it up.
I was trying to think of new names for my stuff…you know, the social media stuff. Committedgifts is indeed a terrible name, but the only one I could come up with that contained my business name, Committed, and no ridiculous Committed1357xxysz.com. Committed makes a lot of sense for who I am and what I do, but that name as a URL was snatched up some time in the early 90’s. So I’m kind of stuck with “committedgifts”…except.
Twitter and Instagram allow you to change your username. It took the usual brainstorming tricks & techniques to narrow down what my posts are all about. I realize I’m all over the place: fitness, gardening, DIY, kid activities, crafts, thrifting, food, travel. That much diversity is kinda bad in BlogLand, but it’s who I am. I’m addicted to projects.
I kind of suspected this, but it was confirmed when I overheard the cleaning ladies (yes, we have them come twice/month, which is the BEST investment for a marriage) saying, “She’s always working on SOMETHING.” The ‘She’ being ME. I start a TON of projects. You know how it goes–you get an idea to solve a problem. You get excited that the problem can go away. You shop, prep, maybe even start, then…another problem pops up requiring your attention.
For example, in addition to my freelance work, I have about 4 personal projects going at the same time (which I agree is cuckoo):
1) Maintain, Don’t Gain Holiday Challenge (I know you’ve been following along!)
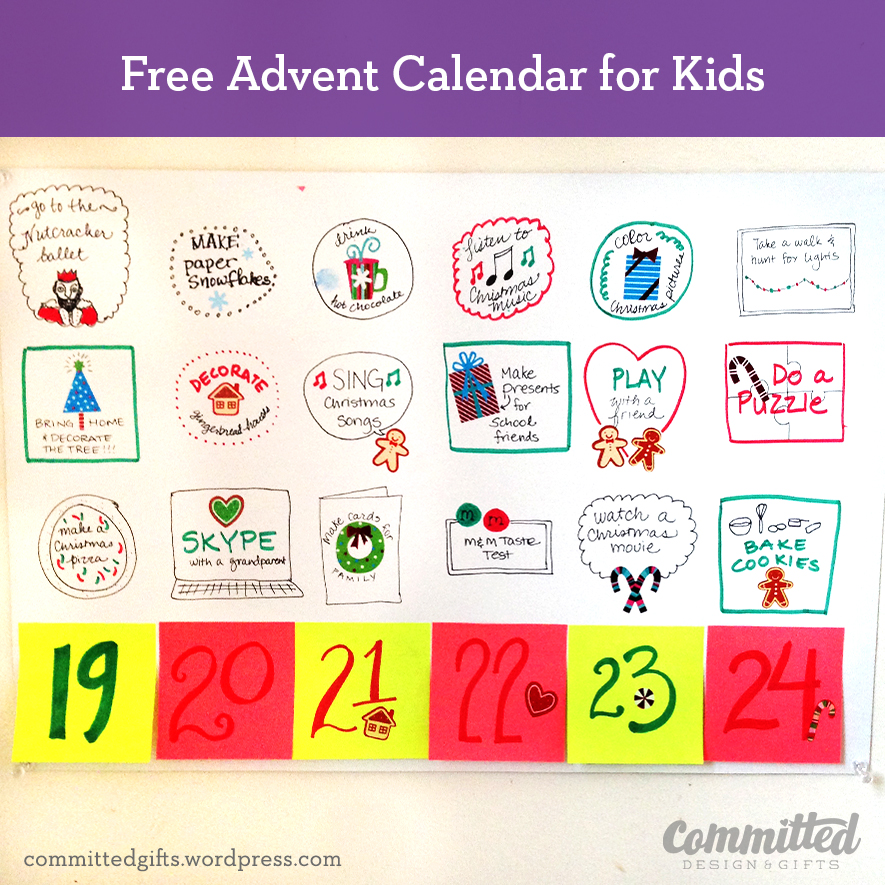
2) Advent activities for the kiddo (a post to come when we’re done):
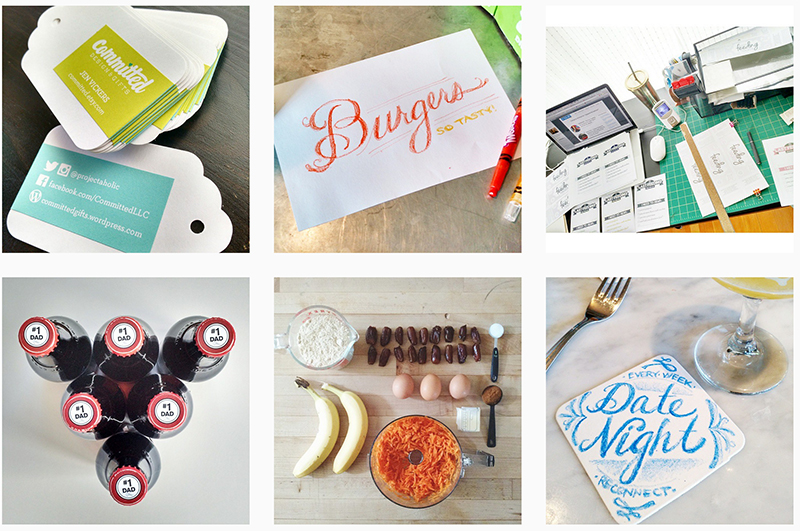
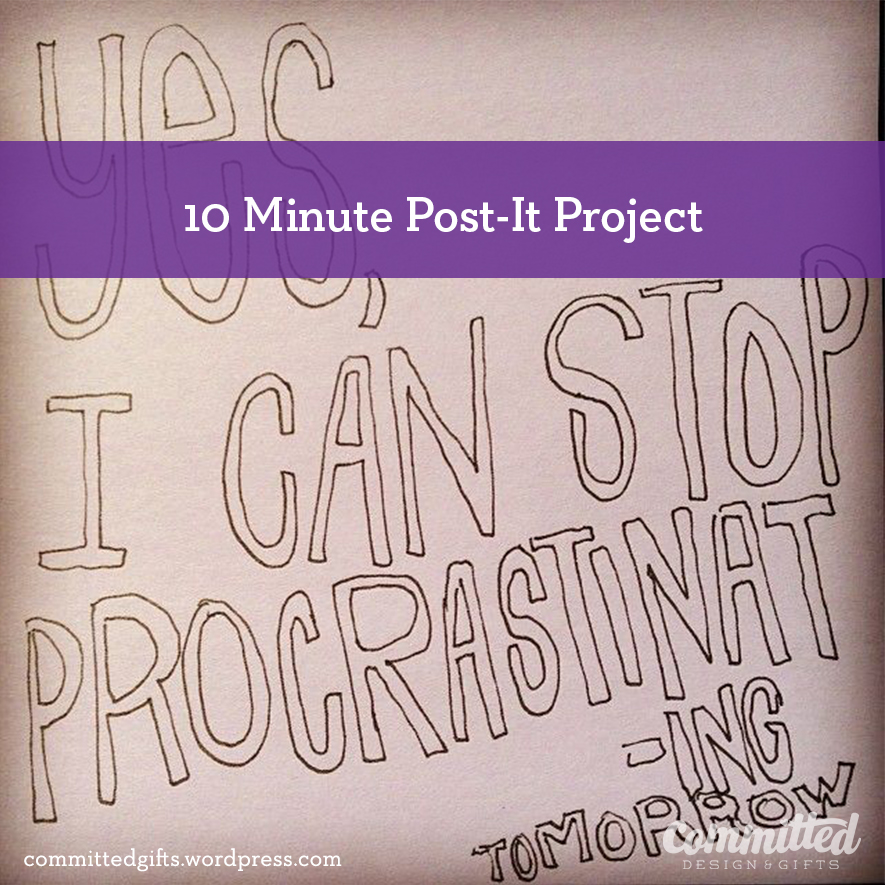
3) 10-Minute Post-It
I take 10 minutes, and a Post-It to sketch out whatever’s on my mind. I post to Instagram and collect those sketches (and friends’ sketches) on a Pinterest board. This is more of a side project I started to get the cobwebs out. A whole large page seems to be a little intimidating, but limiting the size and amount of time seems to make me loosen up. #10MinutePostIt

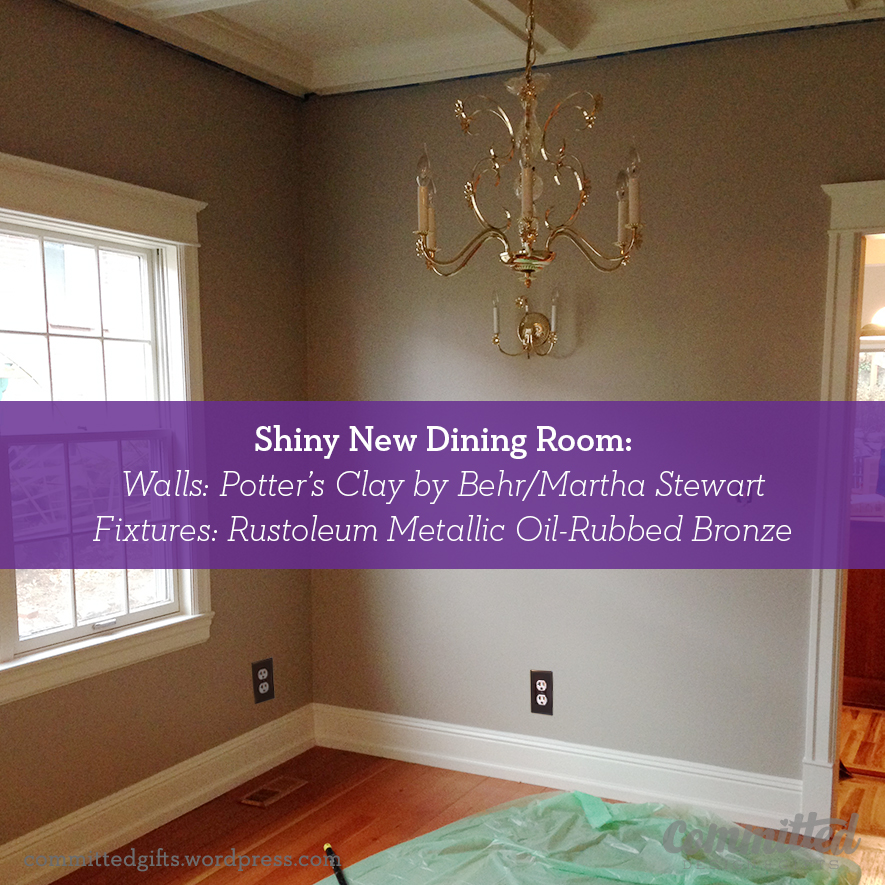
4) And of course, yesterday, I decided to paint the dining room and the socket covers so we look like we have a big girl house.
Oh yes, and there are still Christmas gifts for friends, our annual holiday card, and probably another organizing project lurking in the darkness…So. I had to admit it. As someone addicted to projects. I am Jen. And I’m a Projectaholic.
Now you can follow me on Instagram (@projectaholic) and Twitter (@projectaholic). And you can still like Committed on Facebook. 🙂
I should be a self-help junkie. I love going to events, getting sparked by a lecture, meeting fascinating people and gleaning knowledge from their stories. But I’m not a kool-aid drinker…yet. Last night I attended Crave’s Urban Campfire, where incredible women opened their hearts and shared their vulnerability to empower the rest of us. (Okay, I sound like a kool-aid drinker for sure.)
I want to process some of what I learned in that event before I write about it, so I thought I could at least share with you my process for making my own business cards.
But I can get cards on VistaPrint for like free, right? Yes, but as a designer and whatever else I am (still figuring that out…cough…cough), it doesn’t reflect ME to do that. I make stuff. I solve problems. If you are in a creative industry, or thinking about getting into one, perhaps you can think beyond the card too!
I also disobey the rules and change the look of my cards and online presence ALL THE TIME. I don’t think there’s anything wrong with it, since to be honest, I’m still figuring out who I am and what I do (or really, what skills I have that I want to sell). So, enough kool-aid, on to the tutorial…
I decided a few months ago to try using stickers as my card. I remember seeing a designer who had taken other peoples’ old business cards and slapped a sticker with his information on them–the ultimate in recycling. It appealed to my inner greenness and opened up some possibilities.
So I whipped up a pattern, printed on both sides of Bristol board, then printed stickers on the full-sheet Avery labels, and made these:
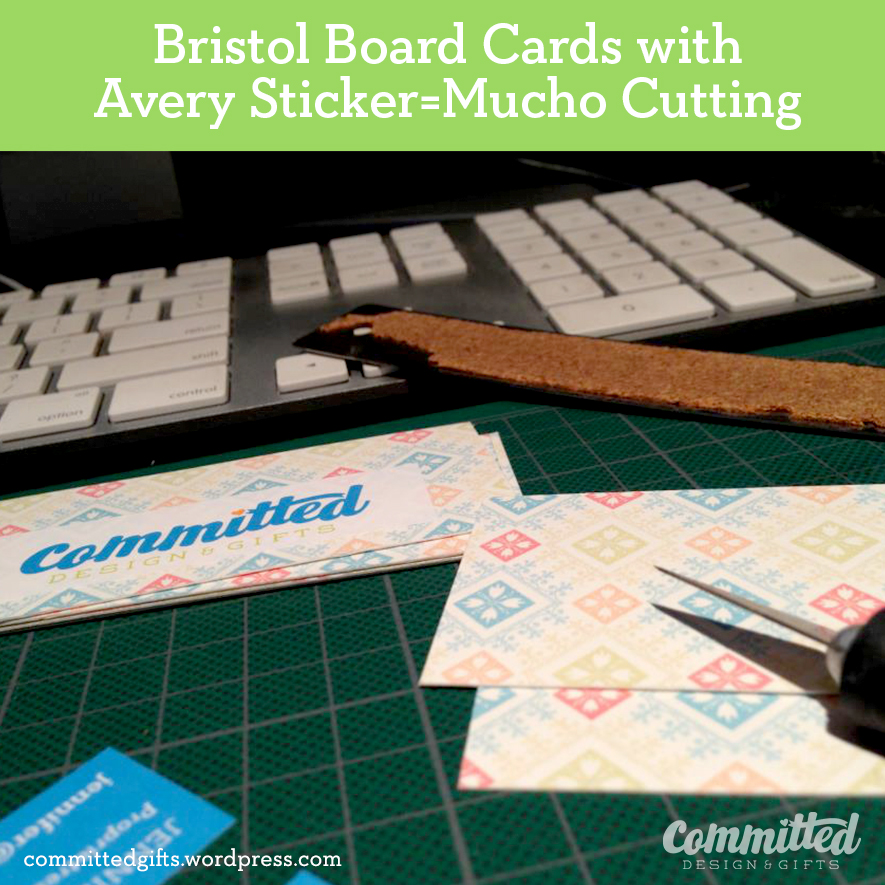
Cute, but SUCH a time-consuming venture. Plus, the white of the sticker was a little transparent, which meant that I could see the pattern through the logo side. It wasn’t exactly right for me. My final complaint? The pattern wasn’t as vibrant as I wanted. I like to think of Committed as colorful and fun. This fell a little short. Luckily, DIY means small quantities, so no harm, no foul.
Moving on.
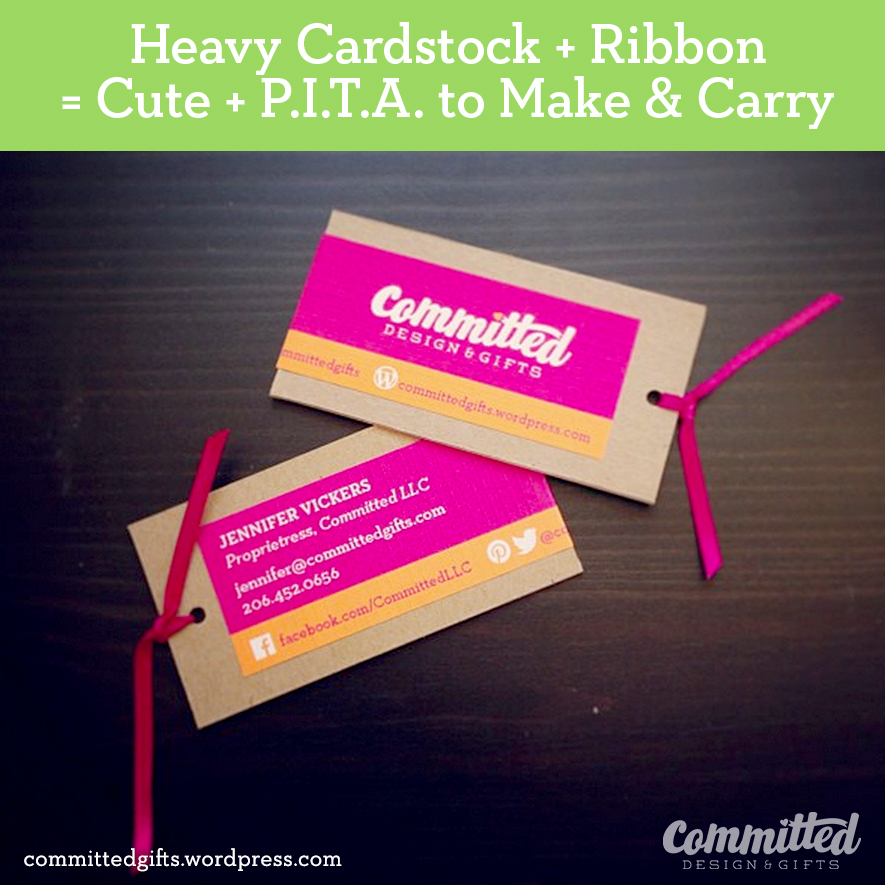
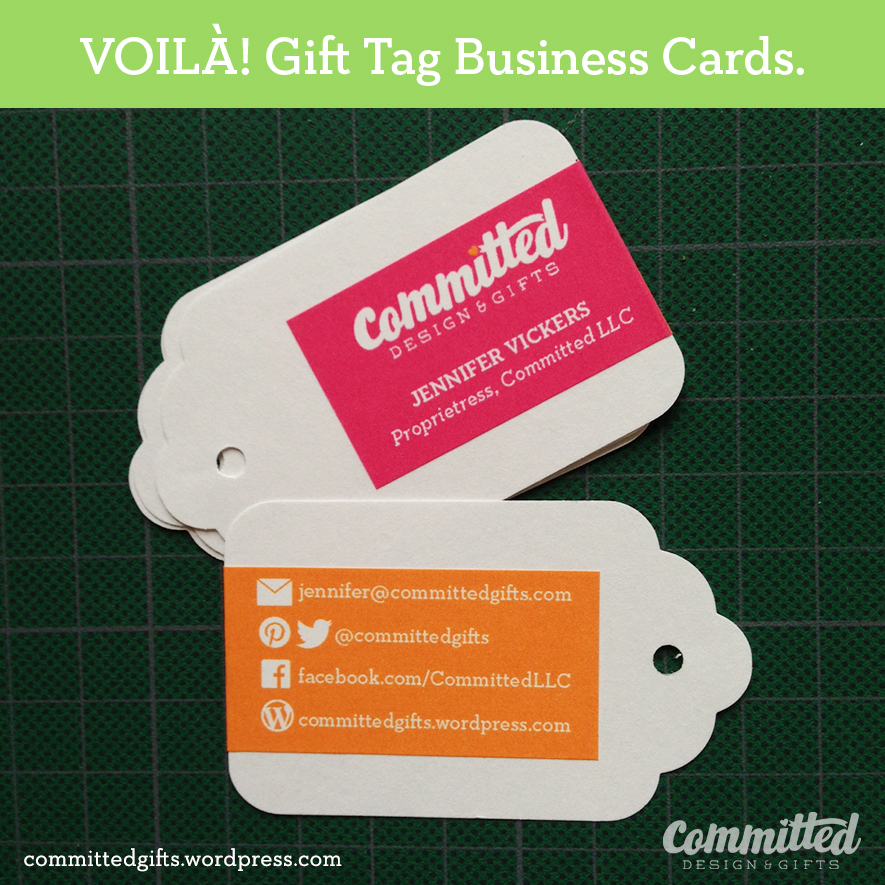
I had a bunch of pulpboard lying around, and figured, hey, let’s use it! So I went bolder with the colors, and added a ribbon, since hey, it’s cute, and my domain name is Committed GIFTS. Gift tag, get it?
Even though I LOVED how these turned out, they were a colossal pain in the ass. (That’s P.I.T.A. for short). I used the same Avery labels, which required tons of slicing. The cardstock was so thick, it took several passes to cut, then the ribbons were slippery. In the end, they were so thick, I could only gracefully carry a few around at a time. It wasn’t worth it.
FINALLY…
I figured it out. Buy PRE-CUT stuff, Smarty! The cutting was the biggest time-suck. You can learn from my mistakes! This is easy, and really cute. Plus, you could do this for actual gift tags, mommy cards, basically anything. Easy easy easy.
Materials (I’m linking to these on Amazon, but they are not affiliate links, for reference only):
I have 10 years in graphic design and mockup experience. All of these tools are incredibly useful in making a clean, crisp product. It takes practice and patience, but when you get the hang of cutting and folding carefully, you can make it look like it wasn’t handmade.
Tips:
Tutorial:
Print your stickers first. Use high quality settings.
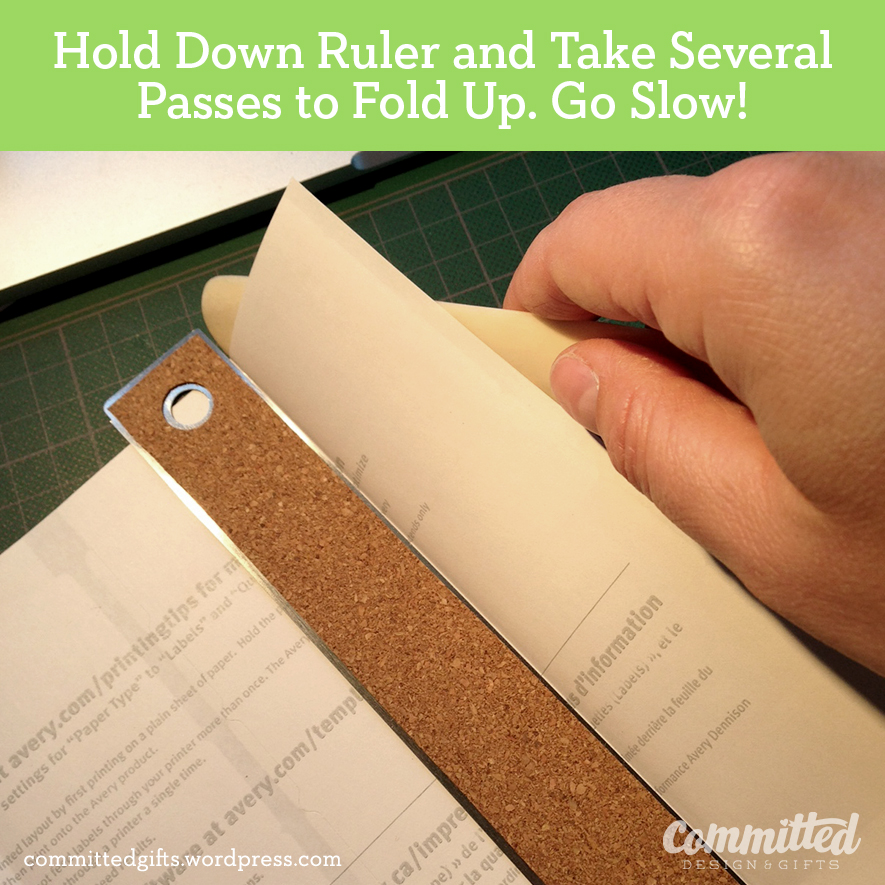
To fold the stickers in the right place, line your ruler up with the fold and stick it through the paper at the top and bottom.
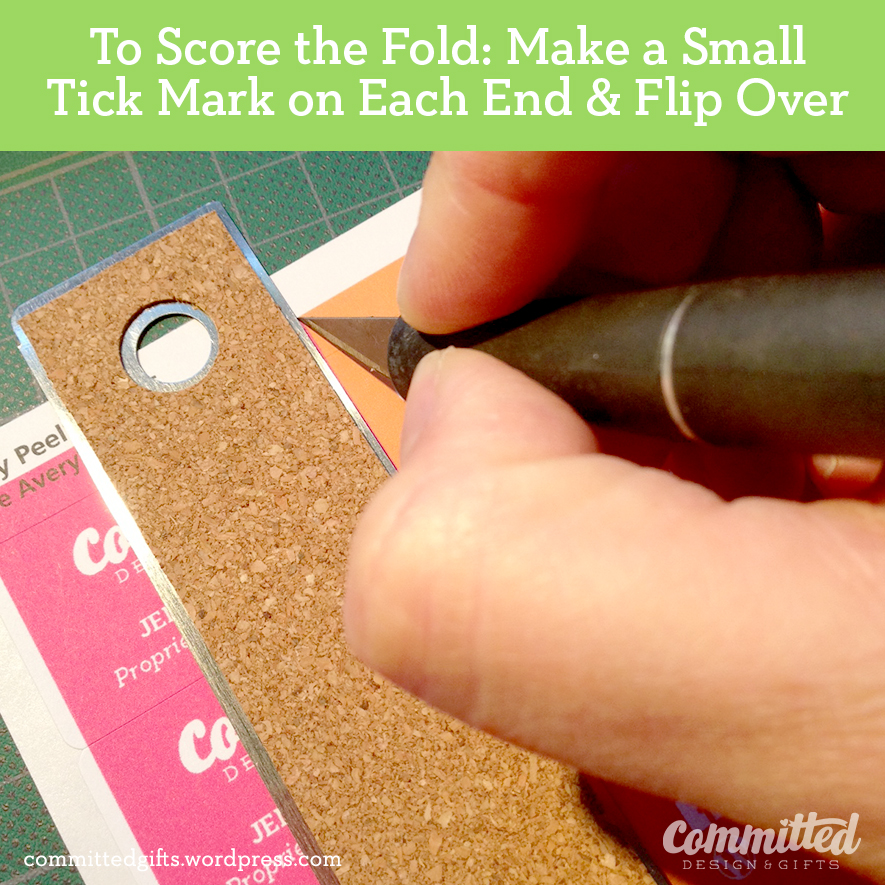
Flip the sheet over, line the ruler up again, and score the page. Hold your ruler down tight, and press the bone folder (or credit card) against the edge. Take a few passes to get a nice score.
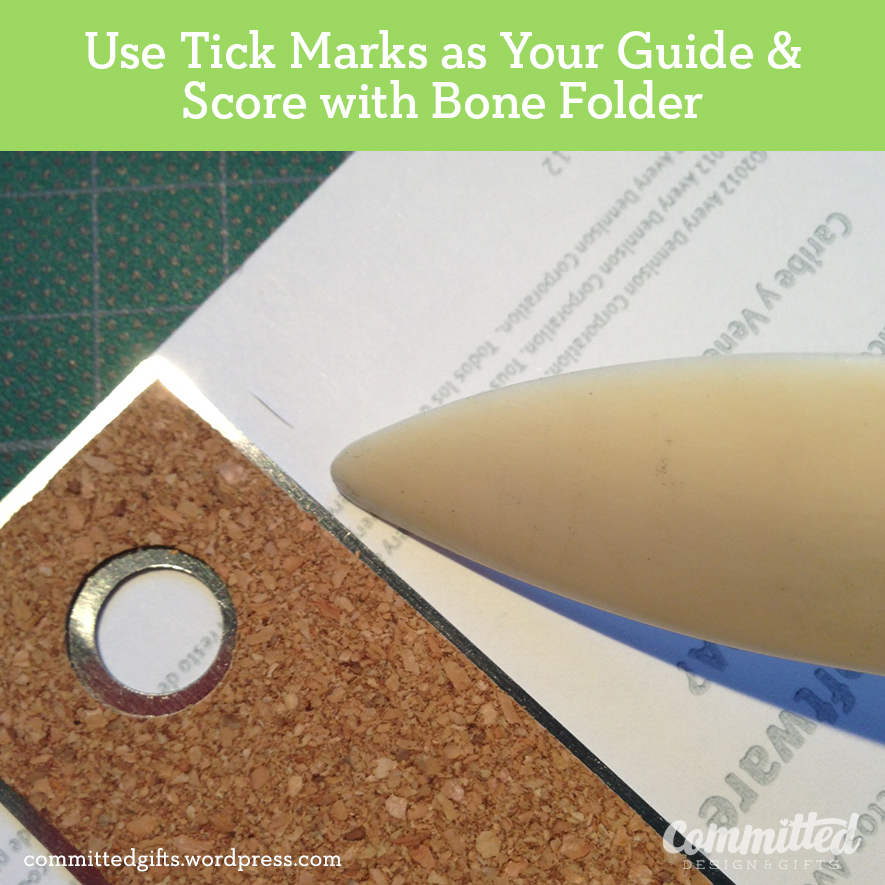
Keep that ruler in place! Take your bone folder and slide along the underside of the sheet to start to fold it up. Do this in several steps, as folding too quickly can cause the printout to crack.
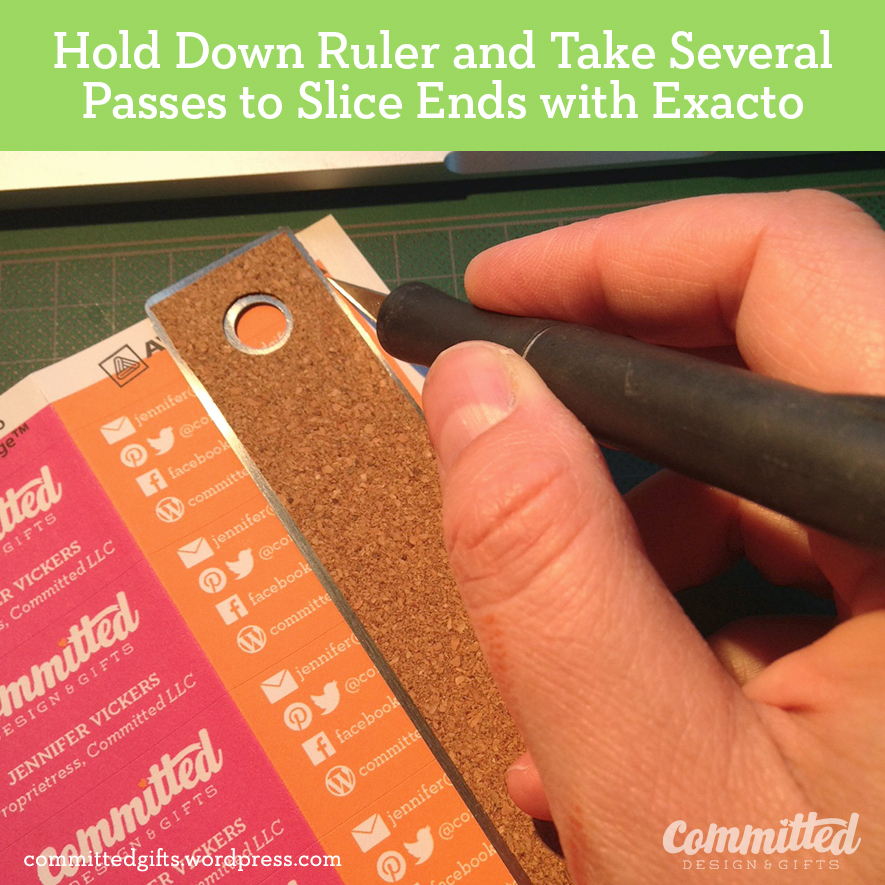
Flip over the sheet.
You’ll notice that the edges of the stickers may not have printed. Not to worry, we’re slicing those off.
Hold your ruler down (face down) along the edge to slice. Use your Exacto knife carefully and take 2-3 passes to slice each edge.
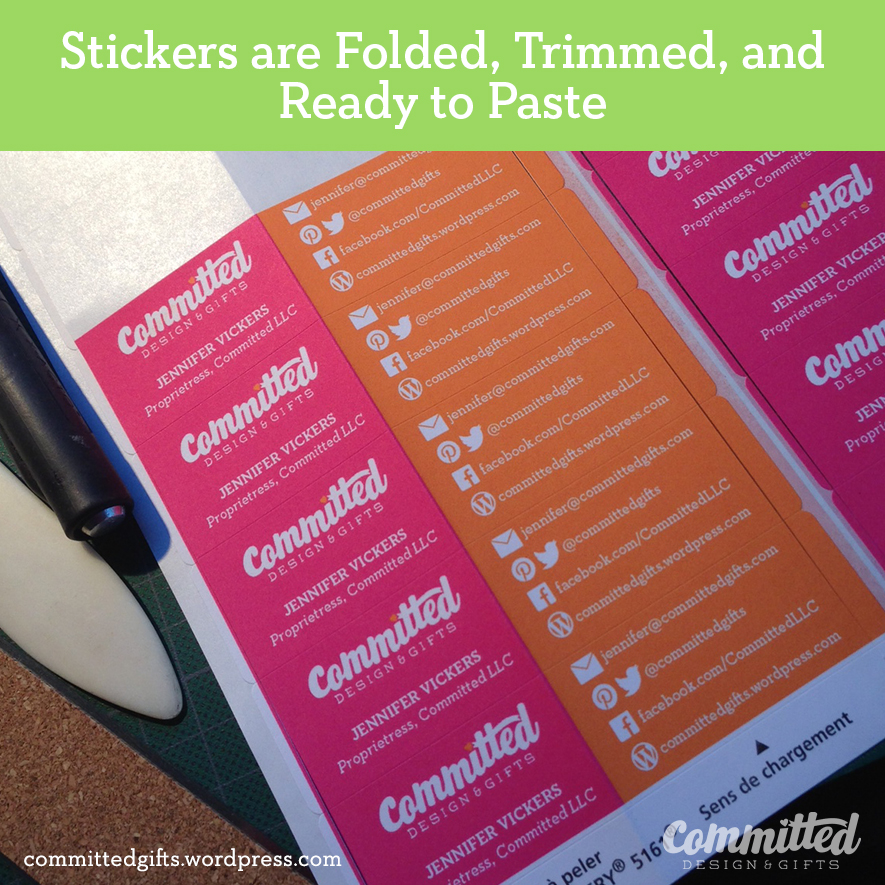
See how helpful that all was? You successfully prepped 20 stickers in just a couple of steps. This was seriously SO MUCH FASTER than how I was doing it before. At this point, I grabbed a stack of tags and sliced off the string that came with them. I didn’t think it added anything (I mean, it’s no magenta ribbon, right?) and moved on to sticking the stickers on the cards.
Okay, now line up the fold of your sticker with the edge of the card. You can eyeball it for centering.

It’s not PERFECTLY centered, but it’s so close. The important part is to not have your sticker hanging off the edge at some weird angle.

And there you have it! I like the unique shape of the tags, and the color shift from front to back. It was tough to decide what to include on the cards, but as you can see, I focused on social media touch points for these.
As I said, these can be for actual gift tags…or even to label your kool-aid.
A final note: I’m not including a template because (a) Avery has the tools you need to design these online or in Word or Illustrator and (b) this was a custom project. Who you are and what you want to say about yourself should be unique to YOU. So go to town! Design something awesome!
We are officially moved into our new house!
This truly is our “forever home,” and all three of us are almost giddy every time we walk through the door. There are tons of beautiful features, but mostly it just feels like home. Know what I mean? It was one of those this just feels right kind of places. Another bonus? Projects! Lots of ’em! I’ll be posting things here and there, since we hopped on the project train before even setting foot in the house as owners.
I don’t know what spurred me on, but I had the crazy urge to get shit DONE before we moved in. I guess I just know how crazy and messy life gets with my projects and the toll it would take on the fam (sorry, guys…it’s an addiction!) Plus, I had to promise to ONLY START A PROJECT WHEN THE OTHER ONE WAS FINISHED. This is hard. But I’m doing my best. Anyway, the first project was hiring a painter to do the trim.
Seriously, guys. It was pretty bad. Faux marbling, odd continuity choices, or total emission of paint/finishing altogether. I had 2 days available between getting the keys and getting the cleaners in, so we had to be choosy. I picked the trim in the front room, office, and sitting room. (OMG we have a sitting room! So fancy!)
The pic above is just a teaser–I want to finish those a little more before posting pictures, but I thought you needed to see what we were working with. Continue reading “Home, Sweet Homework”
This morning I attended a talk by Nate Manny, presented by Creative Mornings Seattle. I had no expectations except that I’d hear a successful, talented designer talk about life, design, which could spark some creative/entrepreneurial inspiration in me. Well, it did more than that. It kind of capsized my perception of career success and achieving work-life balance.
A little bit about the chat (from the event site):
“…Learn about always being mindful and present in one’s life as a creative professional and examining the significance of one’s everyday patterns.”
What I loved about the presentation is that he has taken a nontraditional route to get to where he is (artist > rock star (literally) > designer), yet he still is constantly conflicted by where he is and where he wants to be. It was a lightning bolt moment for me to hear that, since I figured reaching that upper-echelon in the design world automatically created complete life satisfaction. I’m constantly questioning my career choice: if I’m doing enough, if I’m doing too much and pulling away from the things in life that I really love. Am I successful enough? Am I wasting my time? Should I spend more time with my daughter? My husband?
There were several takeaways from the chat that warmed my heart and got my creative gears rolling:

If you’re working all the time and don’t have the opportunity to enjoy the spoils of your effort, maybe you should cut back on some of the hobbies and extras and work less to fund the ones worth keeping. It was a new way for me to think about things, and I hope you find it useful too.
What resources or methods have you found helpful in achieving career satisfaction and work-life balance?
Before Pinterest, I was bookmarking every single design and illustration site that I found interesting. It’s still nice to go through the list, randomly pick a link, and be instantly inspired by what pops up. Today’s random link led me to this:

Continue reading “A Little Slice of Heaven: Paper Cut Illustrations”