
Hey friends,
I am using other outlets for creativity.
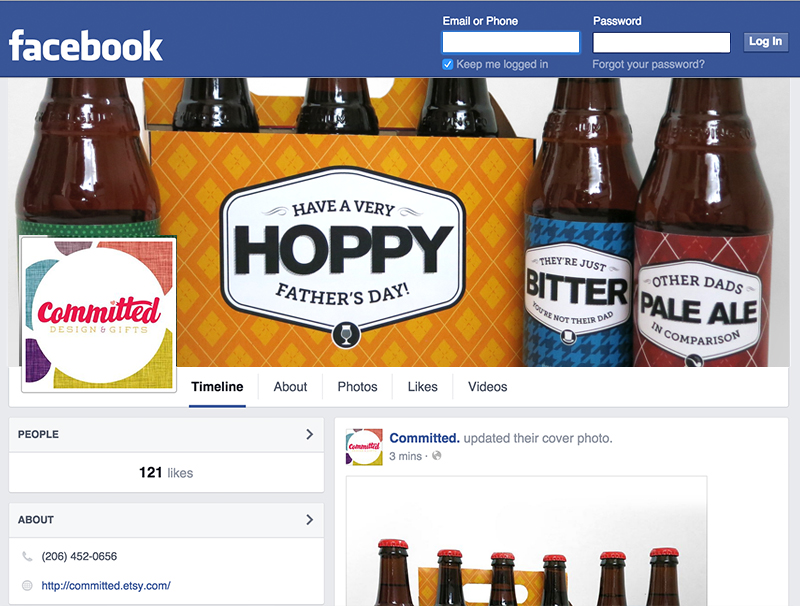
Please stay in touch via Instagram, visit my Etsy shop, and keep up on Facebook.
I’d love to go crazy together!
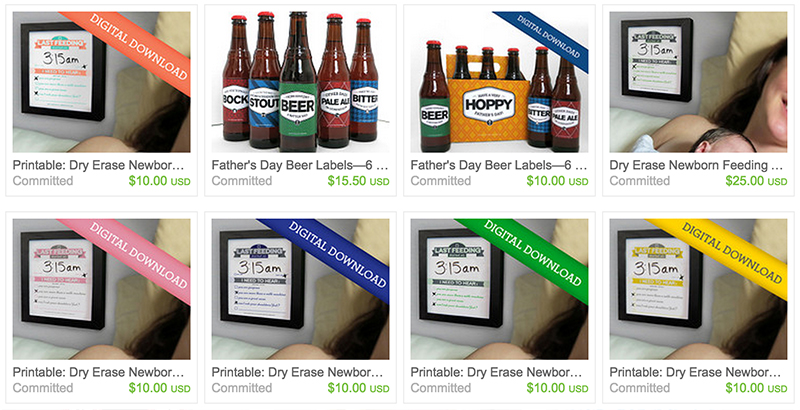
Etsy

Hey friends,
I am using other outlets for creativity.
Please stay in touch via Instagram, visit my Etsy shop, and keep up on Facebook.
I’d love to go crazy together!
I should be a self-help junkie. I love going to events, getting sparked by a lecture, meeting fascinating people and gleaning knowledge from their stories. But I’m not a kool-aid drinker…yet. Last night I attended Crave’s Urban Campfire, where incredible women opened their hearts and shared their vulnerability to empower the rest of us. (Okay, I sound like a kool-aid drinker for sure.)
I want to process some of what I learned in that event before I write about it, so I thought I could at least share with you my process for making my own business cards.
But I can get cards on VistaPrint for like free, right? Yes, but as a designer and whatever else I am (still figuring that out…cough…cough), it doesn’t reflect ME to do that. I make stuff. I solve problems. If you are in a creative industry, or thinking about getting into one, perhaps you can think beyond the card too!
I also disobey the rules and change the look of my cards and online presence ALL THE TIME. I don’t think there’s anything wrong with it, since to be honest, I’m still figuring out who I am and what I do (or really, what skills I have that I want to sell). So, enough kool-aid, on to the tutorial…
I decided a few months ago to try using stickers as my card. I remember seeing a designer who had taken other peoples’ old business cards and slapped a sticker with his information on them–the ultimate in recycling. It appealed to my inner greenness and opened up some possibilities.
So I whipped up a pattern, printed on both sides of Bristol board, then printed stickers on the full-sheet Avery labels, and made these:
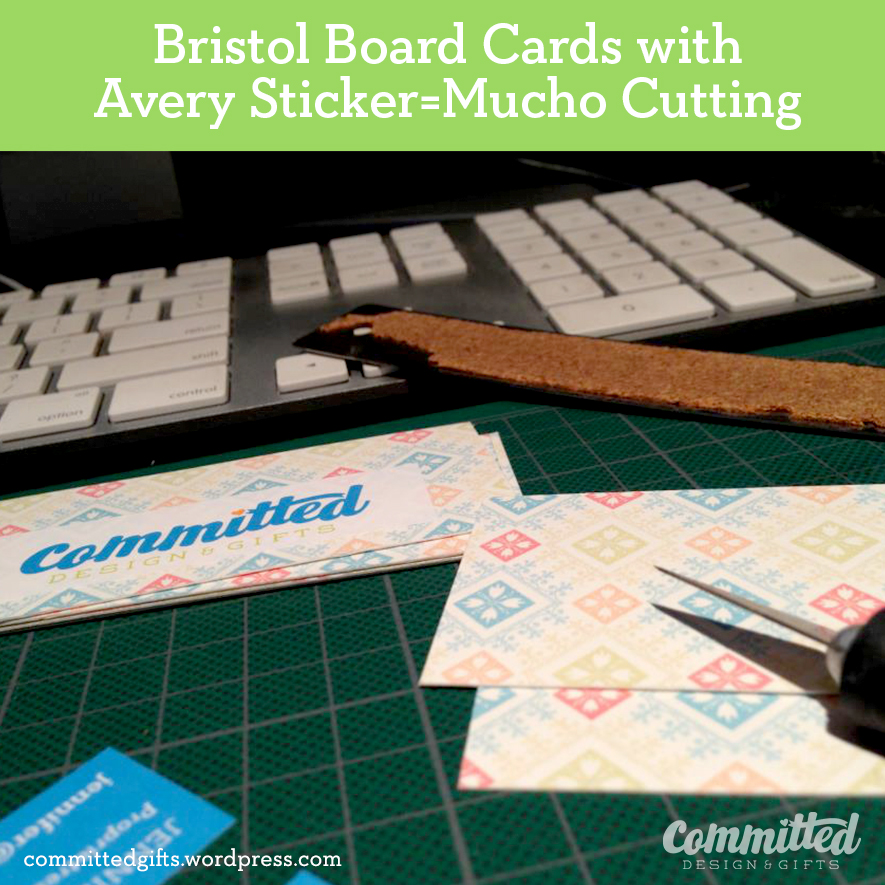
Cute, but SUCH a time-consuming venture. Plus, the white of the sticker was a little transparent, which meant that I could see the pattern through the logo side. It wasn’t exactly right for me. My final complaint? The pattern wasn’t as vibrant as I wanted. I like to think of Committed as colorful and fun. This fell a little short. Luckily, DIY means small quantities, so no harm, no foul.
Moving on.
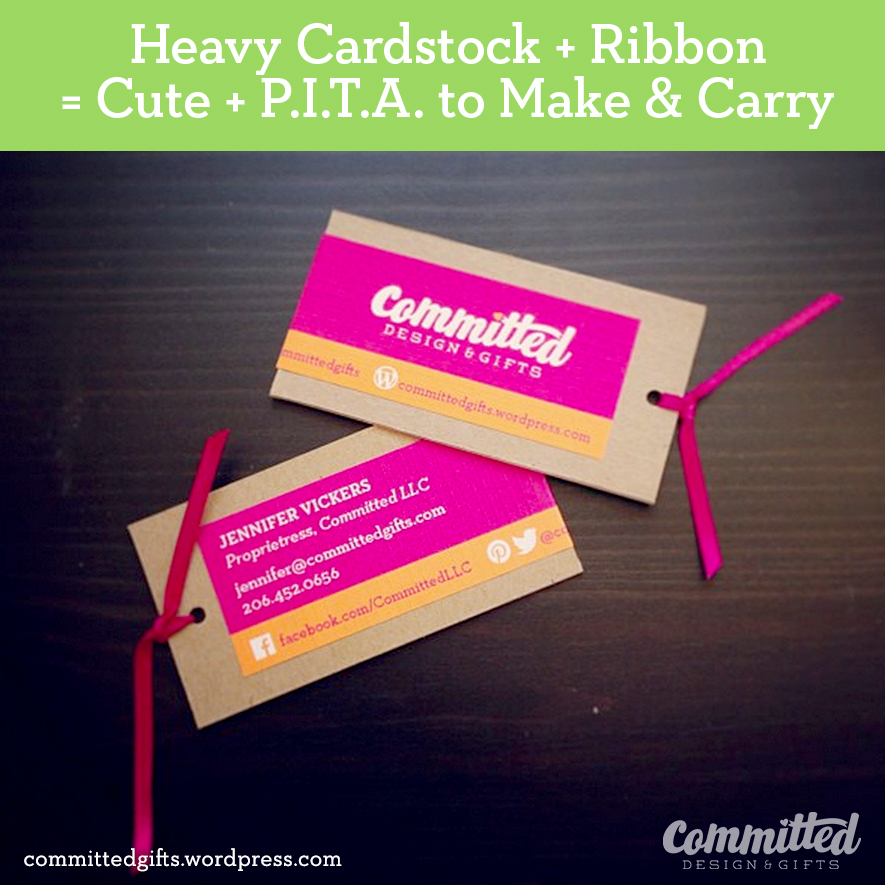
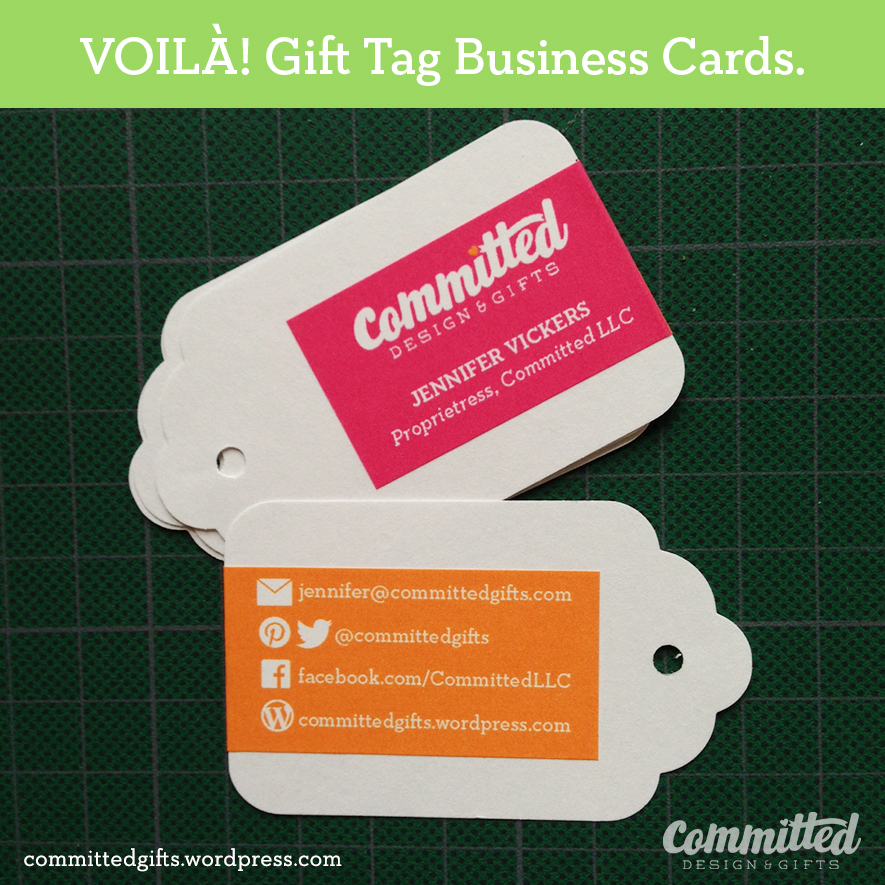
I had a bunch of pulpboard lying around, and figured, hey, let’s use it! So I went bolder with the colors, and added a ribbon, since hey, it’s cute, and my domain name is Committed GIFTS. Gift tag, get it?
Even though I LOVED how these turned out, they were a colossal pain in the ass. (That’s P.I.T.A. for short). I used the same Avery labels, which required tons of slicing. The cardstock was so thick, it took several passes to cut, then the ribbons were slippery. In the end, they were so thick, I could only gracefully carry a few around at a time. It wasn’t worth it.
FINALLY…
I figured it out. Buy PRE-CUT stuff, Smarty! The cutting was the biggest time-suck. You can learn from my mistakes! This is easy, and really cute. Plus, you could do this for actual gift tags, mommy cards, basically anything. Easy easy easy.
Materials (I’m linking to these on Amazon, but they are not affiliate links, for reference only):
I have 10 years in graphic design and mockup experience. All of these tools are incredibly useful in making a clean, crisp product. It takes practice and patience, but when you get the hang of cutting and folding carefully, you can make it look like it wasn’t handmade.
Tips:
Tutorial:
Print your stickers first. Use high quality settings.
To fold the stickers in the right place, line your ruler up with the fold and stick it through the paper at the top and bottom.
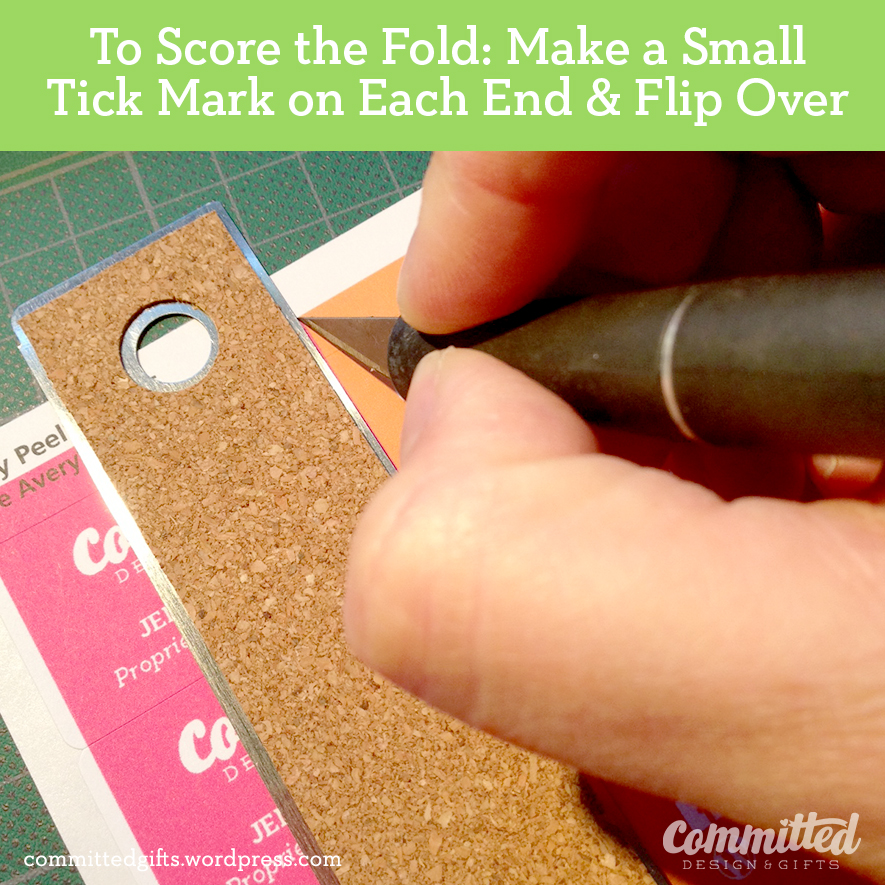
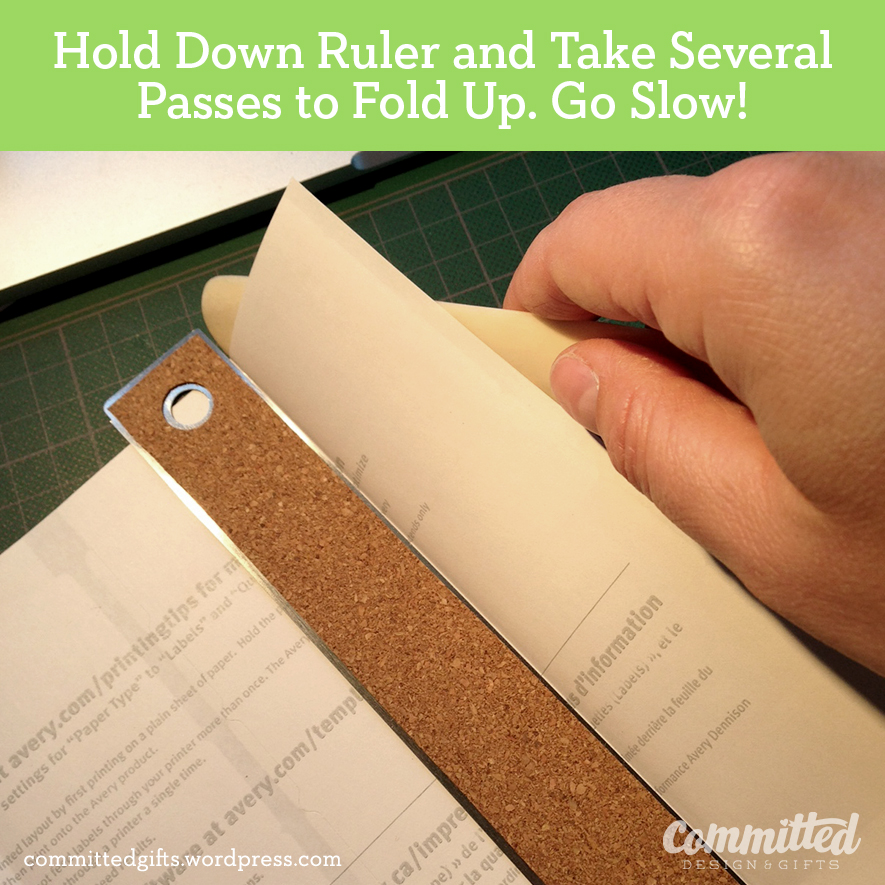
Flip the sheet over, line the ruler up again, and score the page. Hold your ruler down tight, and press the bone folder (or credit card) against the edge. Take a few passes to get a nice score.
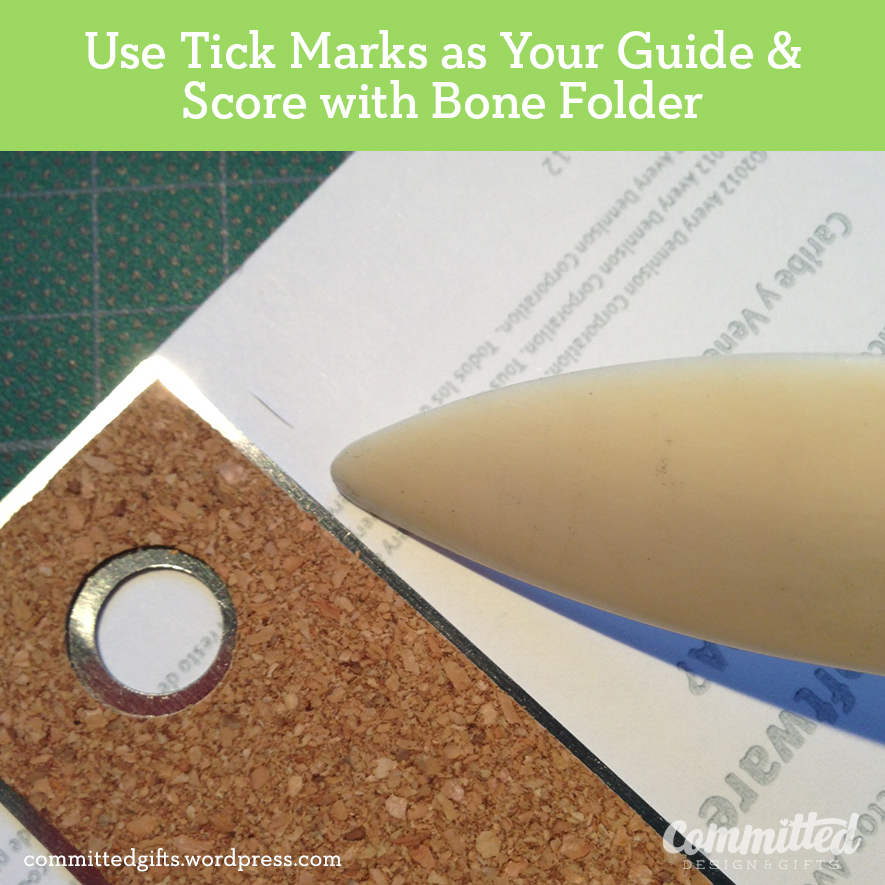
Keep that ruler in place! Take your bone folder and slide along the underside of the sheet to start to fold it up. Do this in several steps, as folding too quickly can cause the printout to crack.
Flip over the sheet.
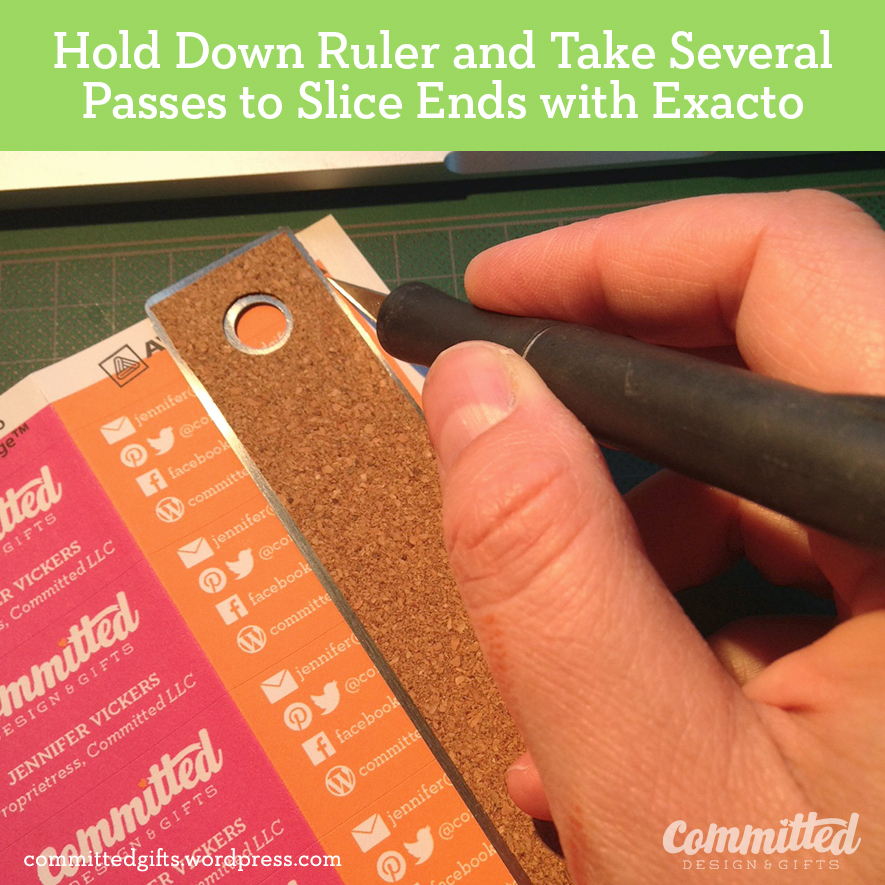
You’ll notice that the edges of the stickers may not have printed. Not to worry, we’re slicing those off.
Hold your ruler down (face down) along the edge to slice. Use your Exacto knife carefully and take 2-3 passes to slice each edge.
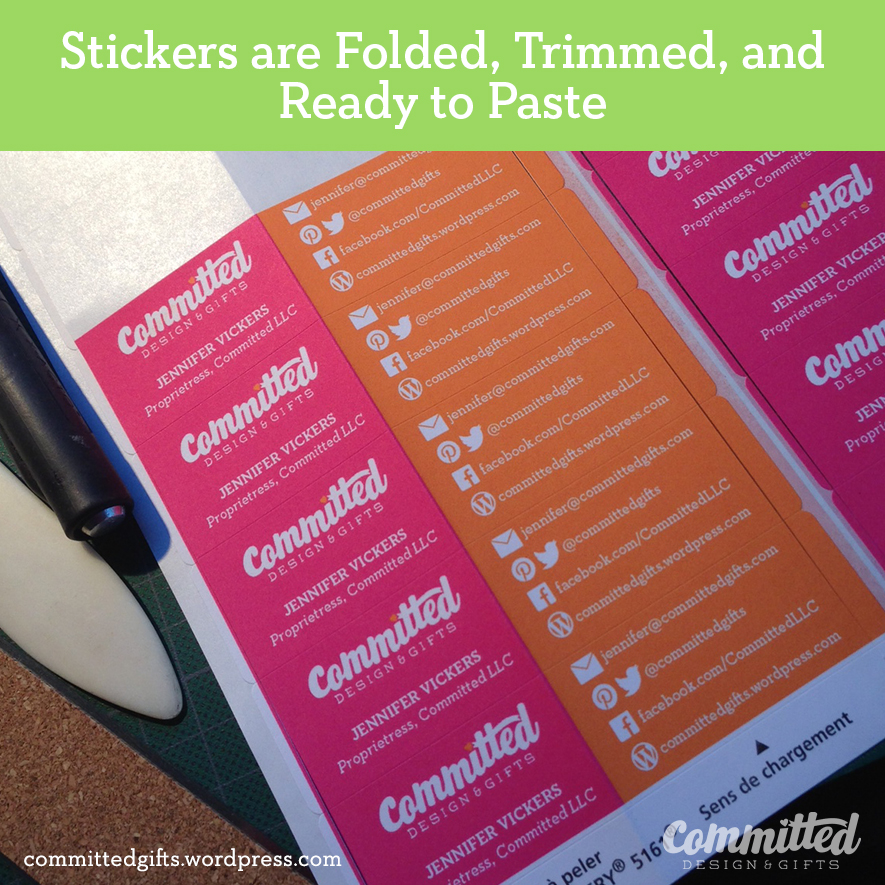
See how helpful that all was? You successfully prepped 20 stickers in just a couple of steps. This was seriously SO MUCH FASTER than how I was doing it before. At this point, I grabbed a stack of tags and sliced off the string that came with them. I didn’t think it added anything (I mean, it’s no magenta ribbon, right?) and moved on to sticking the stickers on the cards.
Okay, now line up the fold of your sticker with the edge of the card. You can eyeball it for centering.

It’s not PERFECTLY centered, but it’s so close. The important part is to not have your sticker hanging off the edge at some weird angle.

And there you have it! I like the unique shape of the tags, and the color shift from front to back. It was tough to decide what to include on the cards, but as you can see, I focused on social media touch points for these.
As I said, these can be for actual gift tags…or even to label your kool-aid.
A final note: I’m not including a template because (a) Avery has the tools you need to design these online or in Word or Illustrator and (b) this was a custom project. Who you are and what you want to say about yourself should be unique to YOU. So go to town! Design something awesome!