Tag: gifts

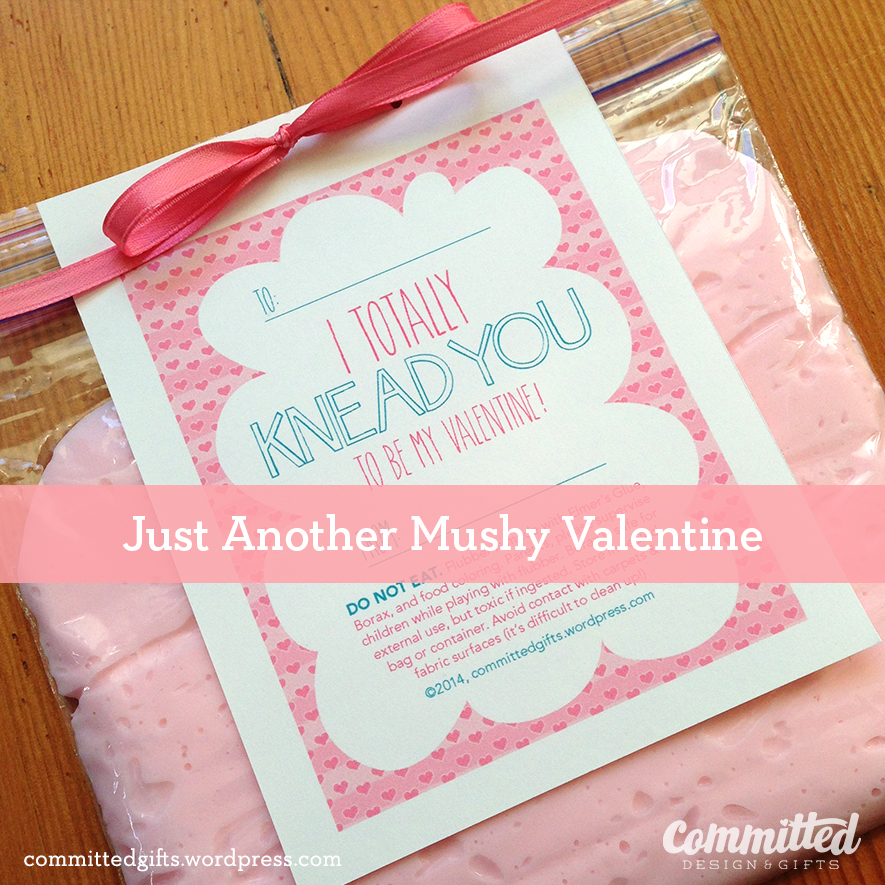
Flubber Valentine

I Flubber You: Valentine for Kids (& Free Printable!)

***Originally posted February 12, 2014***

It’s a last-minute post, but I *just* figured out how to package this up. You’ve probably seen “Flubber recipes” all over Pinterest. The basic idea is to mix Elmer’s glue, warm water, and food coloring in one bowl, and water and Borax in another bowl. When you combine the two, you get Flubber! We made some over the summer, and the kiddo LOVED it. We had it in a tupperware container, and it lasted for months.

As you’ve seen before, I’m a fan of simple gifts that aren’t necessarily food when giving gifts to classmates. I’m just wary of dietary issues, and creating the expectation that all celebrations have to involve sugary treats! (What a party pooper!) But really, I want to give things that kiddo can help make, and that are an alternative to the inevitable influx of candy. (Trust me, I LOVE the candy…) So I thought giving out homemade flubber would be a great gift for 2-3 (or 4 or 5 or 6) year-olds.
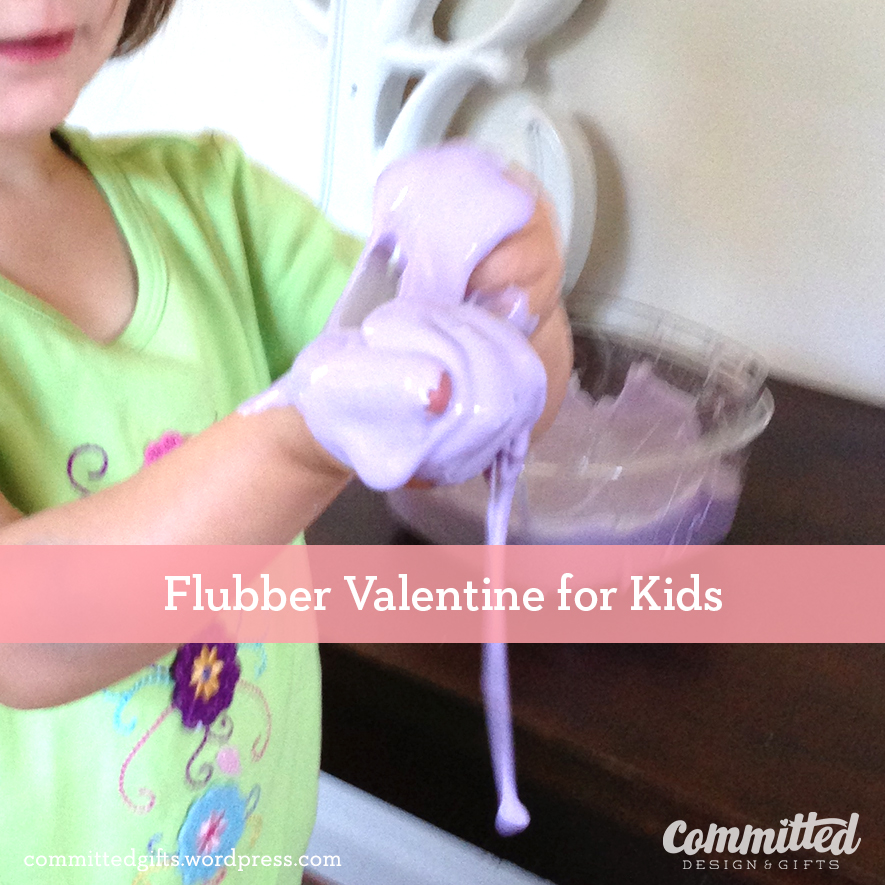
Kids love flubber
Who doesn’t love playing with goop?

Continue reading “I Flubber You: Valentine for Kids (& Free Printable!)”

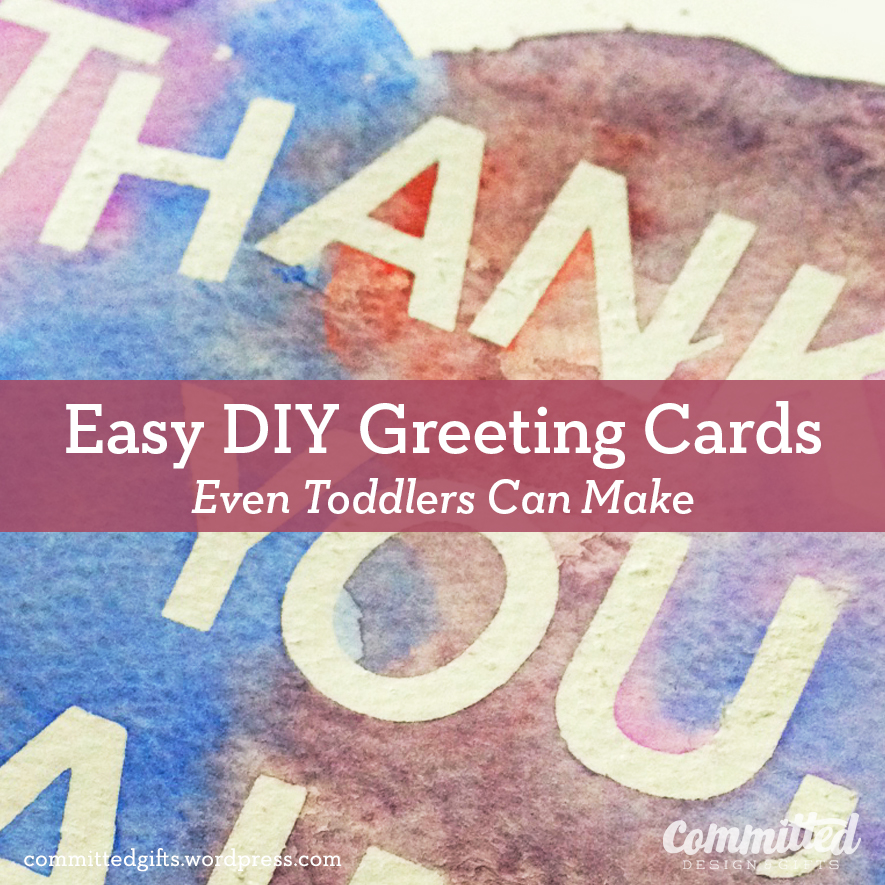
Makeover Monday: DIY Greeting Cards a Toddler Can Make

I’ve been meaning to post these a while back, but I figure since Mother’s Day is coming up (hint…hint), I figured this would be a timely post!

I figured out an easy way for your young’n to help make a legible greeting card for any occasion, and it’s quick! You don’t need any artistic skill whatsoever, just a little patience to let the paint dry. The pictures are from a farewell gift for one of my daughter’s teachers. She was wonderful, and was leaving daycare to pursue her advanced degree.

Tutorial: DIY Greeting Cards
Even very young children can make a legible card!

Continue reading “Makeover Monday: DIY Greeting Cards a Toddler Can Make”

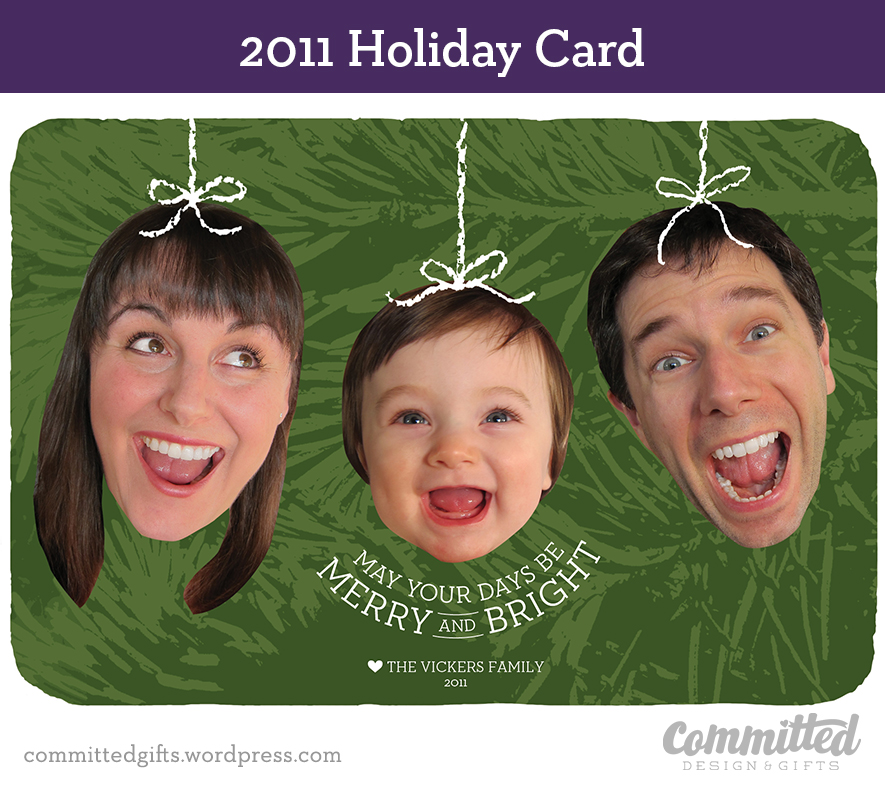
Holiday card 2011.

A Very Vickers Holiday Card

Every year I do something a little different for our family holiday card. I love getting photo cards from friends and family far and near, so I always like to incorporate our pictures somehow. However, since I’m a designer, I physically can’t bring myself to send a pre-designed card. Ever. So, I do my own.

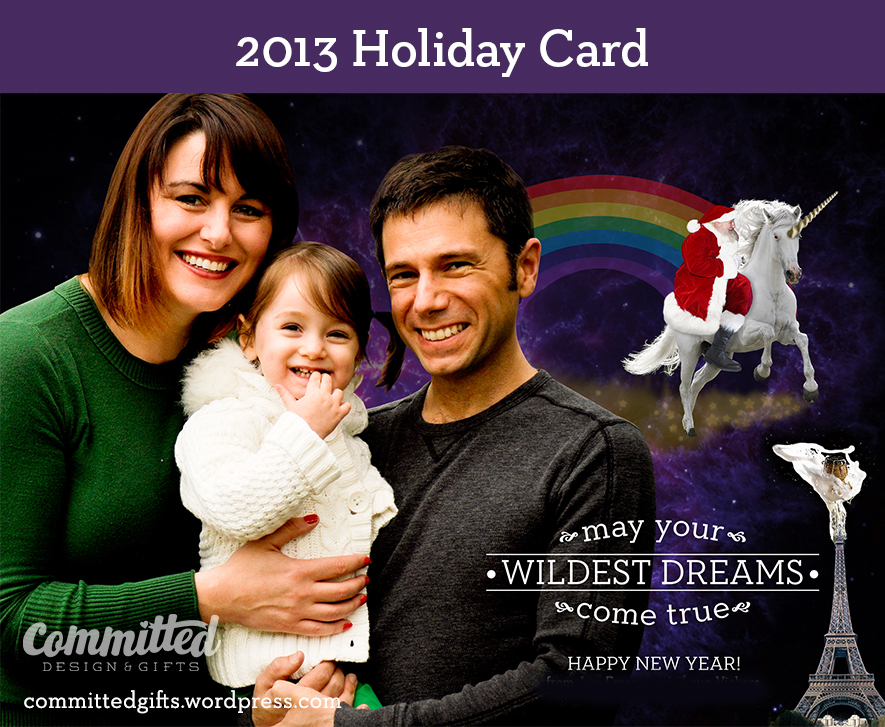
This year, I was running a little behind, so I made it a New Year card. We’ve had a pretty stellar year: moved into our dream house, have a great daycare, work is going great, so the image that popped to mind when reminiscing about last year was Santa riding a unicorn. This thought would not leave my head, and so I had to go with it. Presenting this year’s card:

Family holiday card
Technically, we sent this in 2014.

The trick is to use normal-looking images of us, with a little something extra going on (that you may not notice right away.)

Continue reading “A Very Vickers Holiday Card”

Are You Orna-Mental?!?

I don’t know if you get a little freaked out by figuring out appropriate gifts for everyone, but I do. The big question on my mind this week was what to do for my daughter’s daycare class.
I tend to get a little OCD and go overboard for acquaintances, which I’ve learned can come off as overbearing or even overwhelming. Trying to come up with something that’s kind, thoughtful, dietary-friendly, not too difficult to make, but not boring is tough!

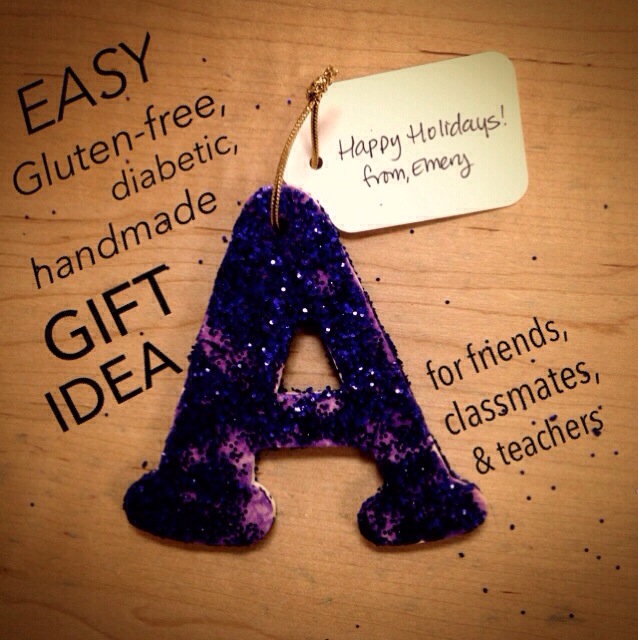
DIY ornament gift
PROS: cheap, easy, non-allergenic, kid-helpable, non-denominational. CONS: None! Especially if you love glitter on everything!

It hit me in a flash: initial ornaments! At JoAnn fabrics, they have cute balsa wood letters for $1.35. I picked up some sparkle paint, purple glitter, and gold cord for hanging. The only real work was drilling the holes, which I did while kiddo was at school. The backs splintered a little around the holes, but filled in nicely with glitter! So we painted, glued, and glittered for about 10 minutes, and were DONE! After it dried, I tied on the gold cord with a simple gift tag (left over from my business card project). Voila! Glitter bombed, but a simple gift for any denomination.
What are your favorite mass gifts you like to give (or have received)?

Start with crayons

The Easter Bunny Doesn’t Poop Chocolate

I know that a mythical bunny leaving candy-filled plastic eggs on your lawn has nothing to do with religion. But it’s a tradition that I love and I love that my daughter is old enough now to get into it. What I don’t want her getting into is a sugar-induced-toddler-frenzy ending in some form of tragedy. So even though I bought 12 different kinds of Easter candy to decorate cupcakes, very little of it is going into those aforementioned eggs. I’m stuffing those plastic vessels with fun non-chokeworthy gifts, including hair ties, stickers, and DIY crayons.

This post is about the crayons I attempted to make. Some were successful. Some were pitiful.

I should have found these tutorials (SheKnows, MakeandTakes, GabrielsGoodTidings) before starting, but as usual, I thought I’d just figure it out and forge ahead.

But here’s what I did:

1) You’ll need: crayons, a silicone mold (for making confections), a ziploc baggie, a cookie sheet, and a blunt object (to smash crayons). Optional: exacto knife to slit crayon peels. And you’re smart people–you know which to give your kids and which to keep away from them.

2) Preheat your oven to 225-250.

3) Follow along:

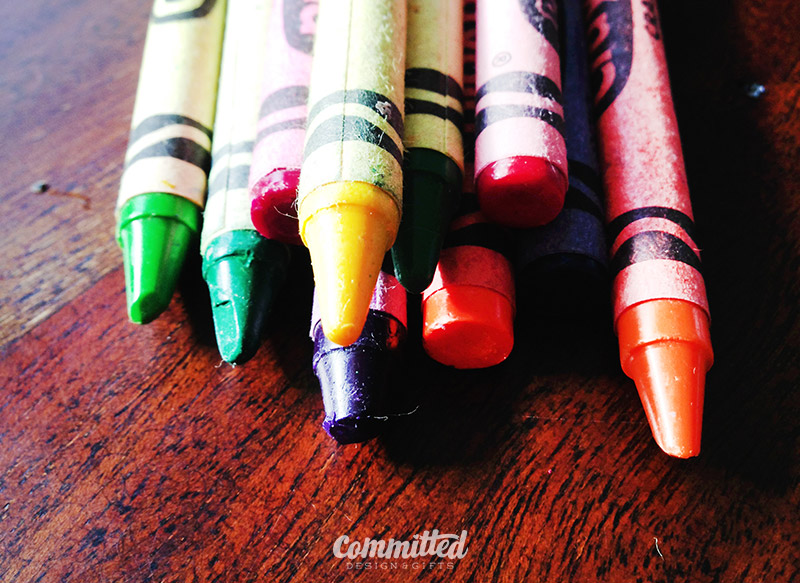
Start with crayons
Start with crayons, broken or whole.
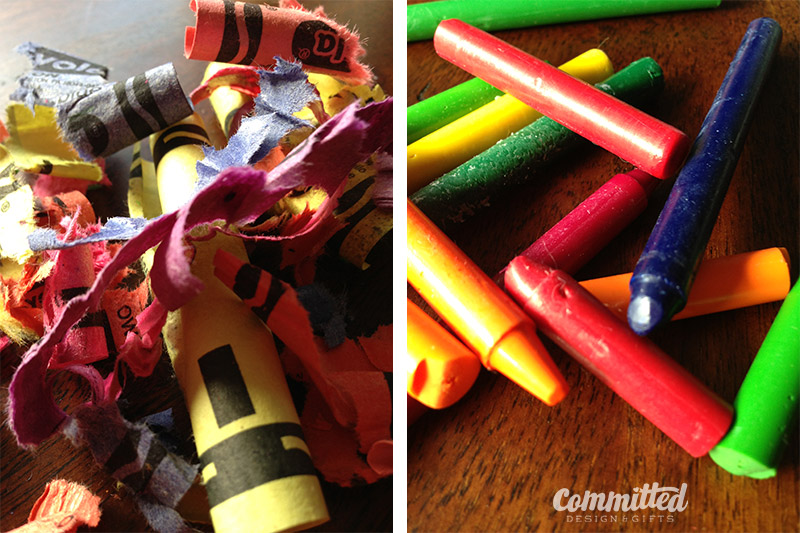
Peel your crayons.
Peel. This can be made easier with an exacto knife.
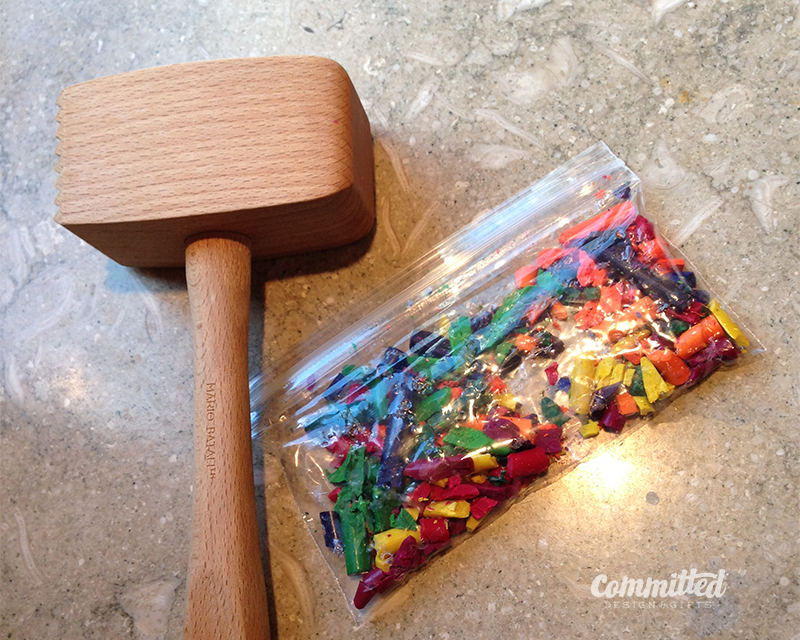
Crush 'em. I just put them all in a baggie and smashed with a meat tenderizer. You can keep colors separate if you like.
Crush ’em. I just put them all in a baggie and smashed with a meat tenderizer. You can keep colors separate if you like.
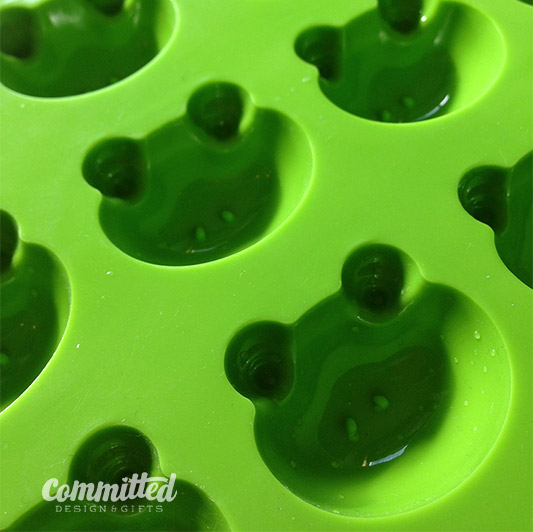
Froggy mold for DIY crayons.
This froggy mold came from Japan, but you can get silicone molds at Ikea.
Melt the crayons.
Melt ’em. Fill the molds completely. This was about 5 minutes into baking.
Fill your molds completely.
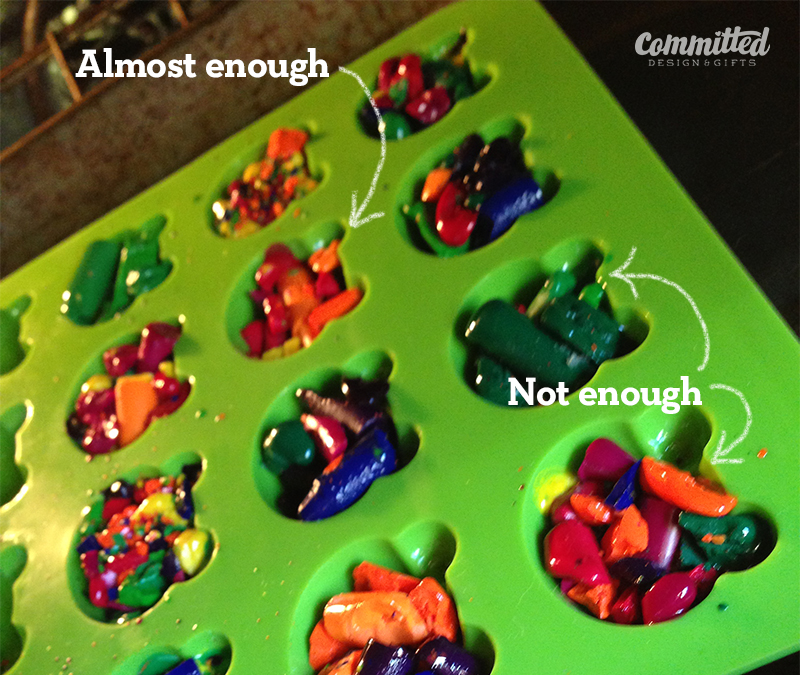
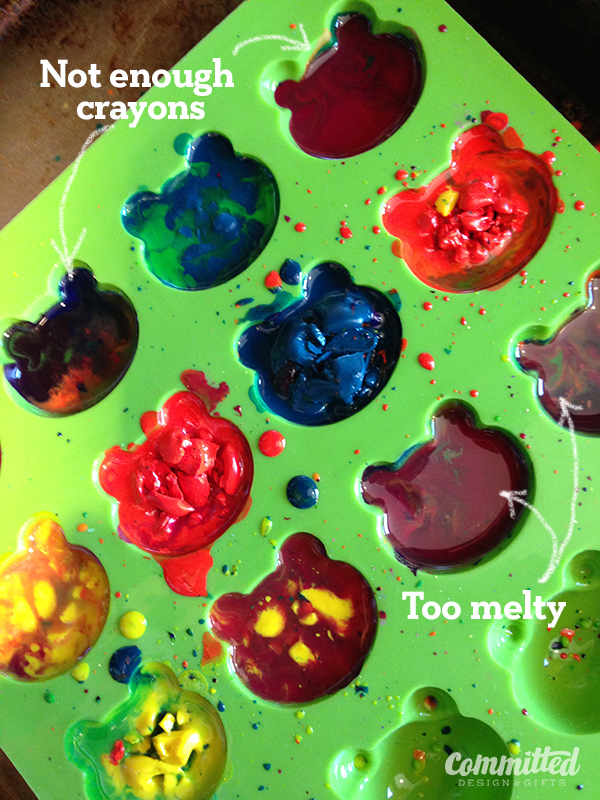
I tried adding more bits halfway through. I do not recommend this. Just fill them enough at the beginning.
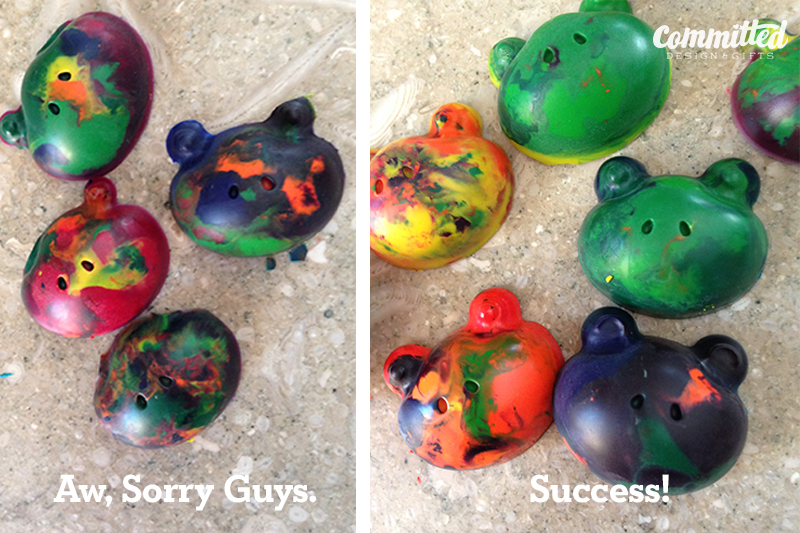
Some good, some bad, some ugly DIY crayons.
Some came out, some did not. Read my tips below.

Basically, I’d recommend filling your molds overfull. Don’t let them melt to liquid because the colors get really muddy. It’s fun when they swirl a bit, but too much and it’s not as pretty. But what toddler really cares? Right? And don’t (like me) try to add more chunks halfway through to make the molds full. Basically, you’ll have a liquid mess at the bottom, and crayon chunks on top.

Overall, this was super easy. It took about 15 minutes altogether and could be fun to do with the kiddos.

We’ll see what mine thinks of the Easter bunny after she opens her eggs!

All Supermoms Cheat

I am staring down a chillingly long to-do list tonight and on it: “Bake cookies for Teacher Appreciation Day” at my daughter’s daycare. Oh HELL no.

Here’s the thing. I LOVE her teachers. They’re amazing. They go far beyond what I could do as a parent, and I am so grateful. But do you think they’ll understand that less if it’s not home-baked chocolate chip cookies I bring to their break room? No. So, I’m going to do what any true Supermom would do in this type of situation. I’m gonna cheat. I’m {gasp} buying cookies. Tomorrow morning. On the way to school. Like, not even ahead of time.

Believe it or not, this is a total Supermom move, and I’m not ashamed. Kittens will be rescued, fires will be put out, and I will still appropriately show my gratitude to people I appreciate. The time savings will be enough to allow me to press my cape and polish my belt. And tackle that massive pile of laundry tonight. To the Grocery Store…and Beyond!

via anenglishwomaninsalem.wordpress.com