Tag: crafts

Flubber Valentine

I Flubber You: Valentine for Kids (& Free Printable!)

***Originally posted February 12, 2014***

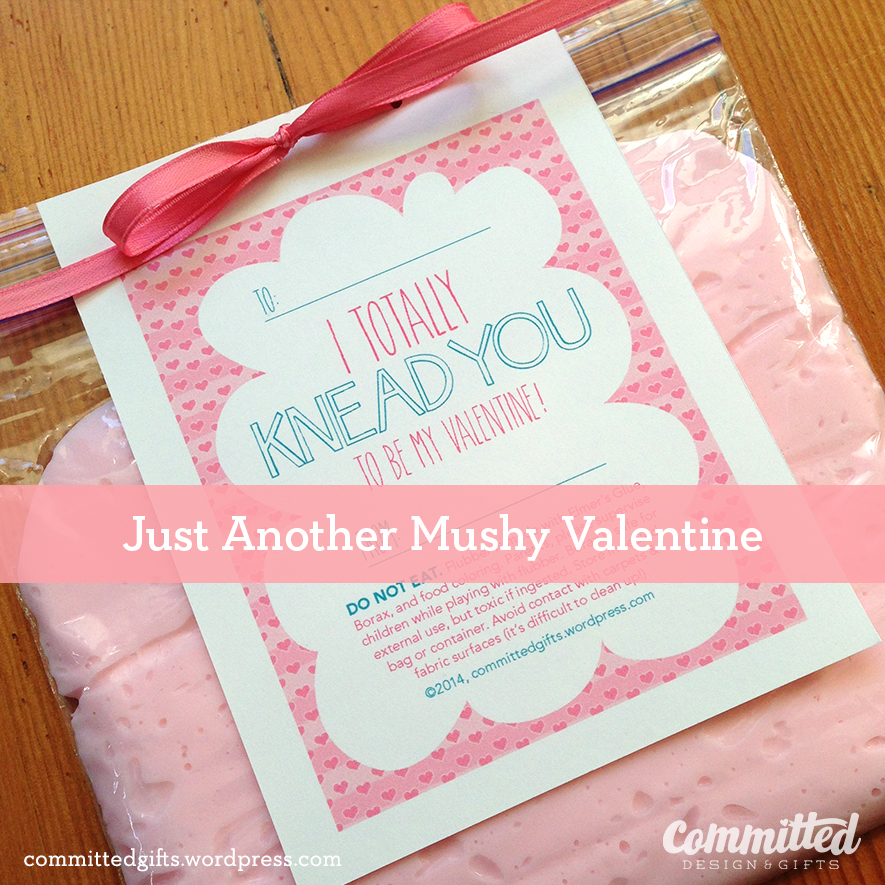
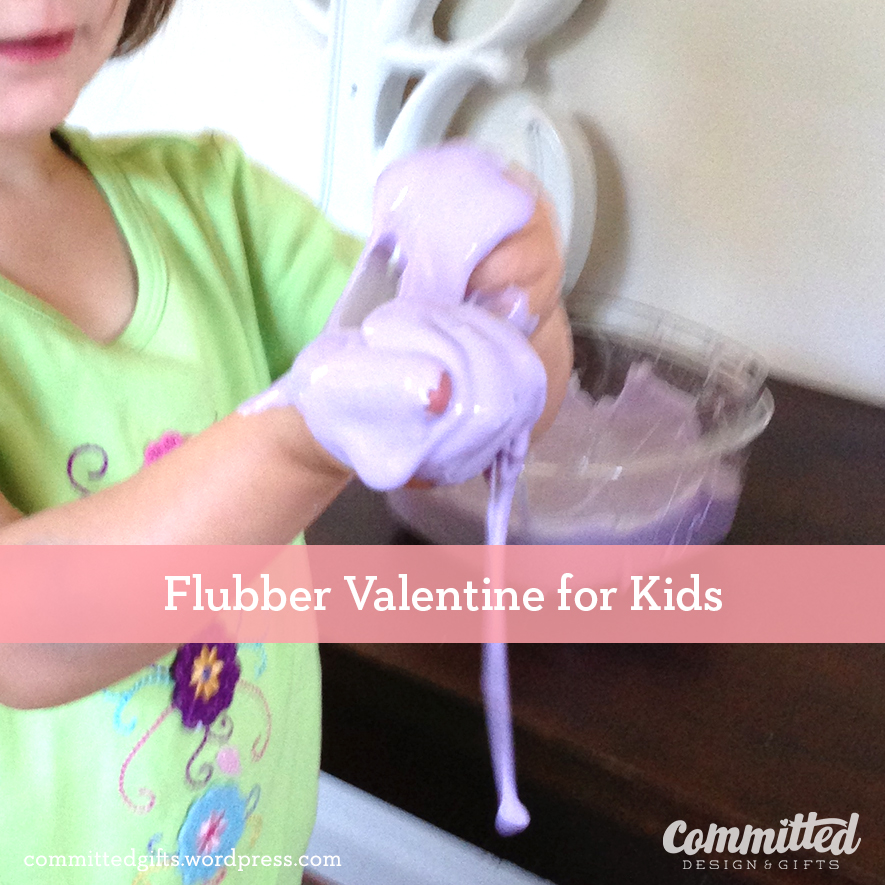
It’s a last-minute post, but I *just* figured out how to package this up. You’ve probably seen “Flubber recipes” all over Pinterest. The basic idea is to mix Elmer’s glue, warm water, and food coloring in one bowl, and water and Borax in another bowl. When you combine the two, you get Flubber! We made some over the summer, and the kiddo LOVED it. We had it in a tupperware container, and it lasted for months.

As you’ve seen before, I’m a fan of simple gifts that aren’t necessarily food when giving gifts to classmates. I’m just wary of dietary issues, and creating the expectation that all celebrations have to involve sugary treats! (What a party pooper!) But really, I want to give things that kiddo can help make, and that are an alternative to the inevitable influx of candy. (Trust me, I LOVE the candy…) So I thought giving out homemade flubber would be a great gift for 2-3 (or 4 or 5 or 6) year-olds.

Kids love flubber
Who doesn’t love playing with goop?

Continue reading “I Flubber You: Valentine for Kids (& Free Printable!)”

Makeover Monday: DIY Greeting Cards a Toddler Can Make

I’ve been meaning to post these a while back, but I figure since Mother’s Day is coming up (hint…hint), I figured this would be a timely post!

I figured out an easy way for your young’n to help make a legible greeting card for any occasion, and it’s quick! You don’t need any artistic skill whatsoever, just a little patience to let the paint dry. The pictures are from a farewell gift for one of my daughter’s teachers. She was wonderful, and was leaving daycare to pursue her advanced degree.

Tutorial: DIY Greeting Cards
Even very young children can make a legible card!

Continue reading “Makeover Monday: DIY Greeting Cards a Toddler Can Make”

Free DIY Advent Calendar for Kids

Now that the holidays are over and we’re deep into January gloom, I can reflect on our first Advent-ure with an advent calendar. (See how I did that?) I wish I could tell you that I had a deep understanding of the advent tradition. In my family, it was just a countdown to Christmas. Some years my great aunt would send us a calendar with a little chocolate behind each day, and most years, we’d move a small teddy bear around an advent quilt. Since I didn’t want to get the kiddo all sugared up every night before bedtime, and I don’t have the skills to make an advent quilt, I decided to go with what I know: Post-Its and doodles.

DIY Advent Calendar
All you need is some poster board, Post-It notes, and markers (maybe stickers too, if you’re feeling crafty)

Continue reading “Free DIY Advent Calendar for Kids”

I can stop procrastinating tomorrow

Hi, I’m Jen. I’m a Projectaholic.

I was trying to think of new names for my stuff…you know, the social media stuff. Committedgifts is indeed a terrible name, but the only one I could come up with that contained my business name, Committed, and no ridiculous Committed1357xxysz.com. Committed makes a lot of sense for who I am and what I do, but that name as a URL was snatched up some time in the early 90’s. So I’m kind of stuck with “committedgifts”…except.

Twitter and Instagram allow you to change your username. It took the usual brainstorming tricks & techniques to narrow down what my posts are all about. I realize I’m all over the place: fitness, gardening, DIY, kid activities, crafts, thrifting, food, travel. That much diversity is kinda bad in BlogLand, but it’s who I am. I’m addicted to projects.

I kind of suspected this, but it was confirmed when I overheard the cleaning ladies (yes, we have them come twice/month, which is the BEST investment for a marriage) saying, “She’s always working on SOMETHING.” The ‘She’ being ME. I start a TON of projects. You know how it goes–you get an idea to solve a problem. You get excited that the problem can go away. You shop, prep, maybe even start, then…another problem pops up requiring your attention.

For example, in addition to my freelance work, I have about 4 personal projects going at the same time (which I agree is cuckoo):

1) Maintain, Don’t Gain Holiday Challenge (I know you’ve been following along!)

2) Advent activities for the kiddo (a post to come when we’re done):

Free Advent Calendar
Use leftover poster board, Post-Its, stickers, and Sharpies.

3) 10-Minute Post-It
    I take 10 minutes, and a Post-It to sketch out whatever’s on my mind. I post to Instagram and collect those sketches (and friends’ sketches) on a Pinterest board. This is more of a side project I started to get the cobwebs out. A whole large page seems to be a little intimidating, but limiting the size and amount of time seems to make me loosen up. #10MinutePostIt

I can stop procrastinating tomorrow
I feel like this every day.

4) And of course, yesterday, I decided to paint the dining room and the socket covers so we look like we have a big girl house.

Fresh paint
Nothing looks sweeter than a fresh coat of paint.

Oh yes, and there are still Christmas gifts for friends, our annual holiday card, and probably another organizing project lurking in the darkness…So. I had to admit it. As someone addicted to projects. I am Jen. And I’m a Projectaholic.

Now you can follow me on Instagram (@projectaholic) and Twitter (@projectaholic). And you can still like Committed on Facebook. 🙂

Gift tag business cards.

Crafted Connections (and a DIY Business Card Tutorial)

I should be a self-help junkie. I love going to events, getting sparked by a lecture, meeting fascinating people and gleaning knowledge from their stories. But I’m not a kool-aid drinker…yet. Last night I attended Crave’s Urban Campfire, where incredible women opened their hearts and shared their vulnerability to empower the rest of us. (Okay, I sound like a kool-aid drinker for sure.)

I want to process some of what I learned in that event before I write about it, so I thought I could at least share with you my process for making my own business cards.

But I can get cards on VistaPrint for like free, right? Yes, but as a designer and whatever else I am (still figuring that out…cough…cough), it doesn’t reflect ME to do that. I make stuff. I solve problems.  If you are in a creative industry, or thinking about getting into one, perhaps you can think beyond the card too!

I also disobey the rules and change the look of my cards and online presence ALL THE TIME. I don’t think there’s anything wrong with it, since to be honest, I’m still figuring out who I am and what I do (or really, what skills I have that I want to sell). So, enough kool-aid, on to the tutorial…

I decided a few months ago to try using stickers as my card. I remember seeing a designer who had taken other peoples’ old business cards and slapped a sticker with his information on them–the ultimate in recycling. It appealed to my inner greenness and opened up some possibilities.

So I whipped up a pattern, printed on both sides of Bristol board, then printed stickers on the full-sheet Avery labels, and made these:

First try at DIY business cards
Too much cutting, not enough time.

Cute, but SUCH a time-consuming venture. Plus, the white of the sticker was a little transparent, which meant that I could see the pattern through the logo side. It wasn’t exactly right for me. My final complaint? The pattern wasn’t as vibrant as I wanted. I like to think of Committed as colorful and fun. This fell a little short. Luckily, DIY means small quantities, so no harm, no foul.

Moving on.

Upcycled business cards.
Next attempt: upcycled pulpboard with ribbons.

I had a bunch of pulpboard lying around, and figured, hey, let’s use it! So I went bolder with the colors, and added a ribbon, since hey, it’s cute, and my domain name is Committed GIFTS. Gift tag, get it?

Even though I LOVED how these turned out, they were a colossal pain in the ass. (That’s P.I.T.A. for short). I used the same Avery labels, which required tons of slicing. The cardstock was so thick, it took several passes to cut, then the ribbons were slippery. In the end, they were so thick, I could only gracefully carry a few around at a time. It wasn’t worth it.

FINALLY…

I figured it out. Buy PRE-CUT stuff, Smarty! The cutting was the biggest time-suck. You can learn from my mistakes! This is easy, and really cute. Plus, you could do this for actual gift tags, mommy cards, basically anything. Easy easy easy.

Materials (I’m linking to these on Amazon, but they are not affiliate links, for reference only):

I have 10 years in graphic design and mockup experience. All of these tools are incredibly useful in making a clean, crisp product. It takes practice and patience, but when you get the hang of cutting and folding carefully, you can make it look like it wasn’t handmade.

Tips:

  • Alwaysuse a fresh blade. As soon as they start to get dull, swap them out. They tear your precious printouts and take more of your time. Isn’t it worth the extra 10 cents to do it right?
  • Hold the ruler upside-down (smooth side down) and press down hard to get a perfect straight edge for cutting and folding. When you place it cork-side-down, the gap allows your blade to travel side to side a little. If you make more than one pass, you end up with slivers of paper.
  • Be gingerly. Don’t cram your blade in and go for it. Take a couple of light passes to make your cuts. You’ll get a feel for how deep to go to get a nice edge.
  • Practice printing on regular paper to make sure everything lines up. Then set your print settings to “highest quality” and make sure you’re feeding the sticker sheet properly.

Tutorial:

Print your stickers first. Use high quality settings.

To fold the stickers in the right place, line your ruler up with the fold and stick it through the paper at the top and bottom.

Mark the fold.
Mark the fold on your printout.

Flip the sheet over, line the ruler up again, and score the page. Hold your ruler down tight, and press the bone folder (or credit card) against the edge. Take a few passes to get a nice score.

Score the back by pressing down with the bone folder. Use the ruler as a guide.

Keep that ruler in place! Take your bone folder and slide along the underside of the sheet to start to fold it up. Do this in several steps, as folding too quickly can cause the printout to crack.

Folding.
Take several passes to fold the sheet.

Flip over the sheet.

You’ll notice that the edges of the stickers may not have printed. Not to worry, we’re slicing those off.

Hold your ruler down (face down) along the edge to slice. Use your Exacto knife carefully and take 2-3 passes to slice each edge.

Slicing your stickers.
Flip it over, and slice the rounded edges off.
Stickers are prepped.
Folded, trimmed, and ready to paste!

See how helpful that all was? You successfully prepped 20 stickers in just a couple of steps. This was seriously SO MUCH FASTER than how I was doing it before. At this point, I grabbed a stack of tags and sliced off the string that came with them. I didn’t think it added anything (I mean, it’s no magenta ribbon, right?) and moved on to sticking the stickers on the cards.

Okay, now line up the fold of your sticker with the edge of the card. You can eyeball it for centering.

Sticking the sticker to the card.
Eyeball it to center it.

It’s not PERFECTLY centered, but it’s so close. The important part is to not have your sticker hanging off the edge at some weird angle.

Gift tag business cards.
Finished! Gift tag business cards!

And there you have it! I like the unique shape of the tags, and the color shift from front to back. It was tough to decide what to include on the cards, but as you can see, I focused on social media touch points for these.

As I said, these can be for actual gift tags…or even to label your kool-aid.

A final note: I’m not including a template because (a) Avery has the tools you need to design these online or in Word or Illustrator and (b) this was a custom project. Who you are and what you want to say about yourself should be unique to YOU. So go to town! Design something awesome!

Gingerbread House Party Guide

It’s sadly belated, but I’m finally posting my guide to hosting a successful gingerbread house party for grownups.

As I mentioned in this post, I revived my mother’s holiday tradition of hosting gingerbread house decorating parties for me and my friends by creating a grownups-only version 5 years ago. I don’t know if it’s the nostalgia, the tradition, or the few uninterrupted  hours of just-for-fun crafting and hanging out with friends that makes it something I look forward to every year.

2008 Gingerbread houses
First party: A friend and I pre-made all 16 houses and guests decorated. I’m never doing that again.

There’s quite a bit of prep, however, so I figured I’d share my tips and tricks with you in case YOU lovely readers decide to someday host your own version of this party. Now that I have 5 parties under my belt, I’ve got it down to a pretty efficient science. Continue reading “Gingerbread House Party Guide”

Gingerbread House Party Inspiration

A fond memory of my childhood is the annual gingerbread house decorating parties my mom would throw for me and my closest friends. We’d each get a preconstructed graham cracker house, some frosting, and bowls full of candy for decorations (and snacking.) It was fun to be creative, spend time with friends, and have a festive masterpiece to enjoy for the rest of the season!
5 years ago, I decided to revive the tradition with my grownup friends. Instead of sodas we drink bubbly and the themes range from political to whimsical. But before I share my Gingerbread House Decorating Party Guide, I’ll share some inspiration from Seattle’s Gingerbread Village.

20121129-213801.jpg
I’ve never seen jelly beans, ice cream cones, licorice, and mini Hershey bars make such a lovely castle.

Continue reading “Gingerbread House Party Inspiration”