Category: Home

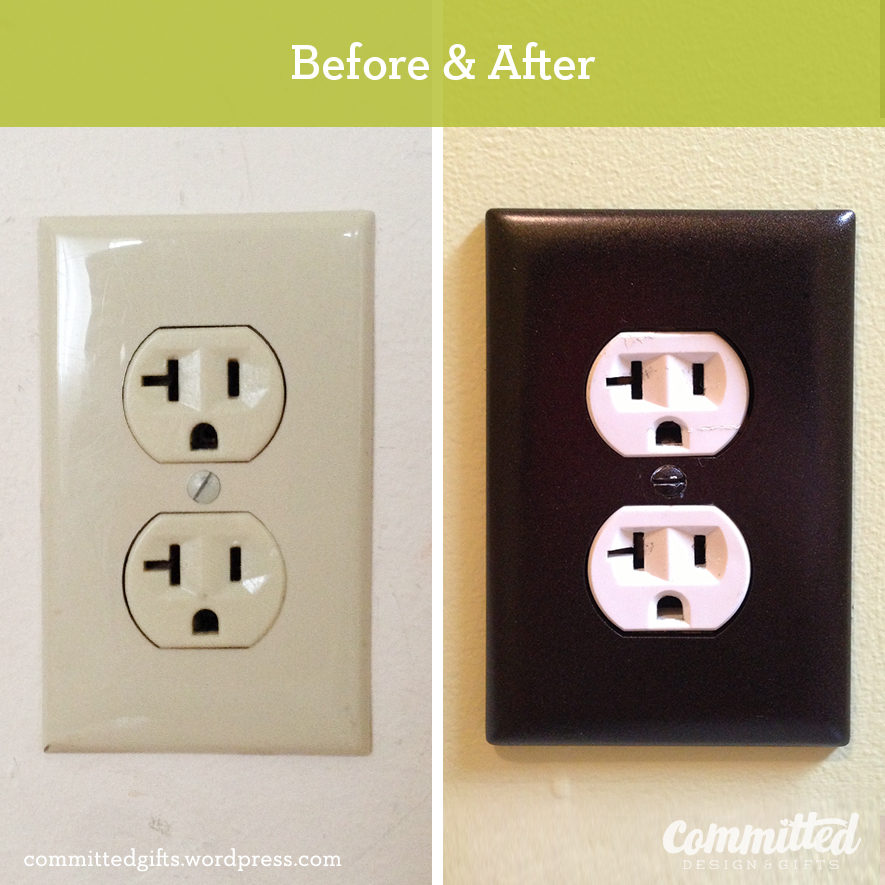
Before & after

Makeover Monday: Flip the Switch on Switchplates

Paint your switchplates
For about 11 bucks and 2 hours, you can freshen up a room.

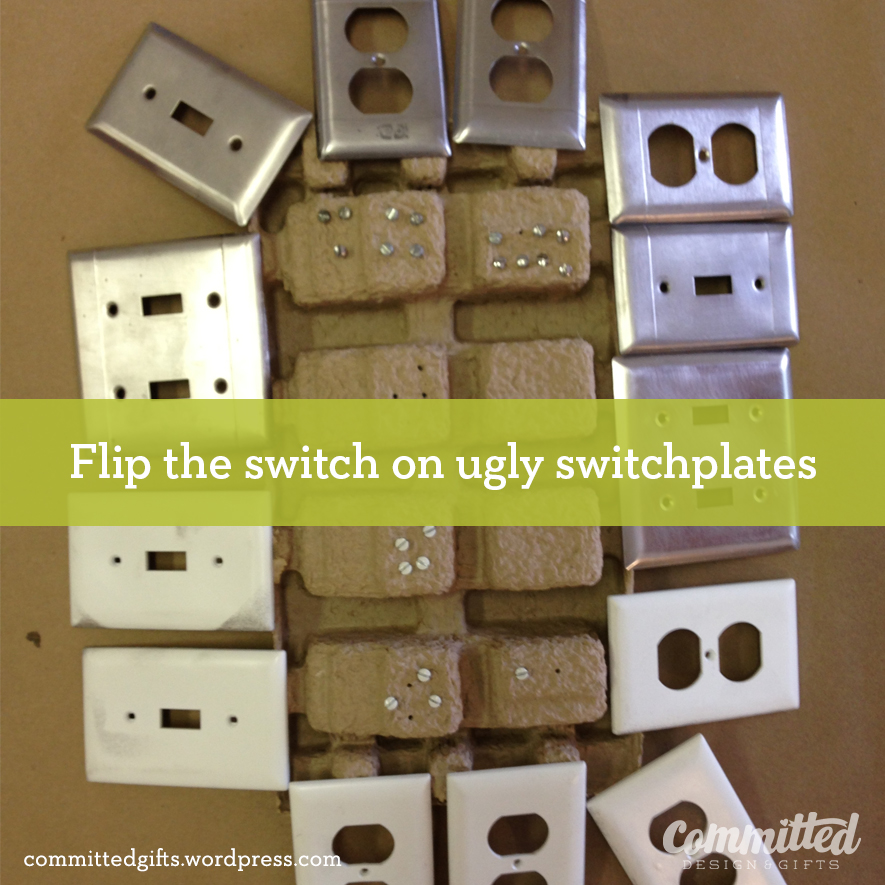
One of my favorite inexpensive makeovers to do for a room is to paint the switchplates. You know, the ugly, yellowing plastic covers for your plugs and light switches? I got this idea because when I touched up our basement, I found that we had like a THOUSAND different switchplates: aluminum, yellowing plastic, grayish plastic, whitish plastic. All of them were beat up and, well, hideous. Replacing all of them would have been pricey and unjustifiable to my husband, who, bless his heart, couldn’t care less about a little detail like that. I like the look of the oil-rubbed bronze, plus we have several light fixtures around the house in that finish. When I looked at buying new ones, the 2-plug covers and light switches were about $3 each, and the specialty multiple plug/light switch combos were $8 or more. Yeah, dumb to pay that much.

Continue reading “Makeover Monday: Flip the Switch on Switchplates”

I can stop procrastinating tomorrow

Hi, I’m Jen. I’m a Projectaholic.

I was trying to think of new names for my stuff…you know, the social media stuff. Committedgifts is indeed a terrible name, but the only one I could come up with that contained my business name, Committed, and no ridiculous Committed1357xxysz.com. Committed makes a lot of sense for who I am and what I do, but that name as a URL was snatched up some time in the early 90’s. So I’m kind of stuck with “committedgifts”…except.

Twitter and Instagram allow you to change your username. It took the usual brainstorming tricks & techniques to narrow down what my posts are all about. I realize I’m all over the place: fitness, gardening, DIY, kid activities, crafts, thrifting, food, travel. That much diversity is kinda bad in BlogLand, but it’s who I am. I’m addicted to projects.

I kind of suspected this, but it was confirmed when I overheard the cleaning ladies (yes, we have them come twice/month, which is the BEST investment for a marriage) saying, “She’s always working on SOMETHING.” The ‘She’ being ME. I start a TON of projects. You know how it goes–you get an idea to solve a problem. You get excited that the problem can go away. You shop, prep, maybe even start, then…another problem pops up requiring your attention.

For example, in addition to my freelance work, I have about 4 personal projects going at the same time (which I agree is cuckoo):

1) Maintain, Don’t Gain Holiday Challenge (I know you’ve been following along!)

2) Advent activities for the kiddo (a post to come when we’re done):

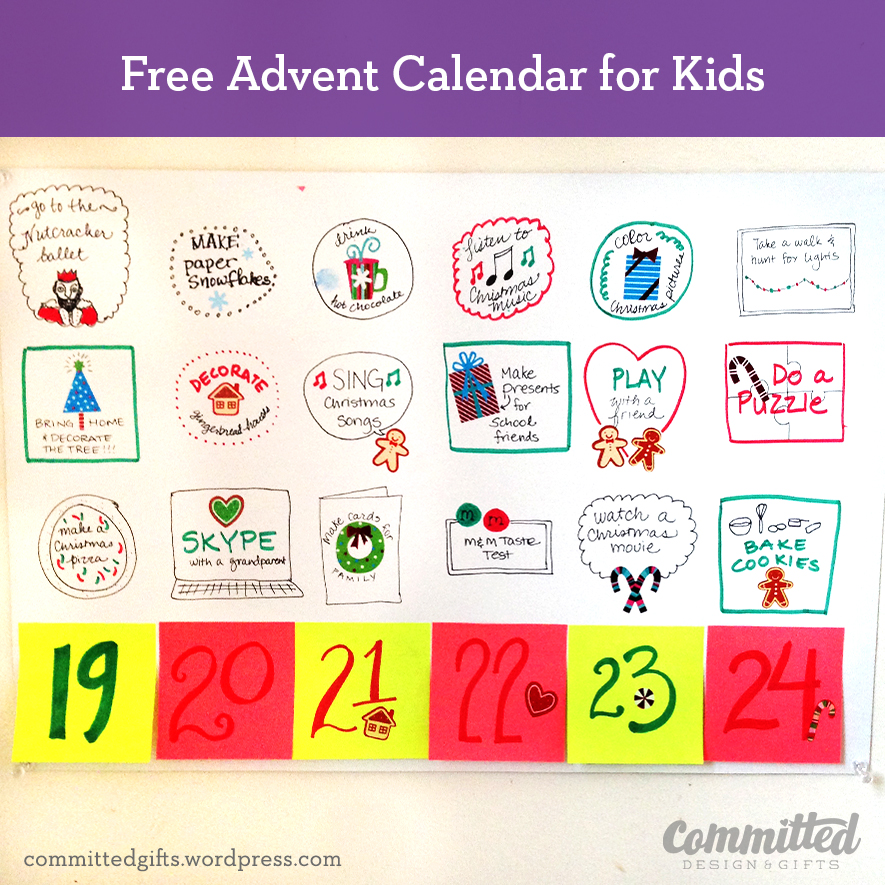
Free Advent Calendar
Use leftover poster board, Post-Its, stickers, and Sharpies.

3) 10-Minute Post-It
    I take 10 minutes, and a Post-It to sketch out whatever’s on my mind. I post to Instagram and collect those sketches (and friends’ sketches) on a Pinterest board. This is more of a side project I started to get the cobwebs out. A whole large page seems to be a little intimidating, but limiting the size and amount of time seems to make me loosen up. #10MinutePostIt

I can stop procrastinating tomorrow
I feel like this every day.

4) And of course, yesterday, I decided to paint the dining room and the socket covers so we look like we have a big girl house.

Fresh paint
Nothing looks sweeter than a fresh coat of paint.

Oh yes, and there are still Christmas gifts for friends, our annual holiday card, and probably another organizing project lurking in the darkness…So. I had to admit it. As someone addicted to projects. I am Jen. And I’m a Projectaholic.

Now you can follow me on Instagram (@projectaholic) and Twitter (@projectaholic). And you can still like Committed on Facebook. 🙂

A Tisket, a Tasket, Bags go in the Basket

In Seattle city limits, plastic bags are ILLEGAL. You go to jail if you are caught smuggling those into a supermarket.

Not really. It’s just that stores aren’t allowed to use them any more. There’s no more “Paper or plastic, ma’am?” happening. It’s “Did you bring your bags today?” now. The choices for bagging your purchases are:

  1. Pay a 5-cent tax and have the store give you paper bags
  2. Bring your own shopping bags

Mind you, this isn’t just for groceries. It’s for EVERY STORE. You wanna drop $300 on clothes? Better fork over a nickel for a paper shopping bag. Forget your bags at the checkout? Feel the disapproval and shame of your checker as they give you dirty looks and spitefully add the nickel tax to your purchase. (Honestly, I’d pay A DOLLAR to end the harassment that is associated with forgetting your shopping bags.)

It’s a little ridiculous, but honestly, I agree with getting rid of plastic bags. They’re handy, but overall evil. Don’t let me hop up on my soapbox about the Pacific Gyre, or Midway Island albatross population

Regardless, the reusable shopping bags are a hassle. And they end up ALL. OVER. OUR. HOUSE.

Keeping it real:

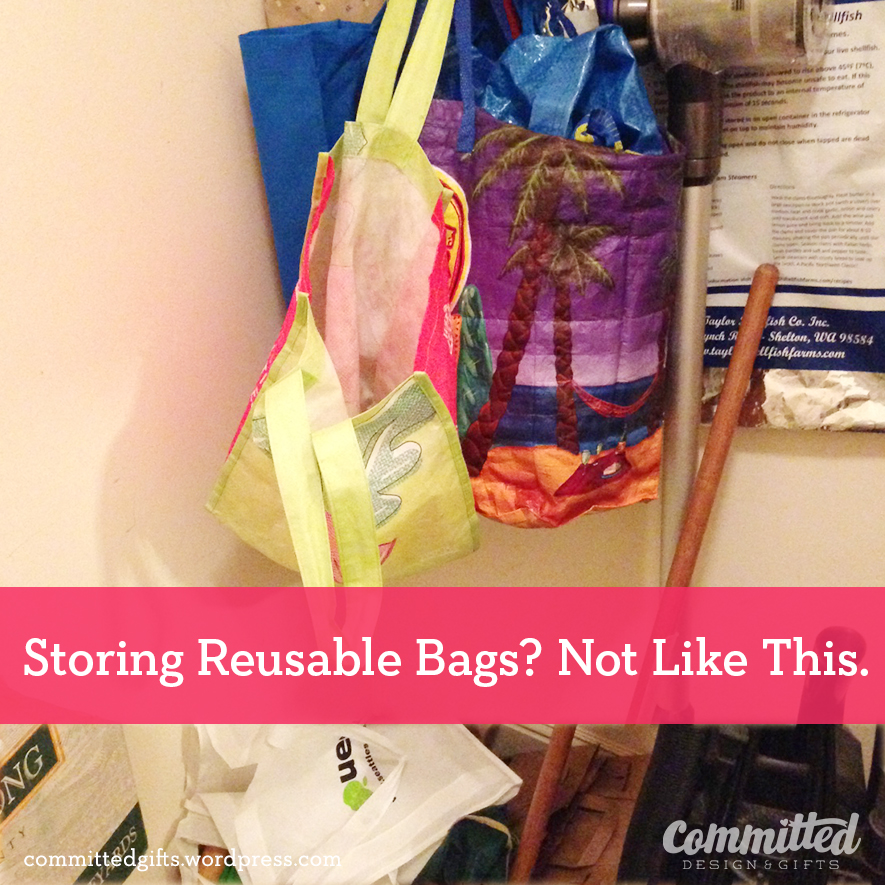
Do not do: store grocery bags on hooks
The grocery bag monster hanging over a paper bag molehill.

The family who owned our house before us were OBSESSED with hanging hooks. They’re on all the doors (some doors have 2 racks), several walls, in the bathrooms…It’s a little odd, if you ask me. I thought it would be a handy spot for storing all these bags, but it just became a hanging bag monster hovering over a brown bag molehill in our closet. Annoying. A little dangerous. Inconvenient.

I hunted for a tall, not-too-deep basket at Goodwill, but came up short after a couple (ahem, 3) visits. At Ikea, I finally found this:

Storage for reusable bags: from Ikea
Knarra basket from Ikea. $14.99 for handy reusable bag storage.

It’s a little more than I wanted to spend, but hey, what price can you put on sanity?

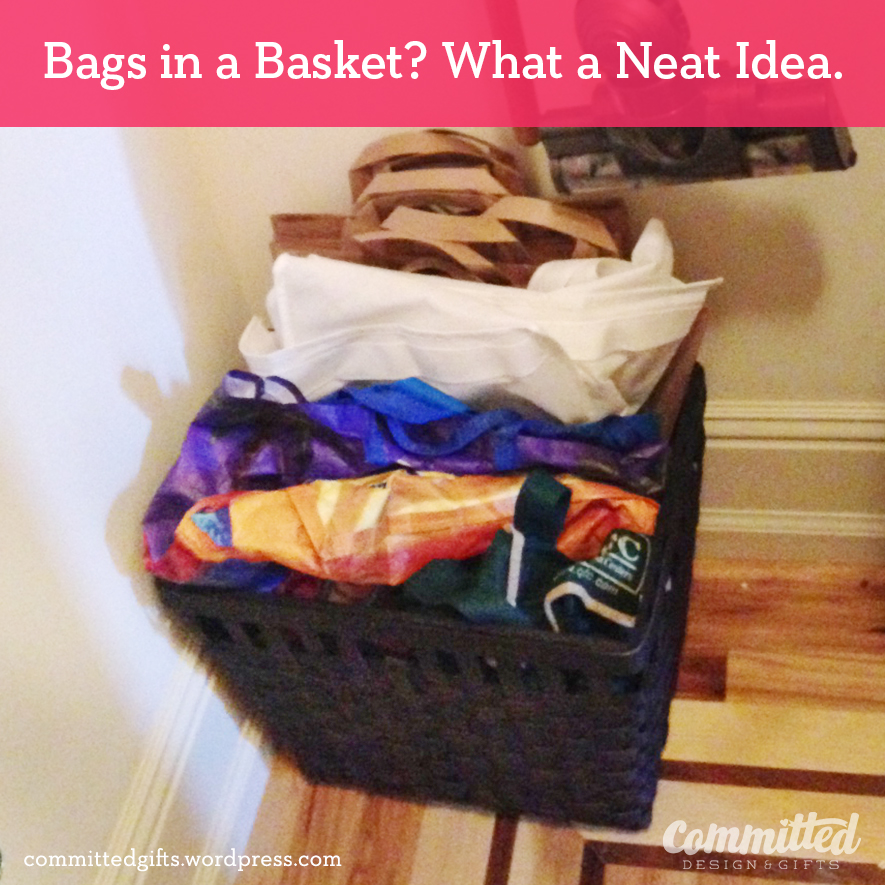
The result? Paper AND reusable bags, living in harmony.

Get organized: stash bags in a basket.
Can’t we all just get along?

Just fold in half and tuck it in. Or, just ball it up and cram it in (which is what I’m sure will be happening after our next shopping trip).

Do you use reusable shopping bags? How do you keep them from taking over your house?

Sure-Fire Picture Hangin’

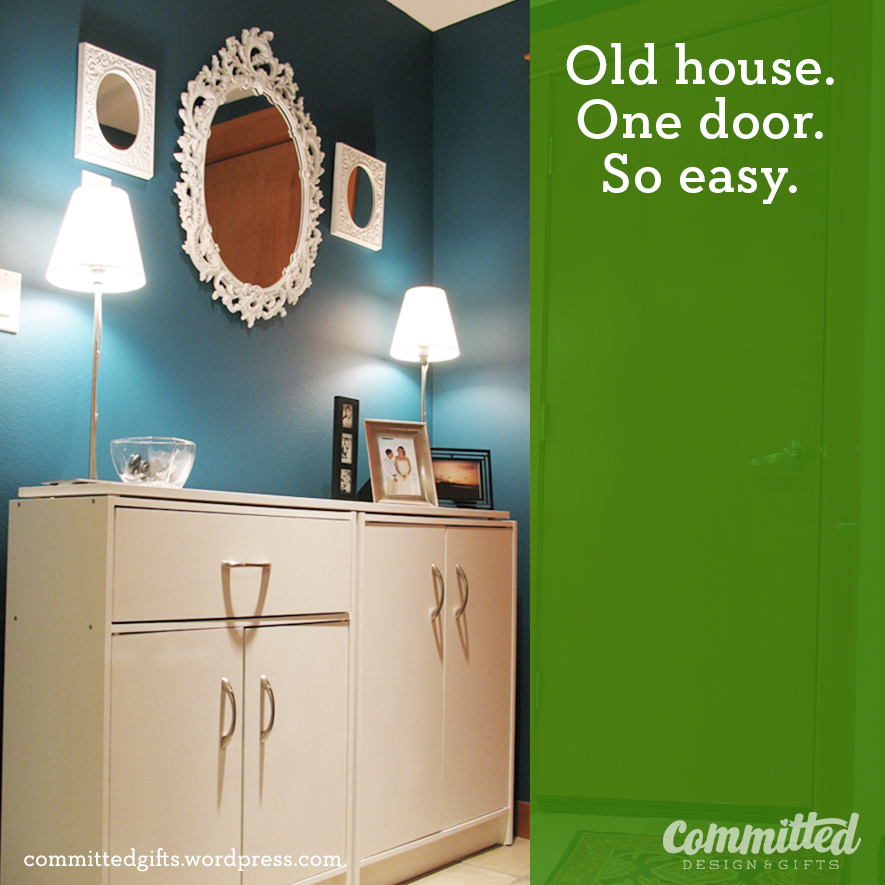
We’ve been in the new house for a month now, and I’ve learned that we’ve already established new habits. In our old house, we had one door to get in the house. This was great for organization, because I was able to create a “landing strip” for our keys, mail, and other stuff that comes in the house.

One place for keys and mail
Behold the glory of the single “landing zone.”

I’m pretty proud of this project, and should probably post before and after pics in another post.

Back to the new house: now we have a house with a front door AND a garage door. And now I come in the garage 90% of the time, which is 2 rooms away from the front door. So what happens when I come in with arms full of crap? It all lands on the kitchen counters, dining chairs, and kind of everywhere. Continue reading “Sure-Fire Picture Hangin’”

Home, Sweet Homework

We are officially moved into our new house!

This truly is our “forever home,” and all three of us are almost giddy every time we walk through the door. There are tons of beautiful features, but mostly it just feels like home. Know what I mean? It was one of those this just feels right kind of places. Another bonus? Projects! Lots of ’em! I’ll be posting things here and there, since we hopped on the project train before even setting foot in the house as owners.

I don’t know what spurred me on, but I had the crazy urge to get shit DONE before we moved in. I guess I just know how crazy and messy life gets with my projects and the toll it would take on the fam (sorry, guys…it’s an addiction!) Plus, I had to promise to ONLY START A PROJECT WHEN THE OTHER ONE WAS FINISHED. This is hard. But I’m doing my best. Anyway, the first project was hiring a painter to do the trim.

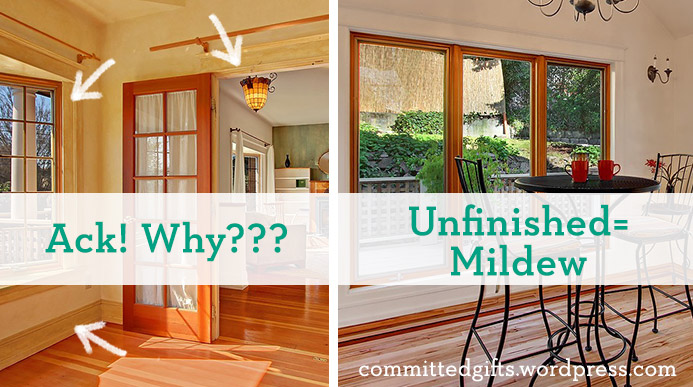
Seriously, guys. It was pretty bad. Faux marbling, odd continuity choices, or total emission of paint/finishing altogether. I had 2 days available between getting the keys and getting the cleaners in, so we had to be choosy. I picked the trim in the front room, office, and sitting room. (OMG we have a sitting room! So fancy!)

Faux finish trim color.
I’m a firm believer in contrasting trim. And keeping things simple. And not this.

The pic above is just a teaser–I want to finish those a little more before posting pictures, but I thought you needed to see what we were working with.  Continue reading “Home, Sweet Homework”

Moving Pictures (Without the Popcorn)

As I mentioned in my previous post, we are moving. In 3 days.

I’ve avoided moving for the last 6 years, and it’s been so nice. I’m no stranger to changing domiciles–since moving out for college, I’ve changed addresses TWELVE TIMES. And that doesn’t include the time my roommate and I decided to swap floors in our townhouse. 3 of those moves were in the span of 6 months, when we first came to Seattle. Needless to say, I fucking hate moving.

I prefer living outside the box.

Luckily, this time we have the means to hire a crew to pack, move, and unpack us. It doesn’t mean we can bleed money, however. I’ve learned a few things about the local moving process and thought I should share with you lovely readers. Continue reading “Moving Pictures (Without the Popcorn)”

A Liebster Award…For Me?


I’ve been on vacation (still am), but really needed to get this post together! Patricia Davis, aka TheDoGooderMama, nominated this blog for a Liebster Award, which was such a nice surprise, especially when I’ve been neglecting this project for a couple of weeks.

Though I’ve been writing on this blog for a while, I’m just starting to “get” The Big Idea–it’s about connecting with other readers and writers who have similar (or different) ideas. I’m so glad I’m finding more and more parents out there who have interesting projects, perspectives, and insight.

What I think is so nice about this award is:

– It gets me to share more of myself with readers
– Allows me to share blogs that I’ve started to follow and would like to share
– Just gives a warm fuzzy feeling to know that someone is reading this!

Here is the background info of the Liebster Award from TheDoGooderMama:

Lori Leigh Wilson  bestowed this honor on me and it just tickled me pink.  How nice to be picked out of the sea of bloggers as one worthy of a Liebster Award!!!

Liebster Awards go to “up and coming” bloggers with less than 200 followers.  The origins of this award are unclear and are simply given by fellow award nominees to blogs that inspire them and that they enjoy reading.  “Liebster” means sweetest, kindest, nicest, dearest, beloved, lovely, kind, pleasant, valued, cute, endearing, and welcome in German.

liebster

When you receive a Liebster Award, you have to give 11 random facts about yourself, answer 11 questions posed by the nominator, nominate 11 other blogs, and pose 11 questions for your nominees.  Here we go…..” Continue reading “A Liebster Award…For Me?”

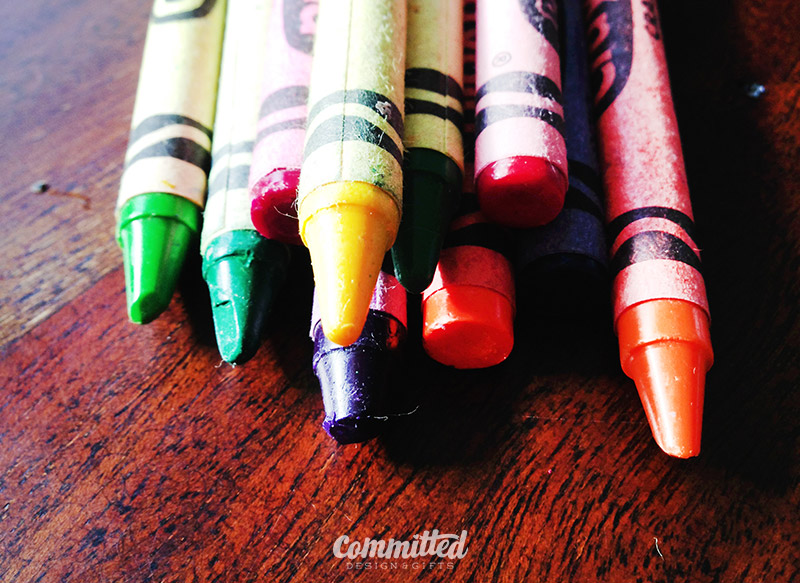
Start with crayons

The Easter Bunny Doesn’t Poop Chocolate

I know that a mythical bunny leaving candy-filled plastic eggs on your lawn has nothing to do with religion. But it’s a tradition that I love and I love that my daughter is old enough now to get into it. What I don’t want her getting into is a sugar-induced-toddler-frenzy ending in some form of tragedy. So even though I bought 12 different kinds of Easter candy to decorate cupcakes, very little of it is going into those aforementioned eggs. I’m stuffing those plastic vessels with fun non-chokeworthy gifts, including hair ties, stickers, and DIY crayons.

This post is about the crayons I attempted to make. Some were successful. Some were pitiful.

I should have found these tutorials (SheKnows, MakeandTakes, GabrielsGoodTidings) before starting, but as usual, I thought I’d just figure it out and forge ahead.

But here’s what I did:

1) You’ll need: crayons, a silicone mold (for making confections), a ziploc baggie, a cookie sheet, and a blunt object (to smash crayons). Optional: exacto knife to slit crayon peels. And you’re smart people–you know which to give your kids and which to keep away from them.

2) Preheat your oven to 225-250.

3) Follow along:

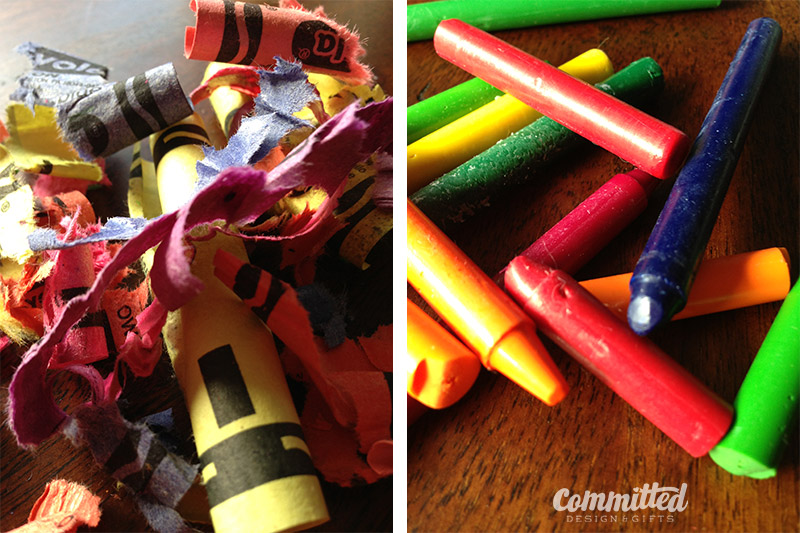
Start with crayons
Start with crayons, broken or whole.
Peel your crayons.
Peel. This can be made easier with an exacto knife.
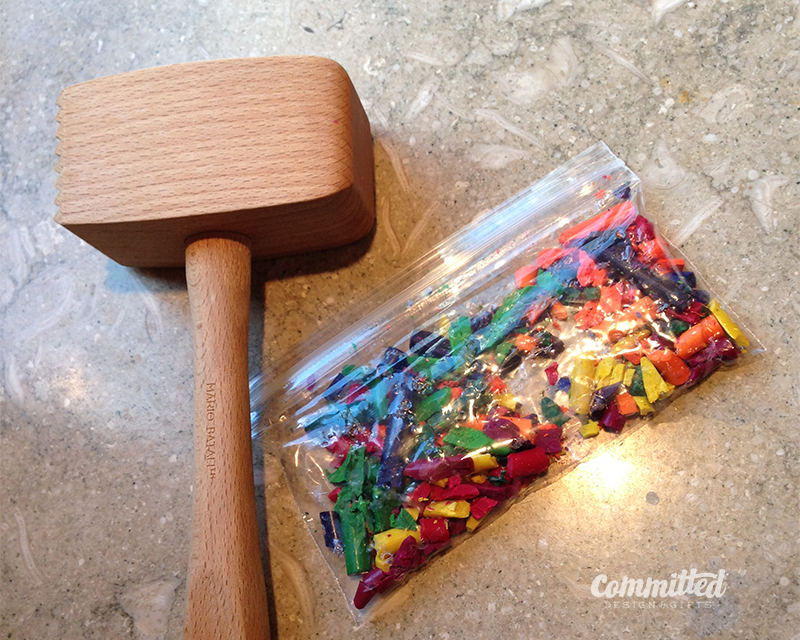
Crush 'em. I just put them all in a baggie and smashed with a meat tenderizer. You can keep colors separate if you like.
Crush ’em. I just put them all in a baggie and smashed with a meat tenderizer. You can keep colors separate if you like.
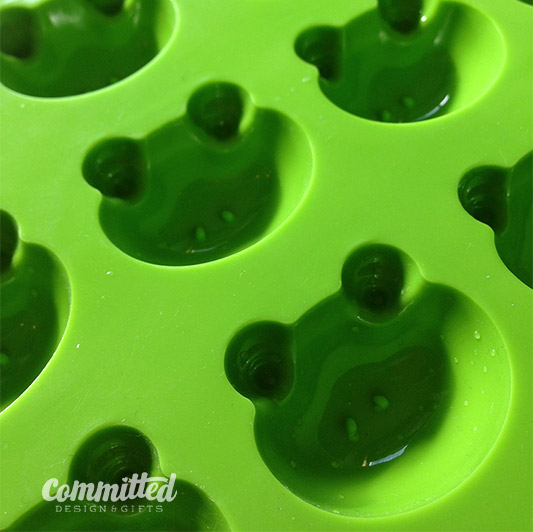
Froggy mold for DIY crayons.
This froggy mold came from Japan, but you can get silicone molds at Ikea.
Melt the crayons.
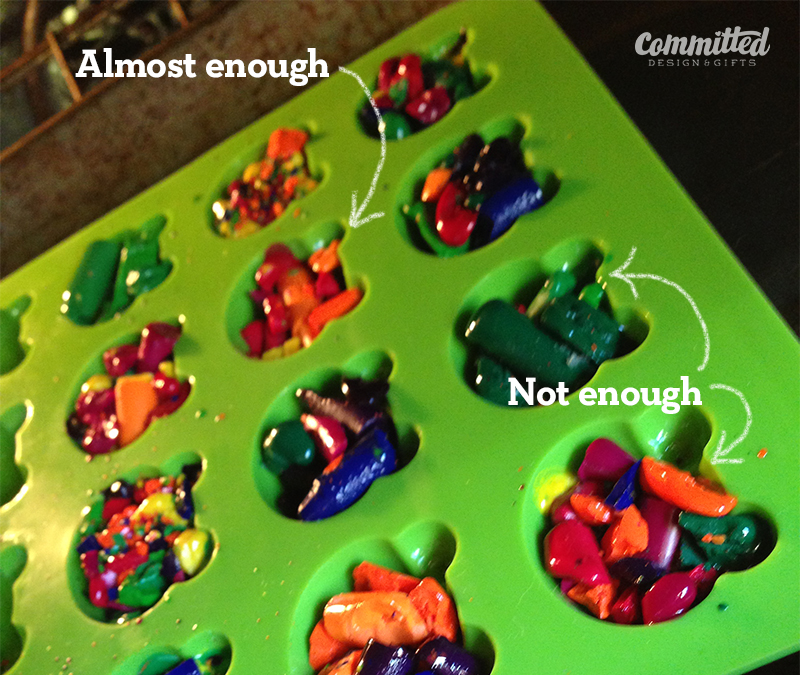
Melt ’em. Fill the molds completely. This was about 5 minutes into baking.
Fill your molds completely.
I tried adding more bits halfway through. I do not recommend this. Just fill them enough at the beginning.
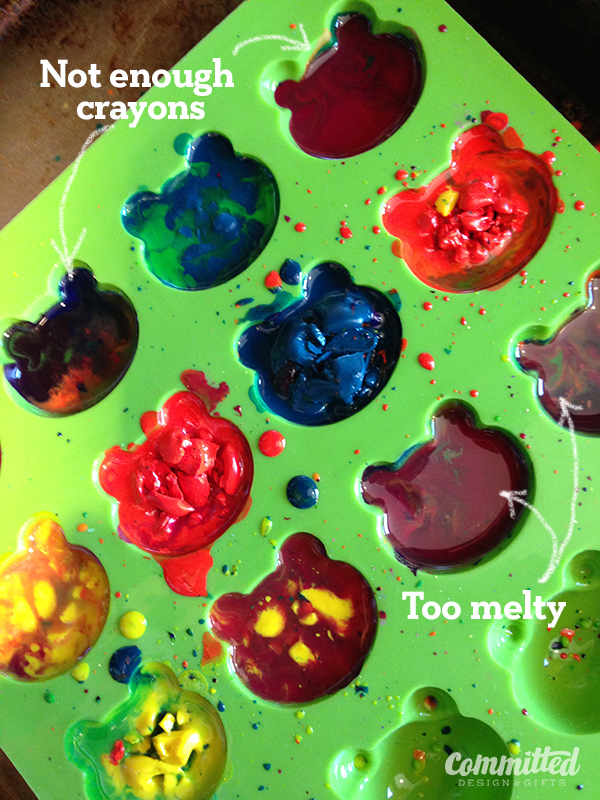
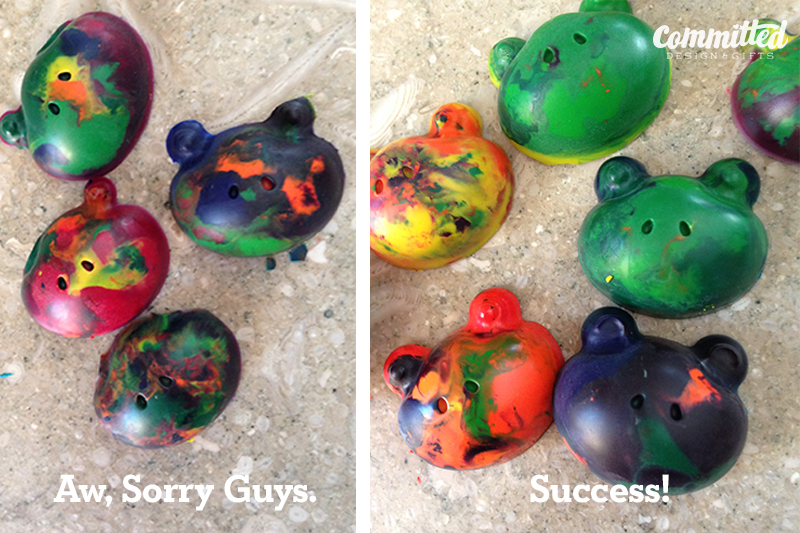
Some good, some bad, some ugly DIY crayons.
Some came out, some did not. Read my tips below.

Basically, I’d recommend filling your molds overfull. Don’t let them melt to liquid because the colors get really muddy. It’s fun when they swirl a bit, but too much and it’s not as pretty. But what toddler really cares? Right? And don’t (like me) try to add more chunks halfway through to make the molds full. Basically, you’ll have a liquid mess at the bottom, and crayon chunks on top.

Overall, this was super easy. It took about 15 minutes altogether and could be fun to do with the kiddos.

We’ll see what mine thinks of the Easter bunny after she opens her eggs!