Author: admin

Home, Sweet Homework

We are officially moved into our new house!

This truly is our “forever home,” and all three of us are almost giddy every time we walk through the door. There are tons of beautiful features, but mostly it just feels like home. Know what I mean? It was one of those this just feels right kind of places. Another bonus? Projects! Lots of ’em! I’ll be posting things here and there, since we hopped on the project train before even setting foot in the house as owners.

I don’t know what spurred me on, but I had the crazy urge to get shit DONE before we moved in. I guess I just know how crazy and messy life gets with my projects and the toll it would take on the fam (sorry, guys…it’s an addiction!) Plus, I had to promise to ONLY START A PROJECT WHEN THE OTHER ONE WAS FINISHED. This is hard. But I’m doing my best. Anyway, the first project was hiring a painter to do the trim.

Seriously, guys. It was pretty bad. Faux marbling, odd continuity choices, or total emission of paint/finishing altogether. I had 2 days available between getting the keys and getting the cleaners in, so we had to be choosy. I picked the trim in the front room, office, and sitting room. (OMG we have a sitting room! So fancy!)

Faux finish trim color.
I’m a firm believer in contrasting trim. And keeping things simple. And not this.

The pic above is just a teaser–I want to finish those a little more before posting pictures, but I thought you needed to see what we were working with.  Continue reading “Home, Sweet Homework”

Moving Pictures (Without the Popcorn)

As I mentioned in my previous post, we are moving. In 3 days.

I’ve avoided moving for the last 6 years, and it’s been so nice. I’m no stranger to changing domiciles–since moving out for college, I’ve changed addresses TWELVE TIMES. And that doesn’t include the time my roommate and I decided to swap floors in our townhouse. 3 of those moves were in the span of 6 months, when we first came to Seattle. Needless to say, I fucking hate moving.

I prefer living outside the box.

Luckily, this time we have the means to hire a crew to pack, move, and unpack us. It doesn’t mean we can bleed money, however. I’ve learned a few things about the local moving process and thought I should share with you lovely readers. Continue reading “Moving Pictures (Without the Popcorn)”

Bye-Bye, BooBoo

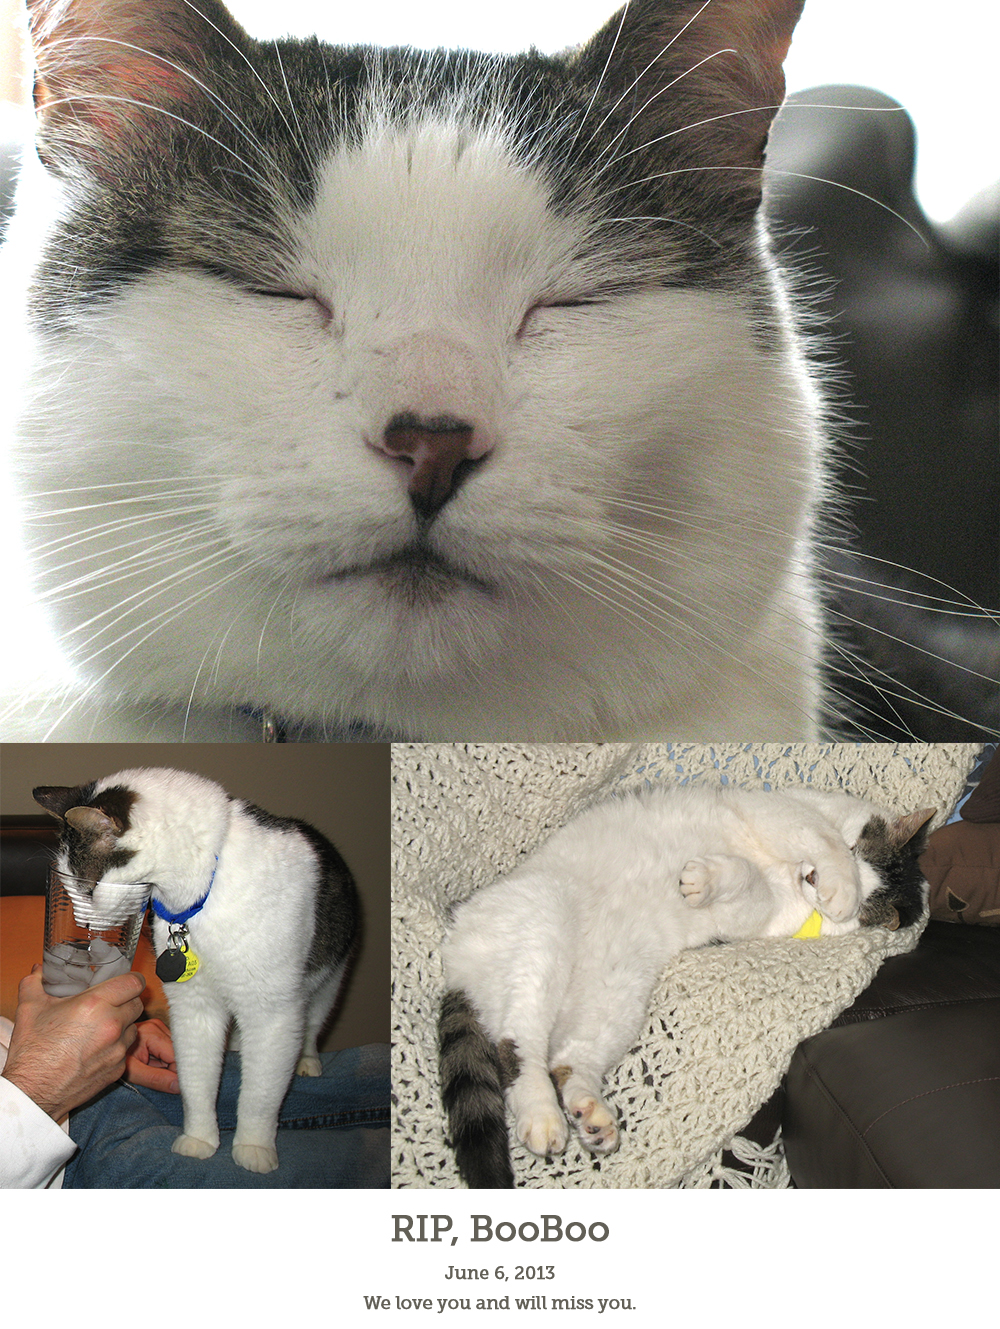
Amidst all the craziness of getting ready to move to a new home (a post or series of posts will becoming soon), we suffered a loss of a dear friend and family member. Our cat, BooBoo died suddenly on Thursday afternoon.

Bye Bye BooBoo

I didn’t think I would be so sad about losing a cat, after all, I always contended that he was “just a cat.” I am NOT a cat person, but maybe it’s because until BooBoo, I’d only met shitty cats. But really, he had a great personality and charmed everyone who met him. Regardless, watching the seizure or heart attack take him in those 30 seconds was horrifying and painful to watch. Seeing any living creature suffer is difficult.

But what this post really is about is how to manage the death of a pet with a toddler.  Continue reading “Bye-Bye, BooBoo”

A Liebster Award…For Me?


I’ve been on vacation (still am), but really needed to get this post together! Patricia Davis, aka TheDoGooderMama, nominated this blog for a Liebster Award, which was such a nice surprise, especially when I’ve been neglecting this project for a couple of weeks.

Though I’ve been writing on this blog for a while, I’m just starting to “get” The Big Idea–it’s about connecting with other readers and writers who have similar (or different) ideas. I’m so glad I’m finding more and more parents out there who have interesting projects, perspectives, and insight.

What I think is so nice about this award is:

– It gets me to share more of myself with readers
– Allows me to share blogs that I’ve started to follow and would like to share
– Just gives a warm fuzzy feeling to know that someone is reading this!

Here is the background info of the Liebster Award from TheDoGooderMama:

Lori Leigh Wilson  bestowed this honor on me and it just tickled me pink.  How nice to be picked out of the sea of bloggers as one worthy of a Liebster Award!!!

Liebster Awards go to “up and coming” bloggers with less than 200 followers.  The origins of this award are unclear and are simply given by fellow award nominees to blogs that inspire them and that they enjoy reading.  “Liebster” means sweetest, kindest, nicest, dearest, beloved, lovely, kind, pleasant, valued, cute, endearing, and welcome in German.

liebster

When you receive a Liebster Award, you have to give 11 random facts about yourself, answer 11 questions posed by the nominator, nominate 11 other blogs, and pose 11 questions for your nominees.  Here we go…..” Continue reading “A Liebster Award…For Me?”

Thanks for the helpful unsolicited advice, Stranger.

One thumb up, plus a middle finger

Thanks for the helpful unsolicited advice, Stranger.
Here’s to you, lady in the pharmacy. Love, Committed.

I was at the pharmacy the other day, toddler sucking her thumb quietly in stroller, when the woman ahead of me in line turned around and exclaimed, “That’s gonna RUIN her teeth! RUIN them!” as she gestured her thumb toward her mouth. Was she telling me to make my 2-year-old stop sucking her thumb right now?

“Oh, yeah,” I said, trying to brush it off. “I’m not too worried about it.”

But she insisted, “No, they’ll be ruined! It’ll save you a LOT of money in braces if she stops.”

“Thanks, but she’ll probably have braces anyway. I’m not too worried about it” (and please leave me alone and deal with your own problems…don’t you have a urinary tract infection to take care of?).

She made one more urgent gesture and walked away.

I wanted to make a gesture of my own.

Listen, I know every parenting decision is basically controversial. This “baby sleep expert” tumblr underscores how confusing it can be to do the right thing when it comes to your kids. I also know that this woman meant well and that she probably dealt with the heartache of bad teeth in her childhood and only meant to spare my daughter a lifetime of dental misery.

HOWEVER. I never asked for any advice. And in giving unsolicited advice, she is assuming that I don’t know any better, which can come off as insulting. Moreover, she didn’t ask if I was concerned about the thumb sucking, which would have opened a dialogue about how her dentist actually said it wouldn’t be an issue for another few years, that her doctor said that braces are cheaper than therapy (self-soothing is a valuable tool), that my husband and I were both thumb suckers, and had braces for unrelated reasons…she was basically telling me how to be a parent without knowing that hey, I’ve already looked into this and I’m okay with it.

So a word to all you wise, unsolicited-parenting-advice-givers: if I want your help or advice, I will ask for it. And if you give it, I will appreciate it. Otherwise, please mind your beeswax.

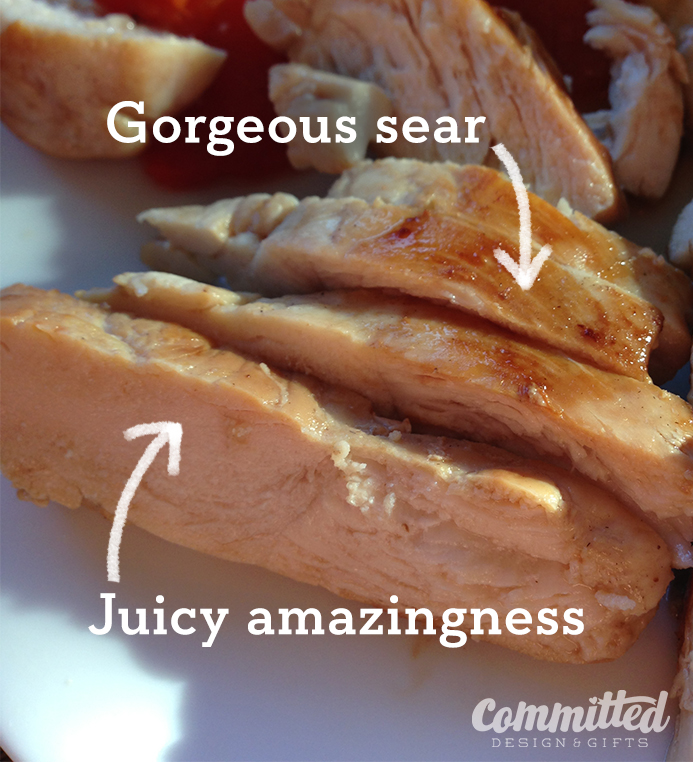
juicy chicken

No More Balking at Chicken

I was a breast gal. A chicken breast gal. But I got tired of the dried-out, one-note grossness and switched to thighs. While these have more flavor and tend to be juicier, I really wanted to go back to breasts. Mostly because they’re easy to cook. Tonight, I think I unlocked the secrets to making UNREASONABLY JUICY and delicious chicken breast.

You will need:

  • A good pan (cast iron was what I used)
  • Olive oil
  • Soy sauce, Worcestershire sauce, and lemon juice (bottled is fine)
  • A bowl or freezer bag for marinating
  • Paper towels
  • Tongs
  • Cutting board
  • Chicken breasts
juicy chicken
This was so. damn. good.

1. Marinate

      – I use a combo of soy sauce, Worcestershire sauce (that’s really how it’s spelled–I had to look it up), and lemon juice. No recipe, just equal amounts of the sauces, then some lemon juice for good measure.

      – You can marinate as long as you like, but I actually only had about 8 minutes.

2. Heat the pan

      – I used a cast iron skillet, and heated olive oil to just below medium on our gas stove (between 3&4). Heat for a few minutes so the oil and pan are evenly hot.

3. Dab your chicken dry

      – Thanks to Robert Irvine of Restaurant Impossible, I had the forethought to use paper towels to dab and squeeze most of the liquid out of the chicken. Robert’s tip was actually to do this with scallops. The reasoning was that removing the moisture allows the meat to sear, rather than steam. When it steams, the moisture INSIDE cooks out, and you end up with a dry, chewy blob of yuck. I thought I’d try it with chicken. Holy crap, I’m glad I did.

4. Cook it

      – I learned this tip from Gilles LeFort of Ecole de Cuisine Le Fort outside of Puerto Vallarta, Mexico. To get a nice sear without charring your meat, turn it every few minutes. I know some people think this is a sin, but I’ve done this for every steak since his class and it’s been carnivorous perfection. Basically, cook 2 minutes on each side, then turn every minute until it’s done. The amount of total time depends on how thick each piece is, but the breasts we made were on the thinner side, and it took about 12 minutes total. (FYI, a medium-rare filet takes 8 minutes over medium heat).

5. Rest it

      – Once the chicken is cooked through (no pink jelly in the middle, juices run clear), take it out of the pan and let it sit on a cutting board for 2 minutes. This allows the juices to stay inside. If you try to cut it right away, all the juicy goodness runs out, and you dry out your meat, yet again.

6. Devour it!

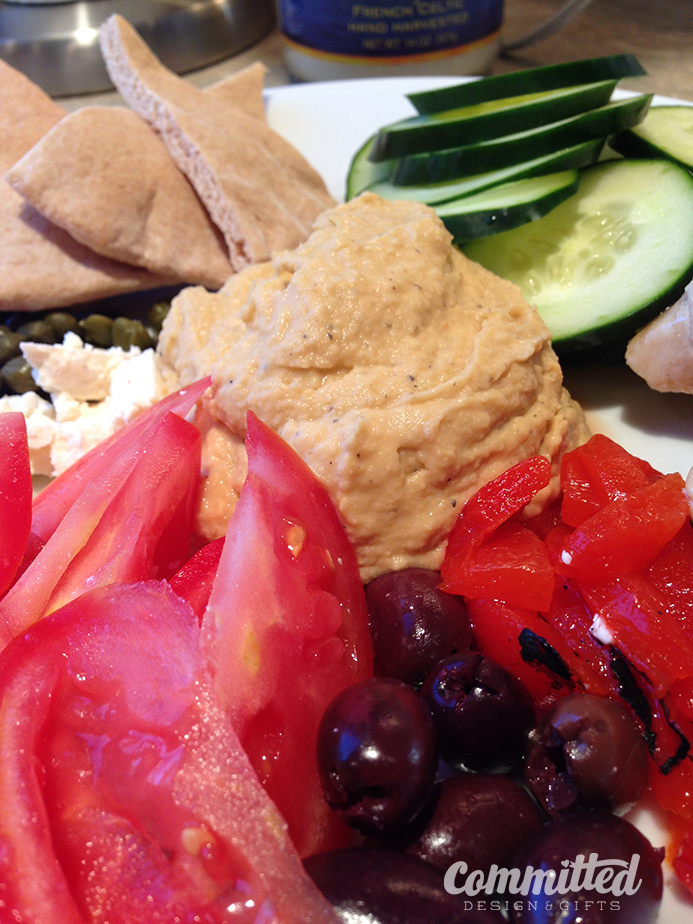
We went Mediterranean with it this time, piling the plate with homemade hummus, tomatoes, cucumbers, feta, capers, olives, and roasted red peppers. MMMMM!

hummus and veggies
So good, even a toddler will eat it!
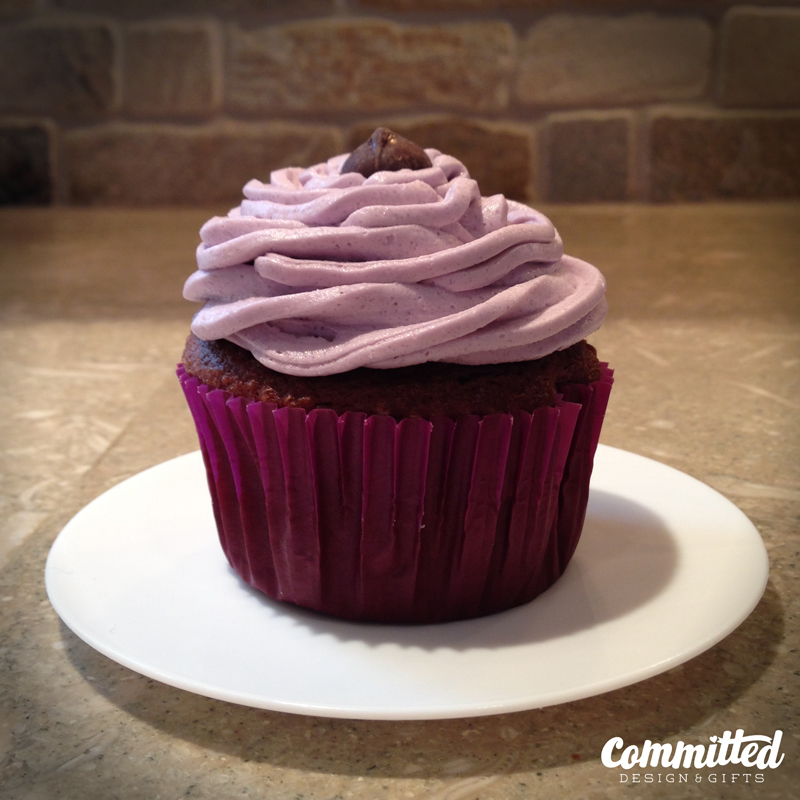
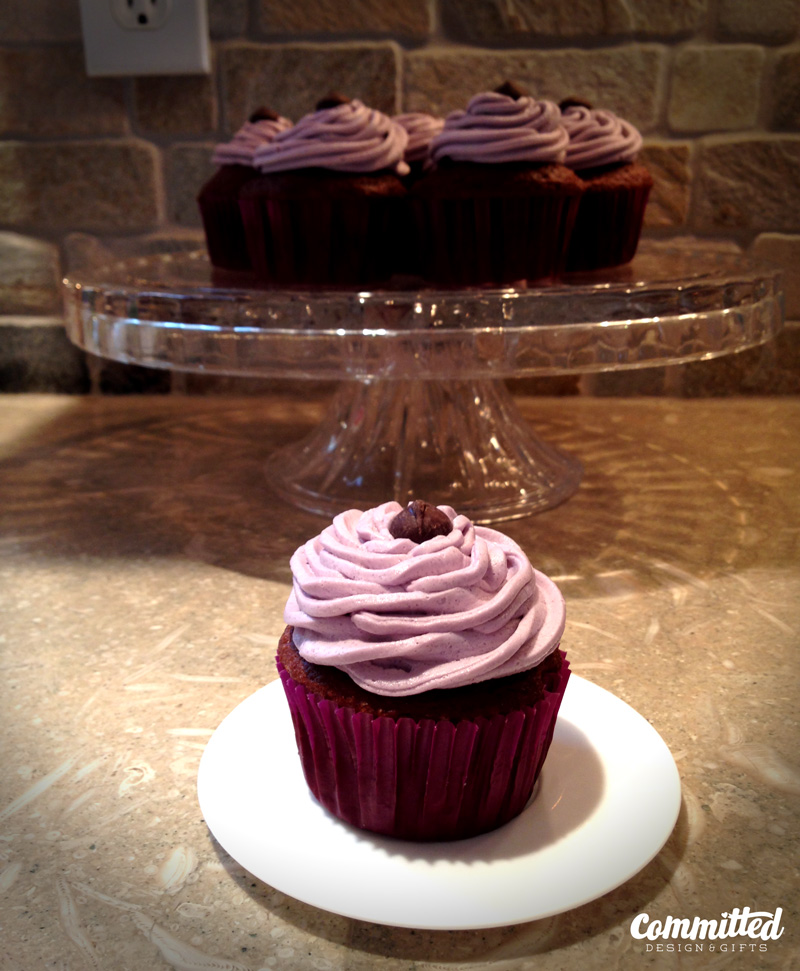
Chocolate cupcake with vanilla buttercream

Cupcakes and Pipe Dreams

I had simple visions of my daughter’s second birthday. A small gathering of friends, a song, some bubbly and cupcakes, hugs, and bedtime. What instead happened was a mysterious chickenpox-like outbreak on the kiddo’s legs, a trip to the doctor, and a day home from daycare. Not to worry, we’re getting through it, and made the best of a day cooped up in the house. However, I still have cupcake envy.

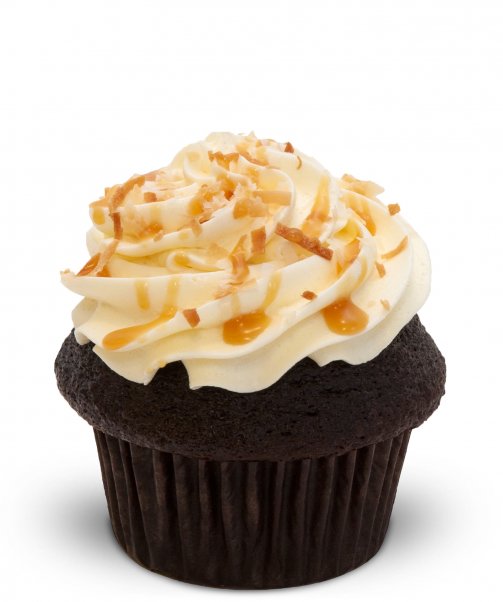
Had I had the afternoon to do it, I would have loved to make cupcakes like this:

Trophy Cupcakes in Seattle
Samoa from Trophy Cupcakes

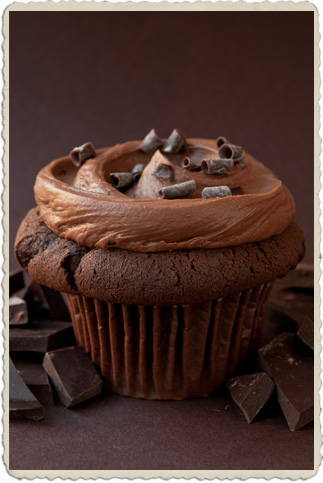
Or this:

Cupcake Royale in Seattle
Triple Threat from Cupcake Royale

But instead, we went with the box kind. And you know, they don’t taste great, but it was fun to make together. I’d love to whip together my own organic, hand-picked, single origin, roasted-chocolate-salted-tamarind-pink-peppercorn-caramel whatever, but who am I kidding?

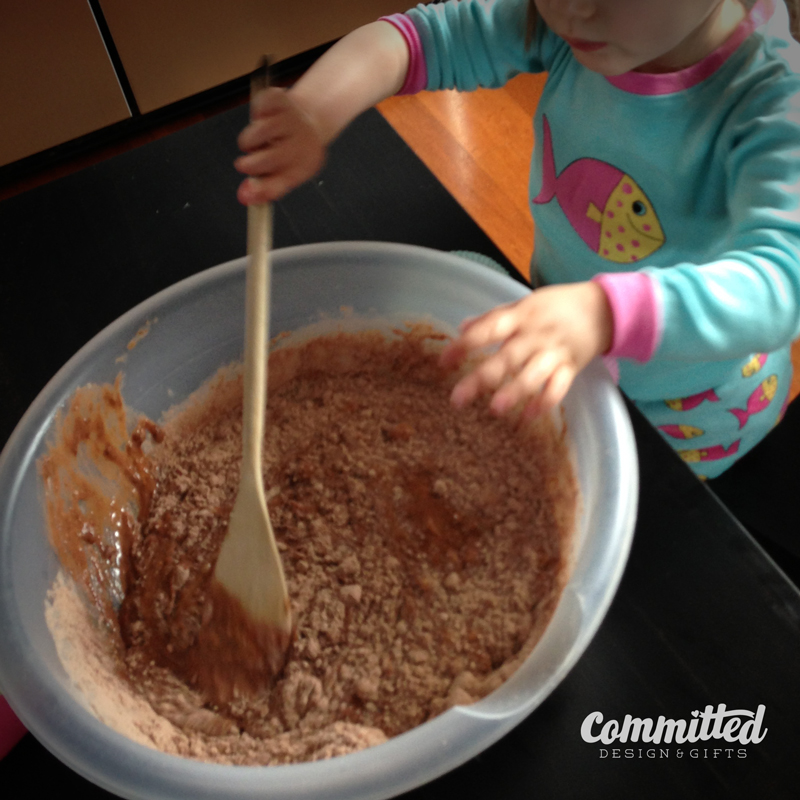
Toddlers can help cook
Boxed stuff: easy mixin’

I did make my own frosting. Mmm…butter…
I used this recipe from Martha Stewart. I halved the recipe for one box-worth of cupcakes, but kept the full amount of vanilla. I added in food coloring to get the purple color. And voila!

Chocolate cupcake with vanilla buttercream
Fake it ’til ya make it.
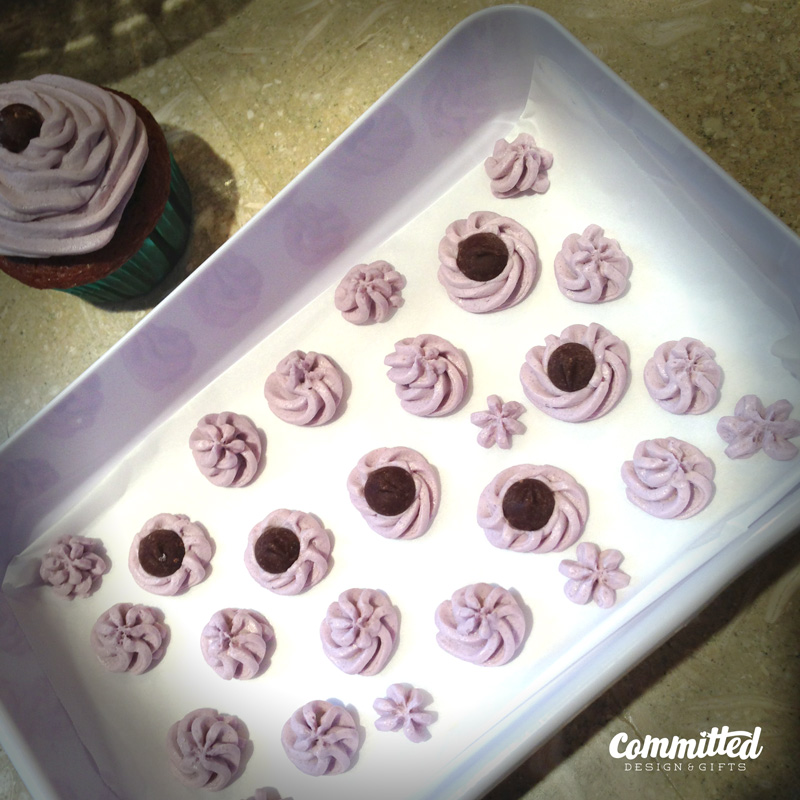
Frozen vanilla buttercream frosting
Genius idea for leftover frosting: freeze it!

I did have a moment of redemption. I had a little frosting leftover in the piping bag, and figured, why waste it? So I lined a little tray with parchment paper and piped small florets. I have to say, the ones with the chocolate chip on top were the perfect treat! I mean, it looks less pathetic popping these in your mouth than scooping spoonfuls of frosting, right? Right?

Anyway, all’s well that ends well. We had a nice little celebration and will get together with friends once the threat of contagion has lifted. Happy birthday, kiddo!

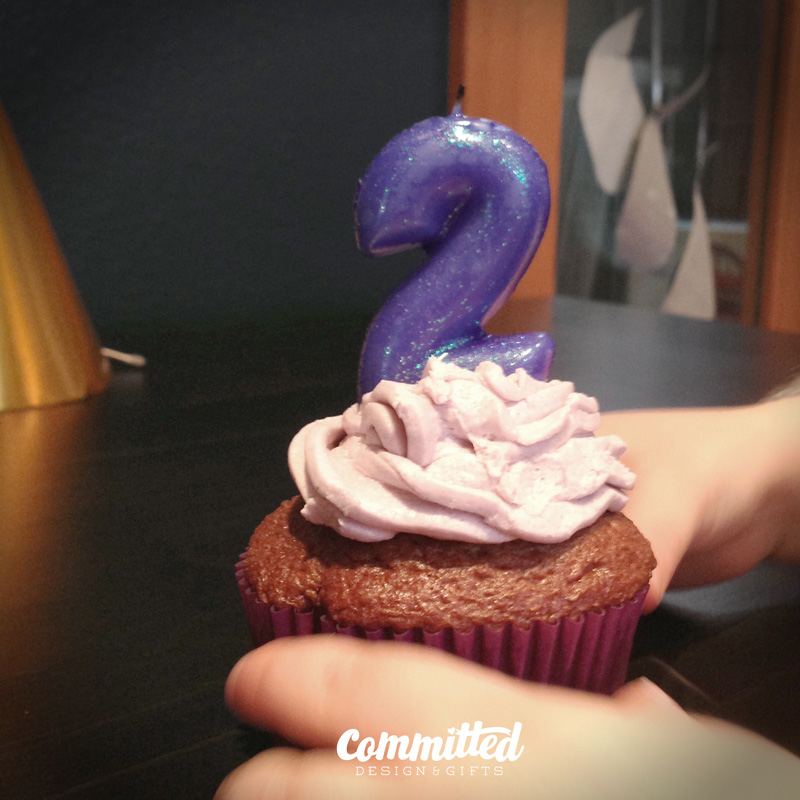
2nd birthday cupcake
Happy birthday!
Start with crayons

The Easter Bunny Doesn’t Poop Chocolate

I know that a mythical bunny leaving candy-filled plastic eggs on your lawn has nothing to do with religion. But it’s a tradition that I love and I love that my daughter is old enough now to get into it. What I don’t want her getting into is a sugar-induced-toddler-frenzy ending in some form of tragedy. So even though I bought 12 different kinds of Easter candy to decorate cupcakes, very little of it is going into those aforementioned eggs. I’m stuffing those plastic vessels with fun non-chokeworthy gifts, including hair ties, stickers, and DIY crayons.

This post is about the crayons I attempted to make. Some were successful. Some were pitiful.

I should have found these tutorials (SheKnows, MakeandTakes, GabrielsGoodTidings) before starting, but as usual, I thought I’d just figure it out and forge ahead.

But here’s what I did:

1) You’ll need: crayons, a silicone mold (for making confections), a ziploc baggie, a cookie sheet, and a blunt object (to smash crayons). Optional: exacto knife to slit crayon peels. And you’re smart people–you know which to give your kids and which to keep away from them.

2) Preheat your oven to 225-250.

3) Follow along:

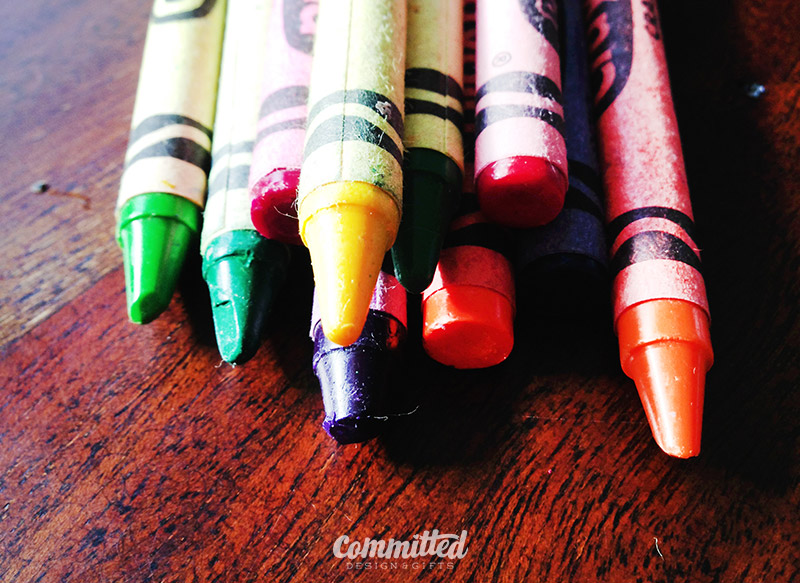
Start with crayons
Start with crayons, broken or whole.
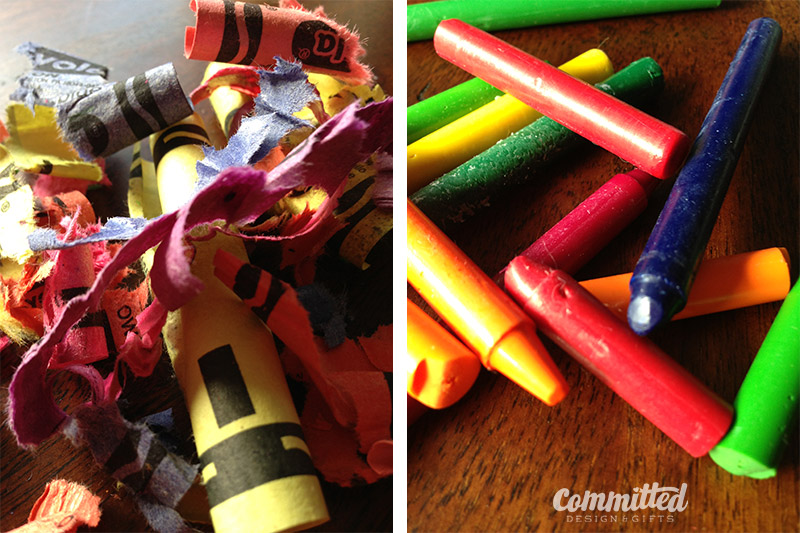
Peel your crayons.
Peel. This can be made easier with an exacto knife.
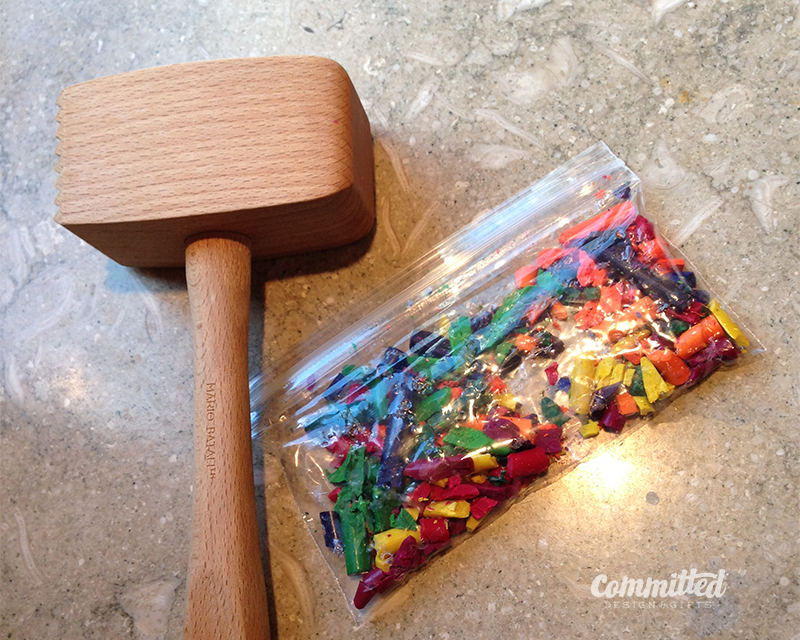
Crush 'em. I just put them all in a baggie and smashed with a meat tenderizer. You can keep colors separate if you like.
Crush ’em. I just put them all in a baggie and smashed with a meat tenderizer. You can keep colors separate if you like.
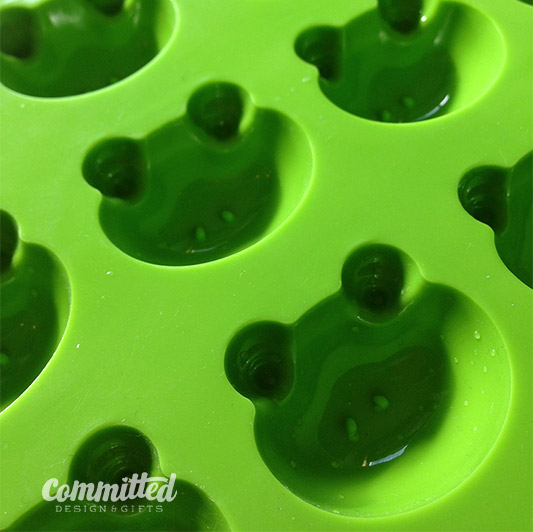
Froggy mold for DIY crayons.
This froggy mold came from Japan, but you can get silicone molds at Ikea.
Melt the crayons.
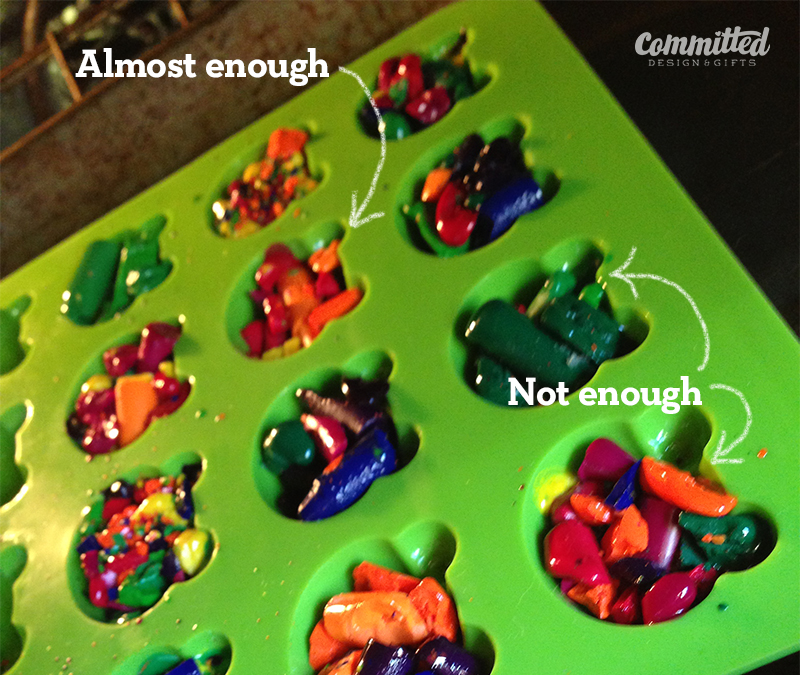
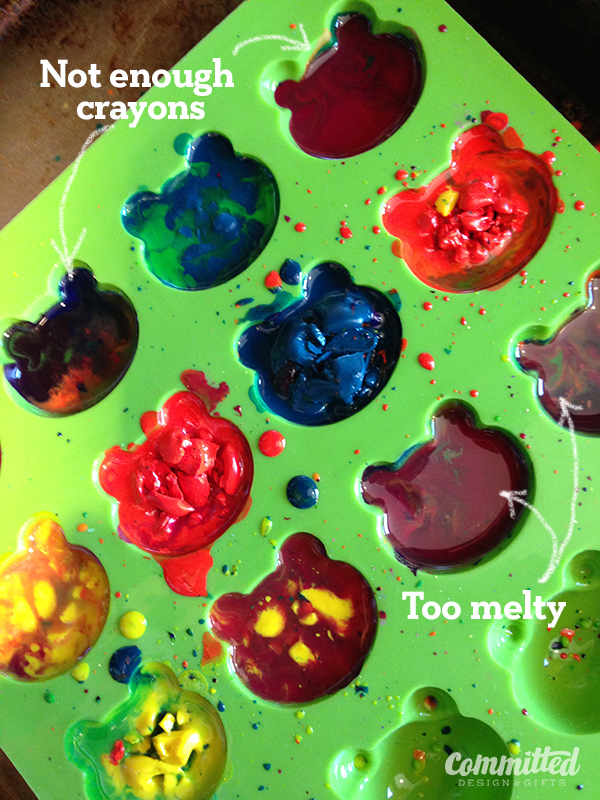
Melt ’em. Fill the molds completely. This was about 5 minutes into baking.
Fill your molds completely.
I tried adding more bits halfway through. I do not recommend this. Just fill them enough at the beginning.
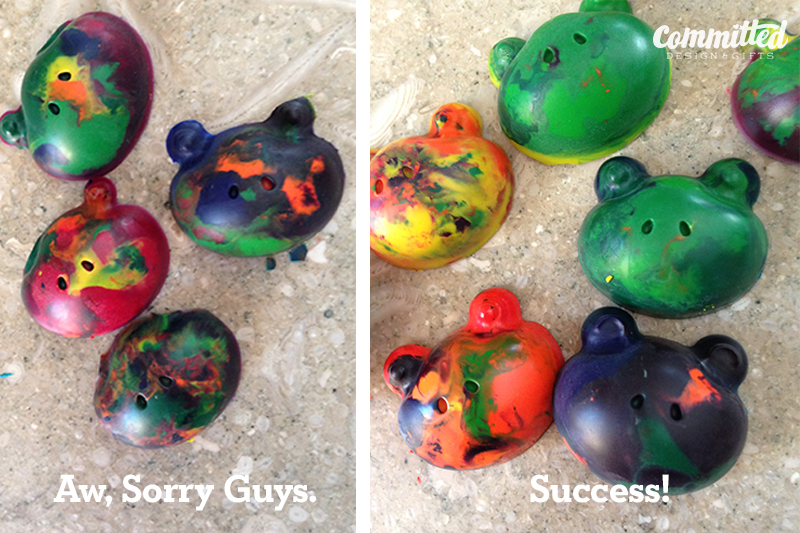
Some good, some bad, some ugly DIY crayons.
Some came out, some did not. Read my tips below.

Basically, I’d recommend filling your molds overfull. Don’t let them melt to liquid because the colors get really muddy. It’s fun when they swirl a bit, but too much and it’s not as pretty. But what toddler really cares? Right? And don’t (like me) try to add more chunks halfway through to make the molds full. Basically, you’ll have a liquid mess at the bottom, and crayon chunks on top.

Overall, this was super easy. It took about 15 minutes altogether and could be fun to do with the kiddos.

We’ll see what mine thinks of the Easter bunny after she opens her eggs!