
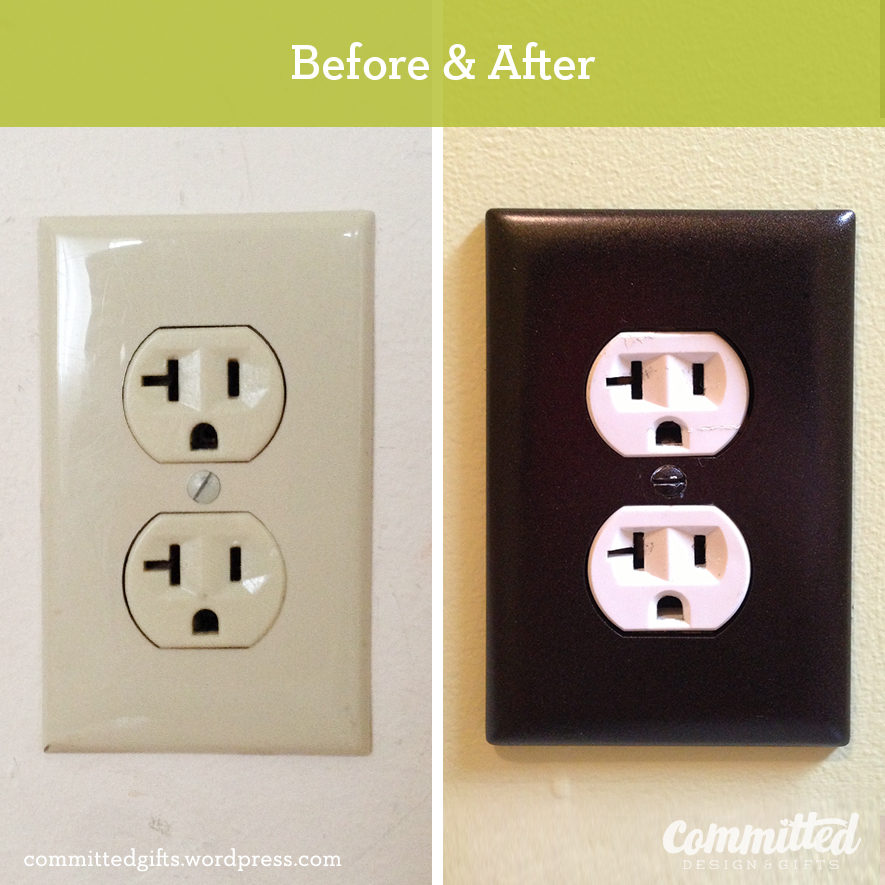

One of my favorite inexpensive makeovers to do for a room is to paint the switchplates. You know, the ugly, yellowing plastic covers for your plugs and light switches? I got this idea because when I touched up our basement, I found that we had like a THOUSAND different switchplates: aluminum, yellowing plastic, grayish plastic, whitish plastic. All of them were beat up and, well, hideous. Replacing all of them would have been pricey and unjustifiable to my husband, who, bless his heart, couldn’t care less about a little detail like that. I like the look of the oil-rubbed bronze, plus we have several light fixtures around the house in that finish. When I looked at buying new ones, the 2-plug covers and light switches were about $3 each, and the specialty multiple plug/light switch combos were $8 or more. Yeah, dumb to pay that much.
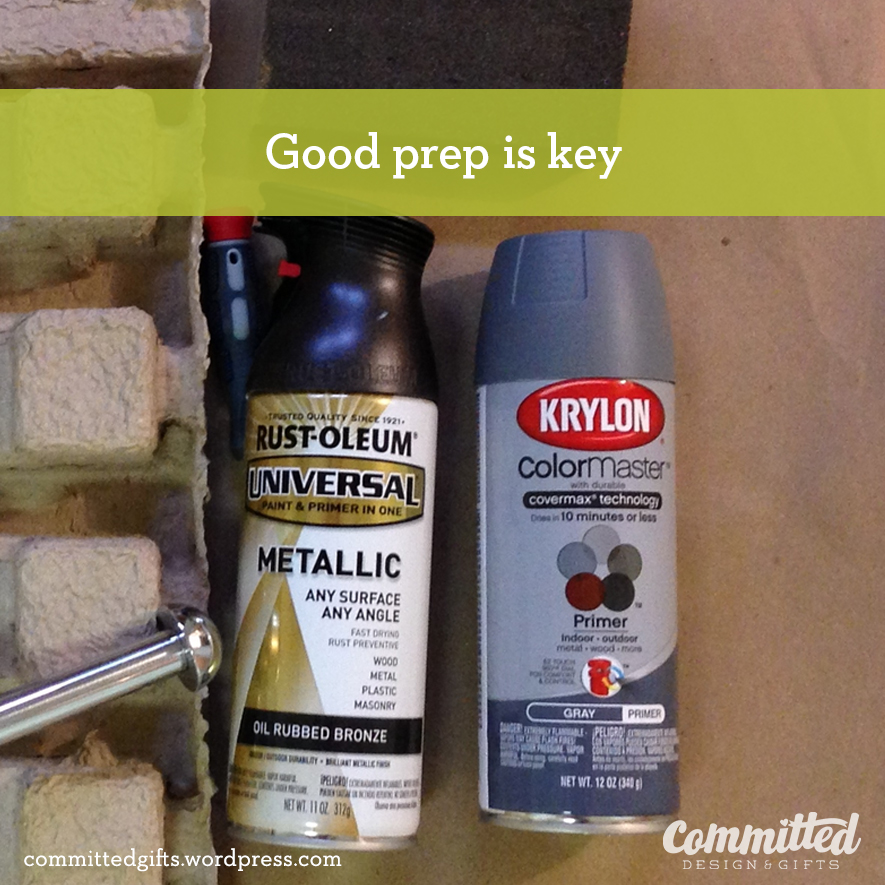
So, I moseyed down to Home Depot and picked up some Krylon Primer and Rustoleum Oil-Rubbed Bronze paint. I already had the sanding pads, screwdriver, gloves, and mask. For the basement, I decided to paint the bathroom fixtures too, for good measure (again, they were all different). So for the price of about $11, I got “new” towel bars, a toilet paper holder, and bathrobe pegs (plus switchplates) too.
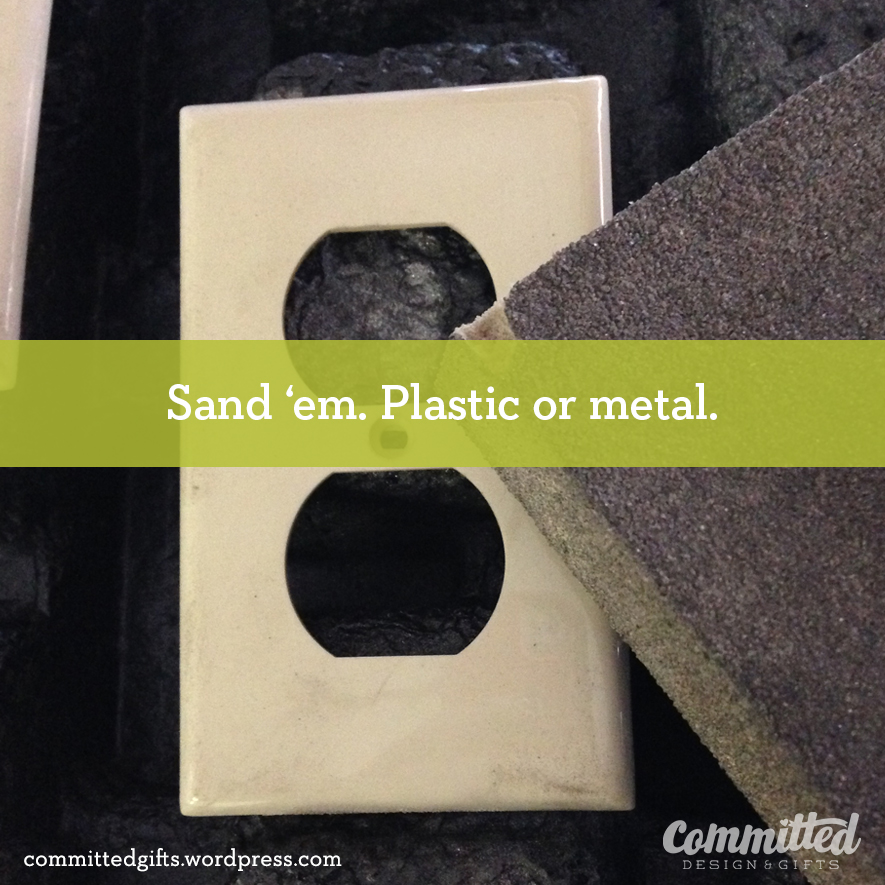
I used some old egg-carton packaging from Ikea furniture to lay out all the plates, bars, and screws. Yes, I painted the screws too so they’d blend in. You can also use styrofoam for this, but I didn’t have any on hand. Then scuff up the surfaces so the primer will adhere. Wipe everything down with a damp cloth and allow to dry for a few minutes. Then prime with short, light bursts of spray.

I did a light coat on everything, let it dry for about 10 minutes, then did another light coat, and let it dry for an hour. SPRAY GINGERLY, PEOPLE. Drips are your enemy. This will look like a bad DIY project if you have lumpy, drippy paint.
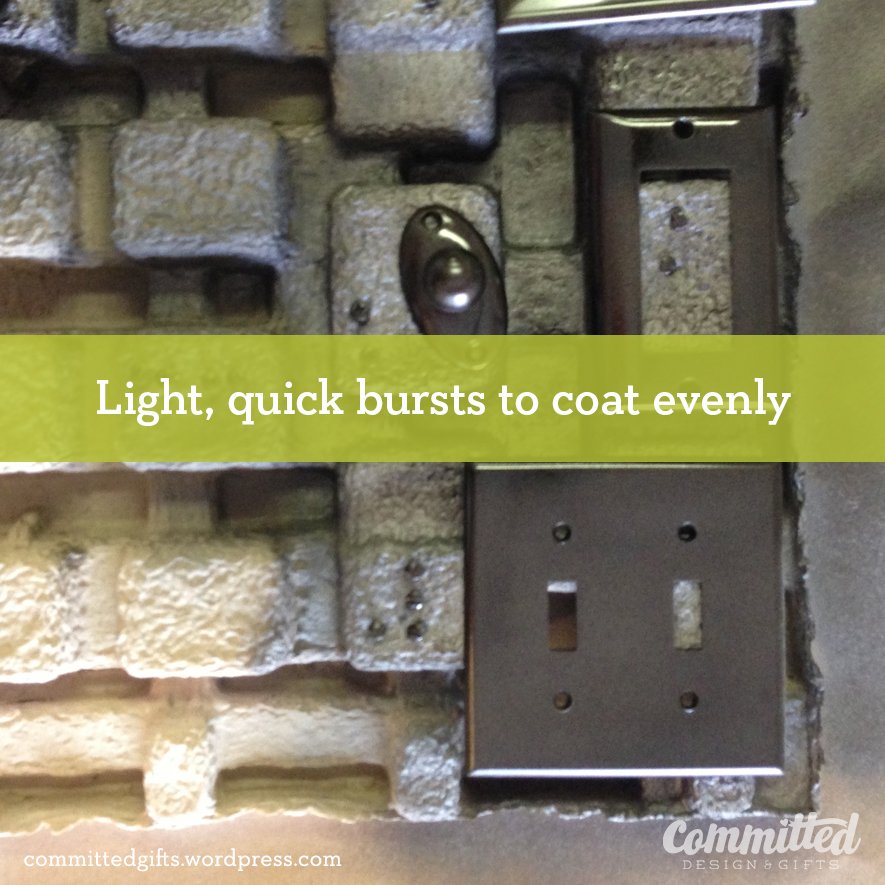
The metallic spray paints are pretty cool because they kind of “level out” on their own. This also means it can pool and drip easily, so say it with me: “I will spray lightly and let dry between coats.” You can touch up spots that you missed, and it blends well. I let everything dry completely for 24 hours before attempting to install them, for fear of scratching off any paint.
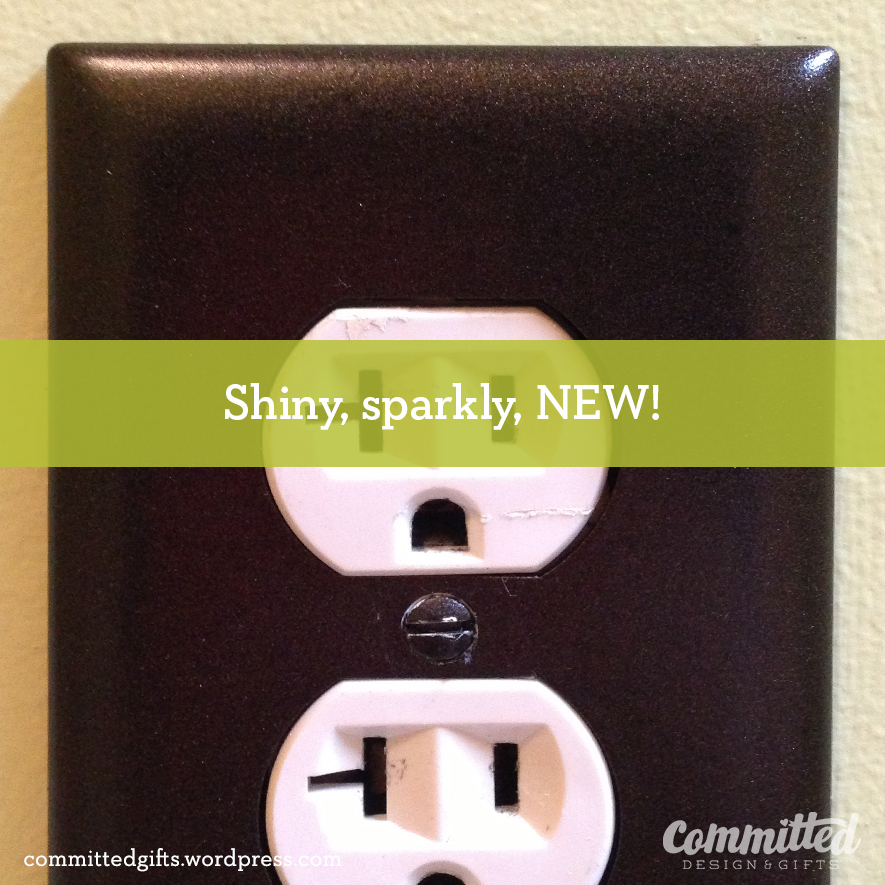
Notice that the plugs are still pretty beat up, but they honestly don’t really show unless you’re sticking your face in them.
The paint on the switchplates has held up spectacularly over the last 6 months. I installed the towel bars a little early and scratched one, but otherwise, they’re pretty hardy. I’ve now done this for our dining room, and hope to hit up the rest of the house as I go through other projects.

Okay, so I kind of cheated with this photo because I also painted the walls. Which were also gross. But this is about the switchplates. What do you think?
Would you try this at home? What colors would you choose?
Linked to:


Reblogged this on thriftywife365.
Thanks for reblogging! Good luck on your thrift journey!
good job. Do you remember your red hearts light switch in your bedroom & Heather’s pastel rainbow in her room? I think that I also used some of the curtain fabric to cover the switch plate in your bathroom, ( glued with white glue & covered with verithane spray). Details can be fun.
Hugs, YFM
I forgot about that! I guess all of these projects were imprinted in my brain early on…those are cute ideas though. I have several fabric scraps lying around waiting for another project.
This is so innovative and simple!!! I’m definitely going to try this!
intotheaugustred.wordpress.com
Thanks! Please post a comment/photo if you do!