
Some people like to rescue stray puppies, I rescue stray furniture. I see it on the street, “FREE” sign hanging limply to the side, waiting for a loving home. So I bring it home, I clean it up, feed it well, love it, and turn it into part of our family.
Because I tend to rescue LOTS of things, I received the edict from my husband not to rescue anything else until I’d rehabilitated what I’d already accumulated. That was incentive enough to get started.
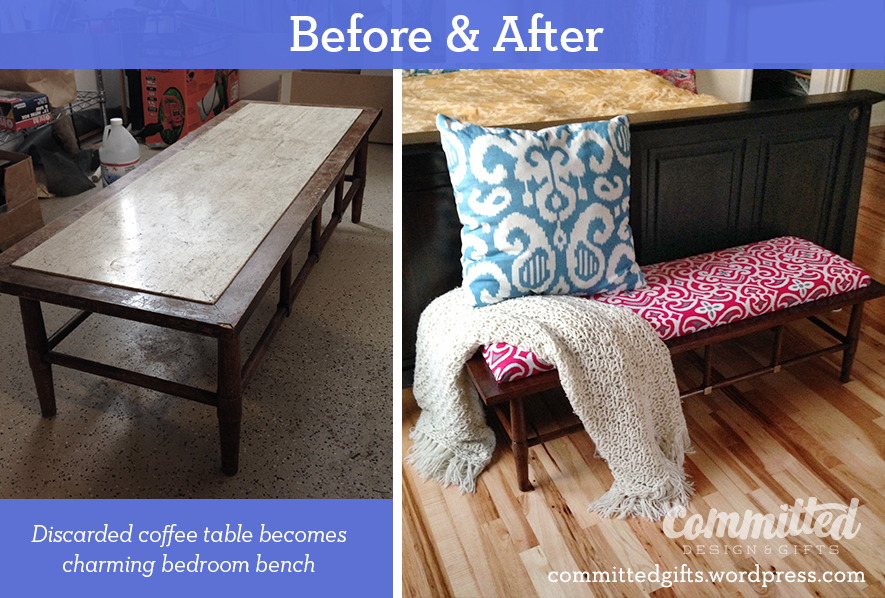
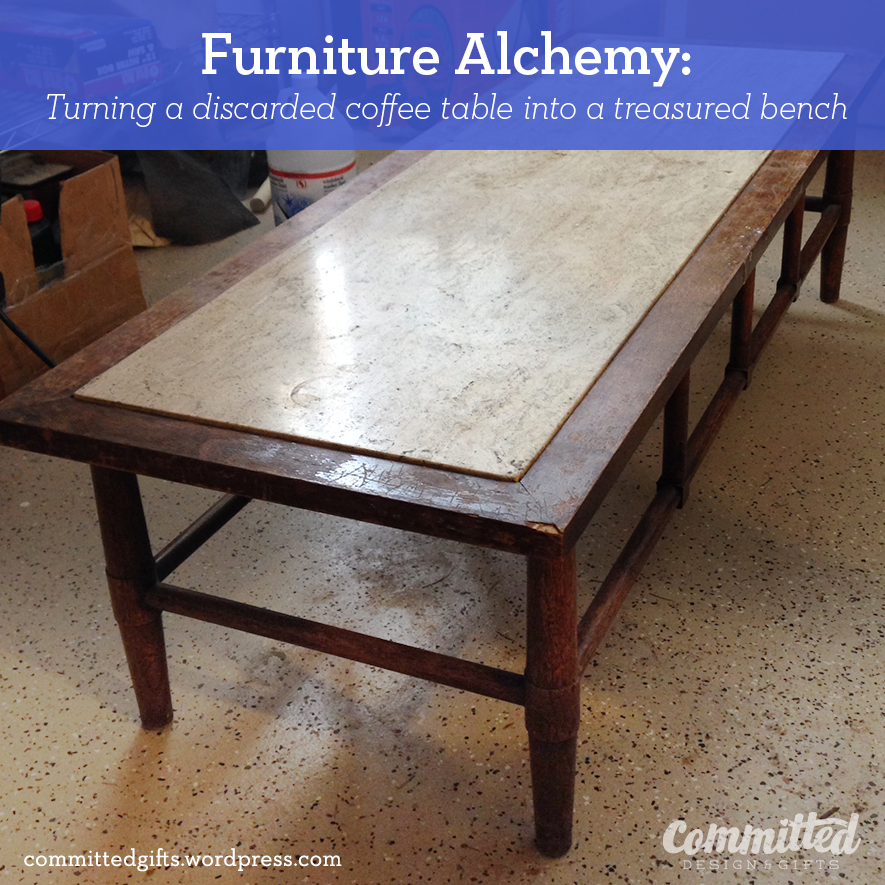
A couple of weeks ago, my sister and I found this coffee table on the curb. It had cool lines, was in fine structural shape aside from the cracked marble top, and just needed some refinishing. So we hauled it home. I had a while to think about it, and when I pulled out the marble, it occurred to me to make an upholstered seat and turn it into a bench for the end of our bed.
I liked the midcentury lines, but wanted something bright. I’ve never done upholstery before, so it took a little research. Here are the materials I used:
From Home Depot:
- Varathane Stain + Poly in Dark Walnut (I chose this over gel stain because it was lower VOC and could clean up with soap and water)
- 4’x8′ plywood, cut down to 15″ wide and 4′ long. The bench insert is 50″ long, so I had him rip a 2″ piece that I cut to width at home.
- Elmer’s Wood Filler MAX (to repair the chips and a little graffiti scratched into the top)
- TOTAL: $32.75
From JoAnn Fabrics (I caught a 50% off almost everything sale, which made this affordable):
- 2″ foam, cut to length (on sale at $12/yard, normally $25/yard! Yikes!)
- Batting (on sale at $2/yard)
- Fabric (on sale at $7/yard)
- TOTAL: $42
I already had on hand:
- Sandpaper (rough grit to remove stain, fine grit to smooth)
- Brushes
- Spray paint for accent
- Mask, gloves, and goggles
- Staple gun & staples, scissors, iron, ironing board
- Spray adhesive (optional)
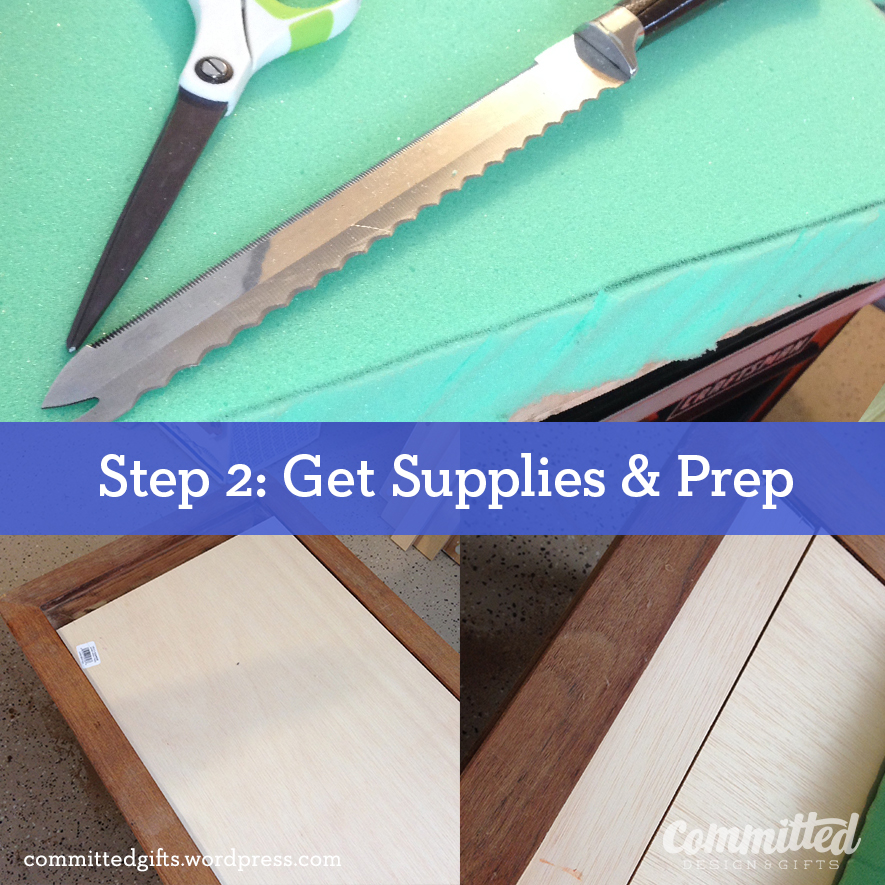
As you can see, I had to get a little creative. I saved $25 by buying the shorter piece of plywood and piecing it together. I wasn’t worried about structural integrity because the base had a nice lip on it. I glued the pieces together with Gorilla Glue and clamped them together to let them cure.
The foam was a little bit too wide, so I trimmed it down with a bread slicer. For the end, just to trim off about 1/4″, I ended up using sharp scissors because it got too squirrelly with the knife. I measured everything before launching into the staining process, because I didn’t want to have to wait for wet stain to make sure everything would fit.
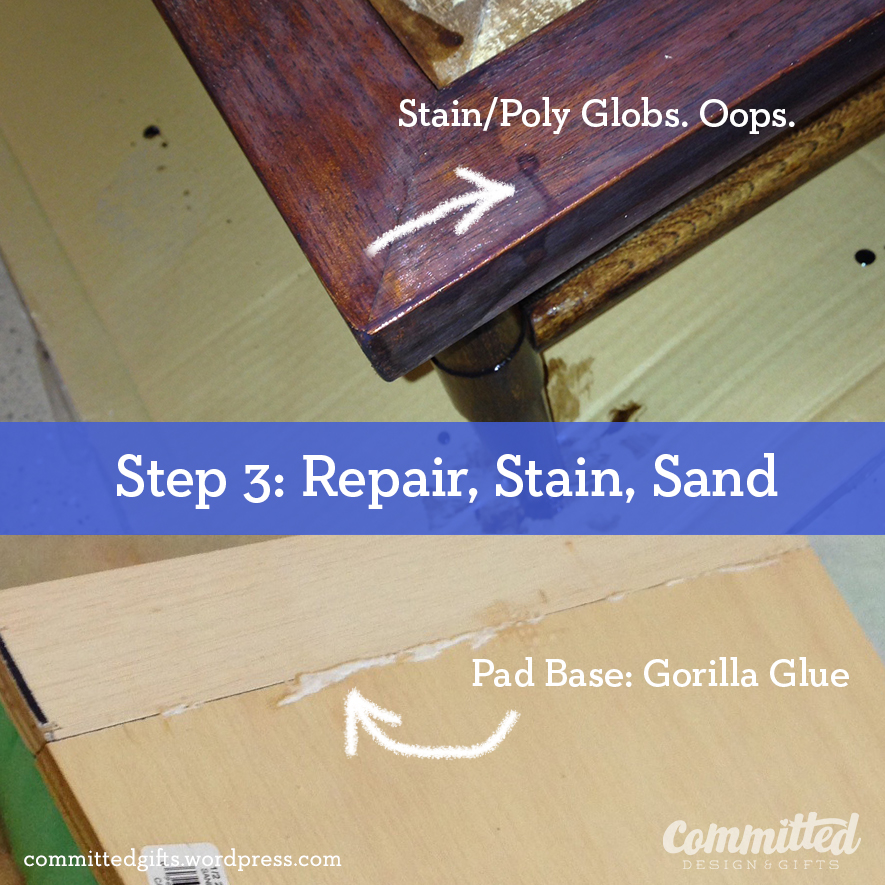
The Gorilla Glue held pretty well, and I used spray adhesive (NASTY STUFF) to stick the pad to the base, just to keep everything in place. I did get a little sloppy with the stain, but using a really fine grit sandpaper smoothed it out before the next coat.
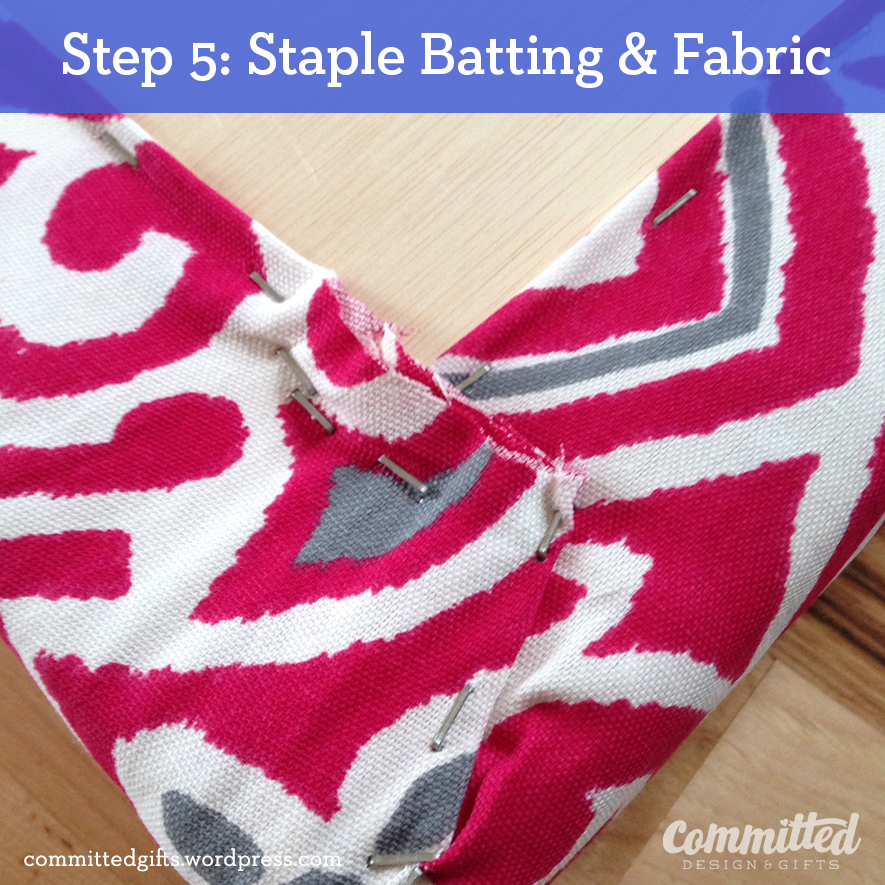
While the second coat of stain/poly was drying, I worked on the pad. I laid the pad face-down on the batting and trimmed so I’d have about 1 1/2″ of batting around the bottom to staple. I stapled the batting, starting at the centers of each long side, pulling taught and stapling alternating sides so everything laid evenly. I decided to fold these like a present and have square-ish corners, trimming the excess folds so it wouldn’t get too bulky on the sides.
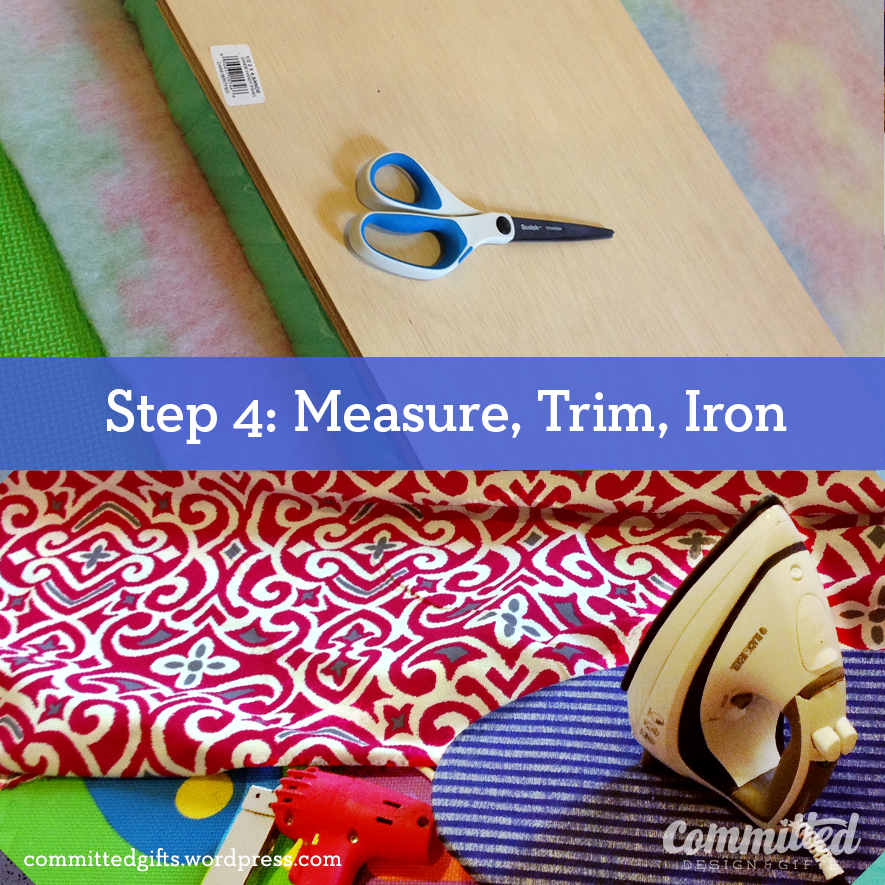
The fabric was a little trickier. I wanted the pattern centered, so I figured that out first, then trimmed. I ironed the edges over to have a neat bottom and to have more strength where the staples pierced the fabric. This time, I pulled pretty taut and used a similar method for stapling. Starting at the center on each side, then alternating back and forth, pulling out and away from the center as I went. The edges were tough to keep neat, but I tried. Who’s going to look at the bottom of the seat anyway?!?
And, DONE! Back to the base…
I liked the little square blocks around the base and felt like they should look like metal. Since the furniture in our bedroom has aged brass fixtures, I thought that look would be appropriate for the bench too. If you recall, I made a little side table to go in our room that had some brass to it:
But, since I didn’t want to risk ruining the fresh stain by taping over everything, I thought I’d try painting on the spray paint with a brush. Here’s what I learned:
- Mixing 2 metallic paints doesn’t work. The “Aged Copper” Rust-oleum paint has metallic flakes and is more dense than the valspar metallic gold.
- Just spray for a few seconds into a disposable cup and use a disposable brush
- Work quickly, but carefully
- Load your brush lightly because this stuff drips like crazy. Go light.
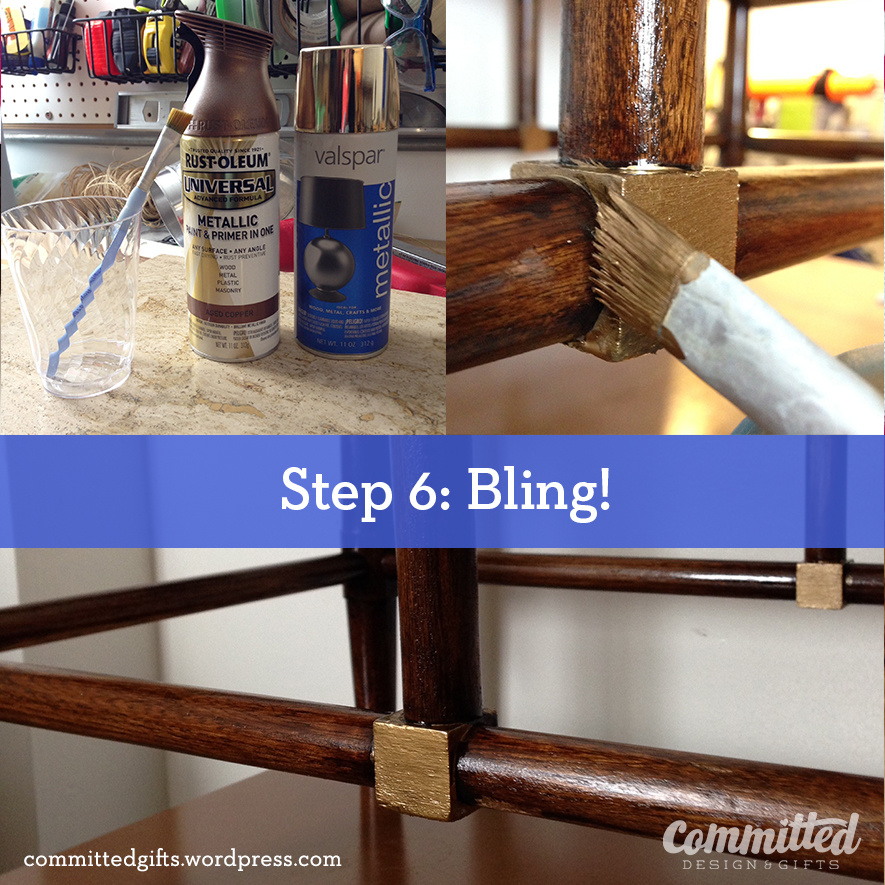
It was pretty quick work, and only took one coat. It dried in under an hour.
I let the paint dry in the cup overnight before throwing it out. It’s a small step, but adds a little something, don’t you think?
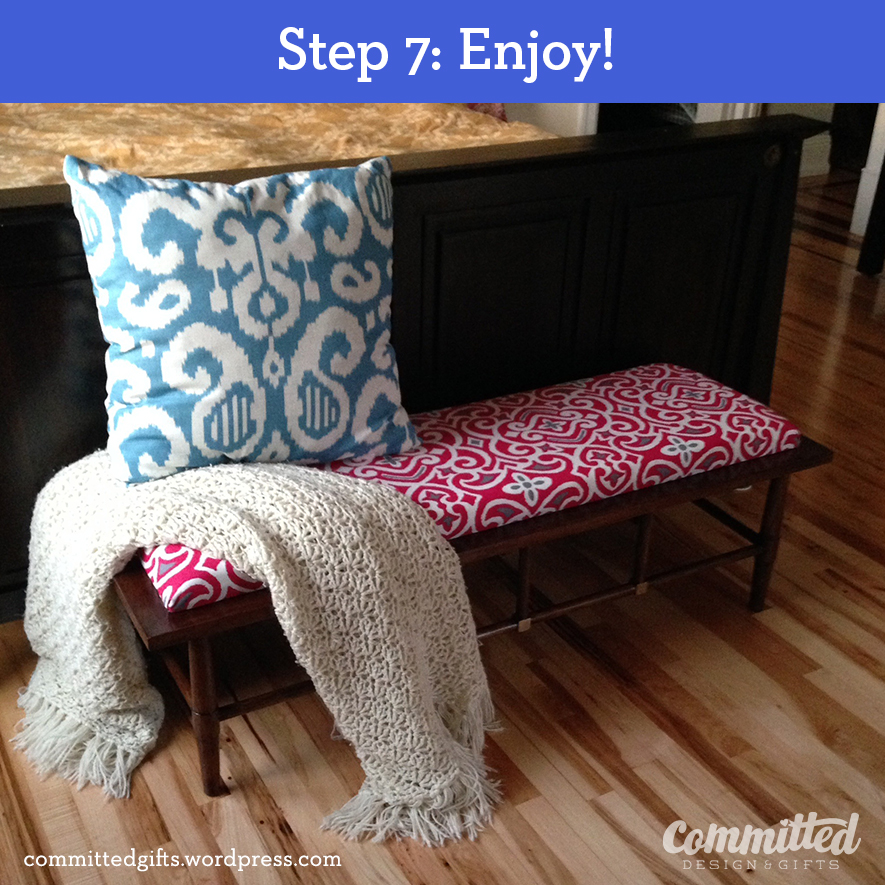
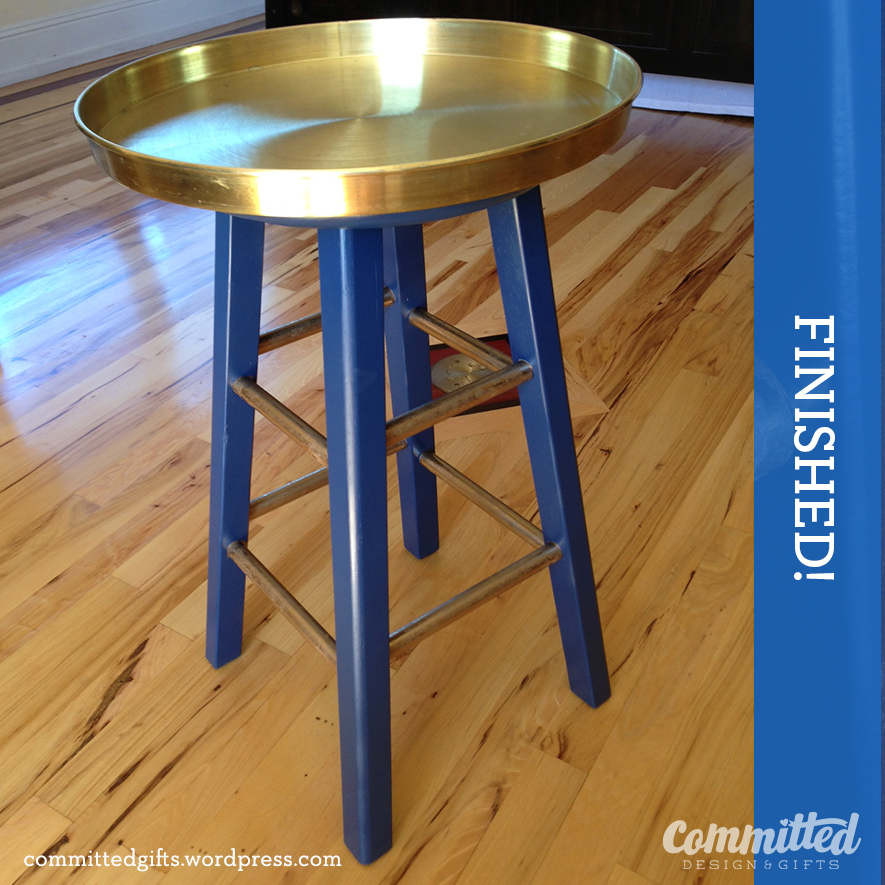
The final step was getting the cushion into the base. I keep the tolerances pretty tight, and therefore, it was a challenge to pop it in. Once I’d added the batting and fabric, it was at least 1/4″ wider and longer, but I didn’t want to have a puny pad in a big base with ugly gaps. If it was looser, I’d picked up some industrial sticky-backed velcro to hold it in place, but that turned out to be unnecessary.
All in all, it cost me about $75 in materials and took about 3 days (an hour here and there) to finish. If I calculated what I’d actually USED of the materials I bought, it was probably closer to $35-$40 in materials, but to keep it real, I had to buy whole tubs of things and whole lengths of things to make it happen.
I could have probably picked something up already finished for less, but it wouldn’t have a story, or my heart and soul in it.

If you have any salvaged furniture stories to share, please comment below!
Linked to:


Good blog. The project was worth the results.
Most of the furniture in this house has the TLC of Nana or me, hard to part with. And there are a couple more in the garage.
Keep up the good work. I love you, YFM
I knew I got it from somewhere!
Hi Jen,
Just found you via Craft-O-Maniac. Nice work on the table to bench. This is exactly what I am doing with an old coffee table for our media room. I like that you kept the seat inside the edges of the bench, like a picture frame!
Val
Hi Val,
Thanks for stopping by! The little ledge is small enough to feel natural for a bench. Makes the cushion stay in place much better too! I like your trick for fixing a chip in laminate floor. Clever!
Oh wow! I would have hauled that table home on my back if I had to. Love your creative transformation…if the previous owners could see it now:-)
Thanks Betsy! I had my sister help—that marble was heavy! Little did I know it cane right out and the table was really light!
You did a terrific job. It looks totally different — warm, inviting, cozy. Keep up the great work. Ann Marie @ Iris Abbey
Thanks, Ann Marie! I’m enjoying your makeovers too! You’ve got some great finds!
that’s great, I can’t believe you made that from a free table.
Thanks! Just took a little TLC!