
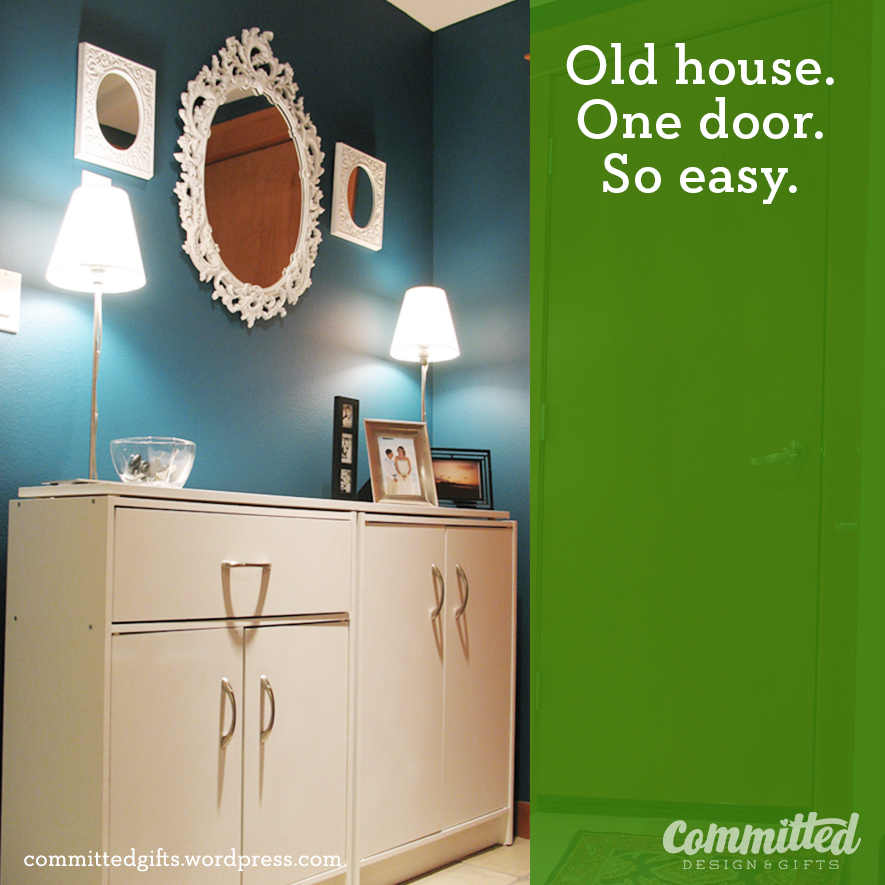
We’ve been in the new house for a month now, and I’ve learned that we’ve already established new habits. In our old house, we had one door to get in the house. This was great for organization, because I was able to create a “landing strip” for our keys, mail, and other stuff that comes in the house.
I’m pretty proud of this project, and should probably post before and after pics in another post.
Back to the new house: now we have a house with a front door AND a garage door. And now I come in the garage 90% of the time, which is 2 rooms away from the front door. So what happens when I come in with arms full of crap? It all lands on the kitchen counters, dining chairs, and kind of everywhere.
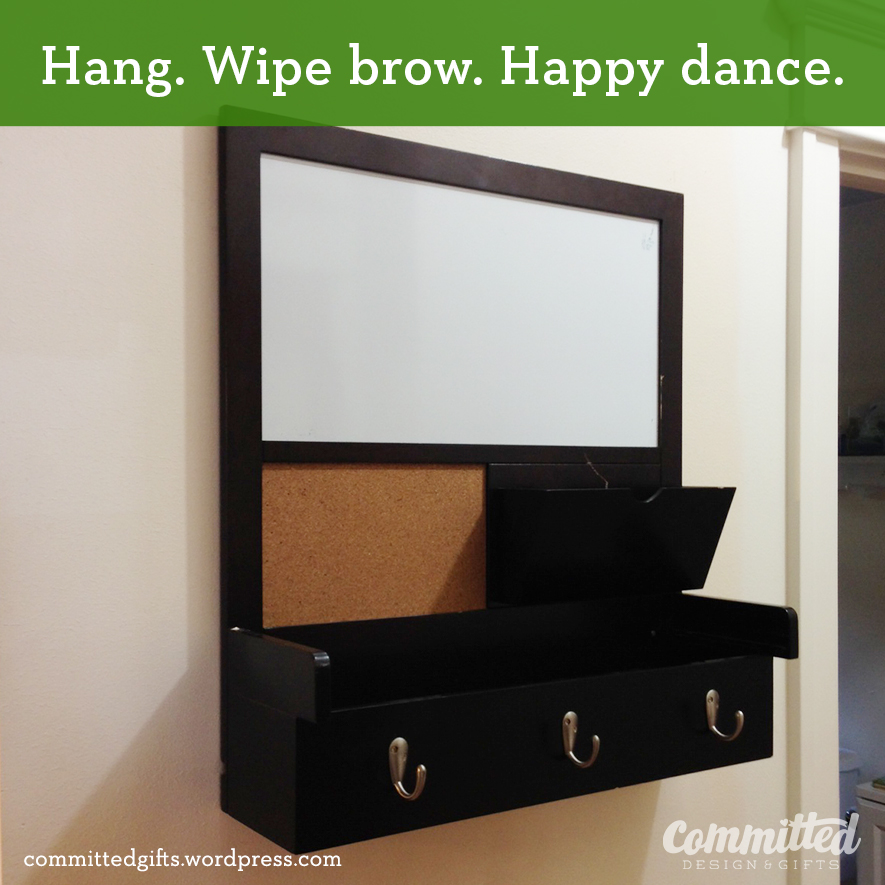
While I don’t have the balls to do what Mandi at Tidbits from the Tremaynes did to her organization center, I did find a charging station with whiteboard and shelf at Goodwill for FOUR DOLLARS. It was worth a shot.

I measured twice, drilled once. Used wall anchors (as you should when mounting something into drywall without studs behind it), and tried to hang this. And tried. And sweated profusely. I uttered many foul words. I cursed, pounded, re-drilled, and was ready to give up on having an organized spot for my keys, wallet, phone, and really, my life. 45 minutes go by, and I can’t accommodate for the 1/16″ offset I had created.

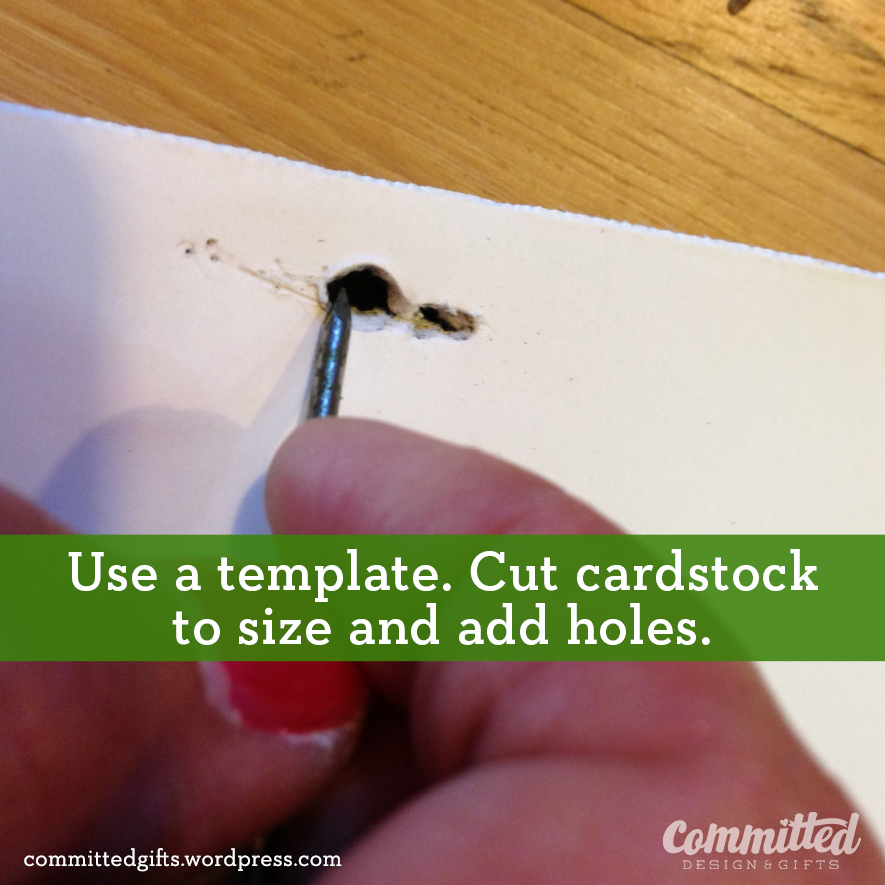
Enter the template.
Sorry the photos kind of suck, but here’s the gist:
Cut a piece of cardboard, card stock, Bristol board, whatever you’ve got, to the size of your picture. Line it up with your picture and punch holes where your holes are (I used a nail to get the EXACT size).
Then, hold up your template, use a level to make sure you’re solid, then mark your EXACT holes you’d punched out.

Drill anchor holes by holding your drill level and perpendicular to the wall. Insert screws. Mount your frame.
I will admit total dorkdom: I actually HIGH-FIVED MYSELF. No, really. It wasn’t just a clap, it was a self-high-five.
Anyway, it’s been a few days and though this is now completely full of crap, it’s working. I haven’t lost my keys or phone, and I can keep a few key items out of reach of my toddler.
If you have questions about the template thing, or tips how you keep your crap organized when you get in the door, please comment below!
We are in same predicament – new house 4 wks ago, 1 entrance to two, crap everywhere!
Congrats on the move! Fingers crossed that the swirling Tornado of Crap dies down by the end of Month 2 (for both of us!) Good luck, and God speed.
Yes!! I have balls!! Thanks for the shout out!! I love the organizer you scored. Especially the price!
Thanks! 🙂
Heck yeah! Templates are where it’s AT. Picture hanging drives me to insanity otherwise!
Of course, right after I posted this, I was sent an even BETTER tip on Pinterest: use painter’s tape as a template for just the holes! Gosh, people are so smart…