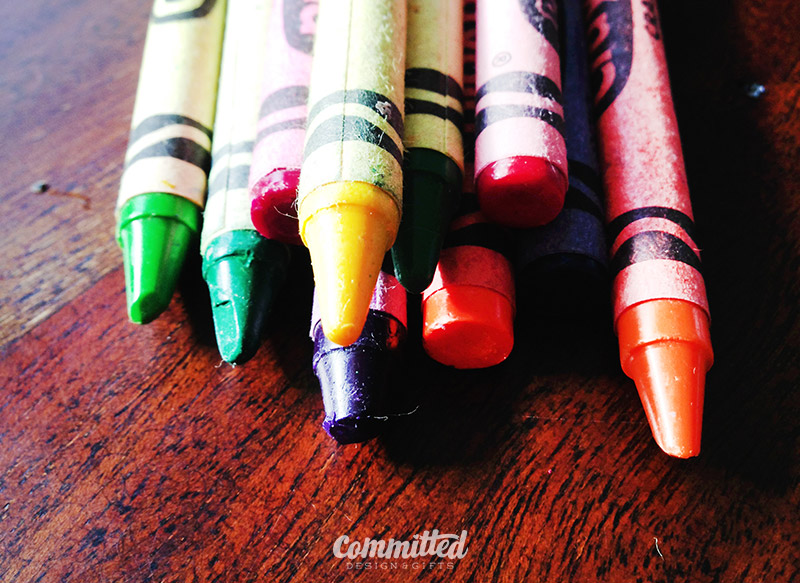
I know that a mythical bunny leaving candy-filled plastic eggs on your lawn has nothing to do with religion. But it’s a tradition that I love and I love that my daughter is old enough now to get into it. What I don’t want her getting into is a sugar-induced-toddler-frenzy ending in some form of tragedy. So even though I bought 12 different kinds of Easter candy to decorate cupcakes, very little of it is going into those aforementioned eggs. I’m stuffing those plastic vessels with fun non-chokeworthy gifts, including hair ties, stickers, and DIY crayons.
This post is about the crayons I attempted to make. Some were successful. Some were pitiful.
I should have found these tutorials (SheKnows, MakeandTakes, GabrielsGoodTidings) before starting, but as usual, I thought I’d just figure it out and forge ahead.
But here’s what I did:
1) You’ll need: crayons, a silicone mold (for making confections), a ziploc baggie, a cookie sheet, and a blunt object (to smash crayons). Optional: exacto knife to slit crayon peels. And you’re smart people–you know which to give your kids and which to keep away from them.
2) Preheat your oven to 225-250.
3) Follow along:
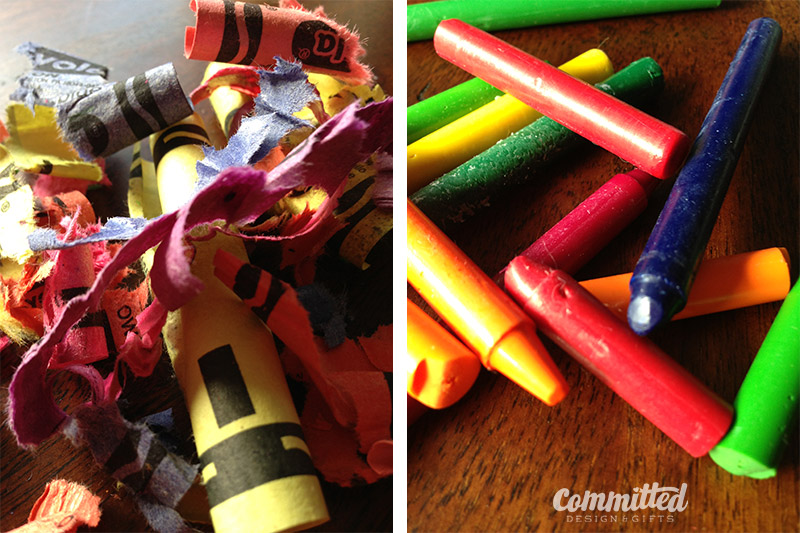
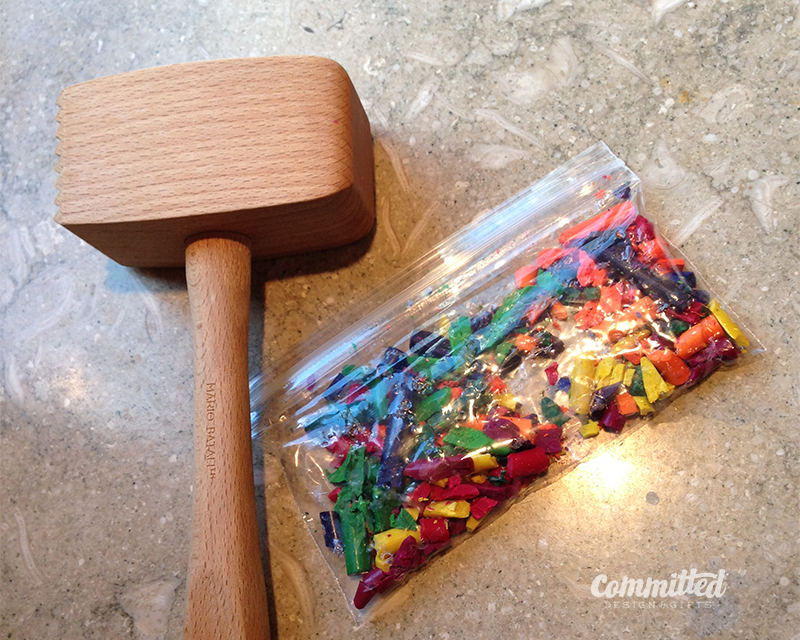
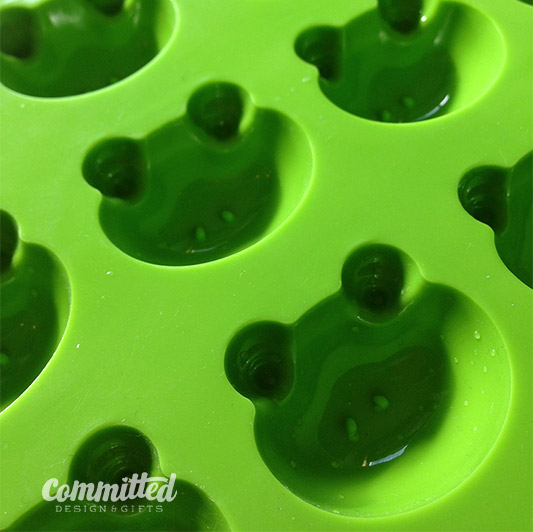
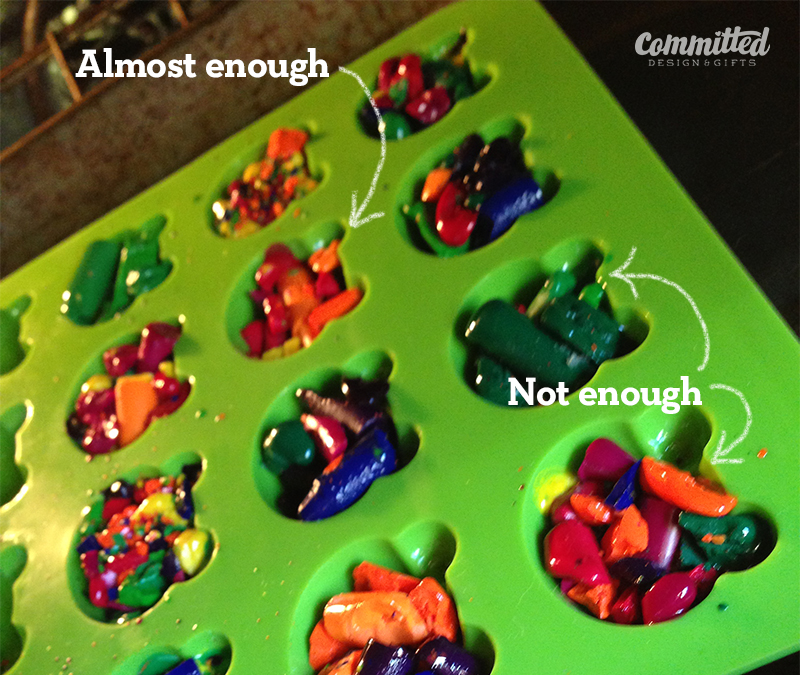
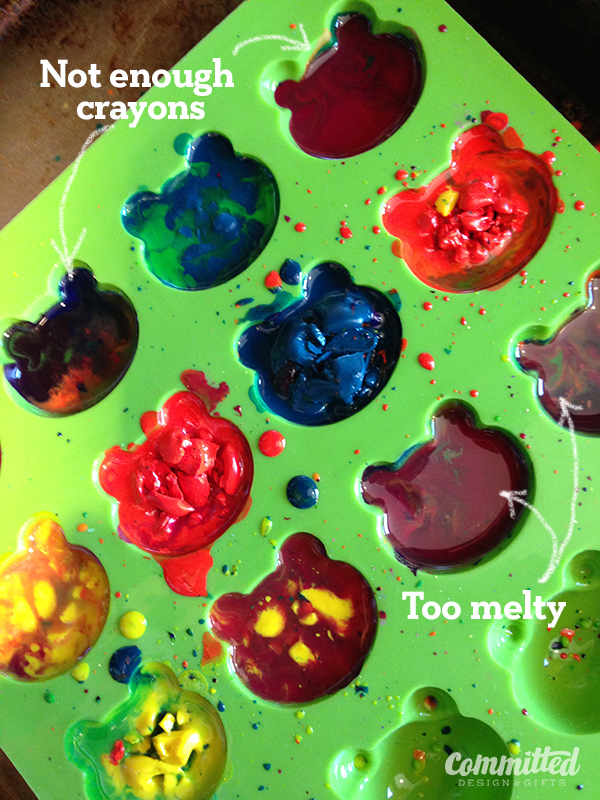
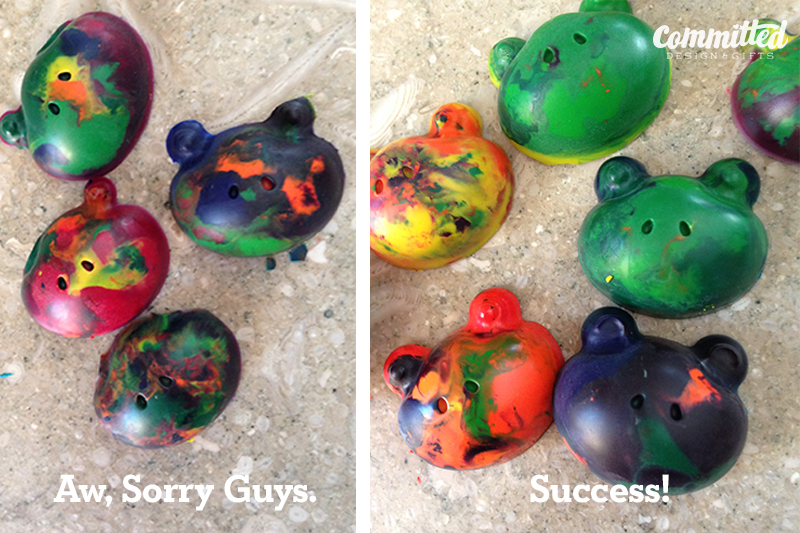
Basically, I’d recommend filling your molds overfull. Don’t let them melt to liquid because the colors get really muddy. It’s fun when they swirl a bit, but too much and it’s not as pretty. But what toddler really cares? Right? And don’t (like me) try to add more chunks halfway through to make the molds full. Basically, you’ll have a liquid mess at the bottom, and crayon chunks on top.
Overall, this was super easy. It took about 15 minutes altogether and could be fun to do with the kiddos.
We’ll see what mine thinks of the Easter bunny after she opens her eggs!

