I go crazy for projects. I love them so much, that I tend to do them over and over, or just never finish.
This is a project I can finally say is FINISHED. (For now…ha ha ha.)
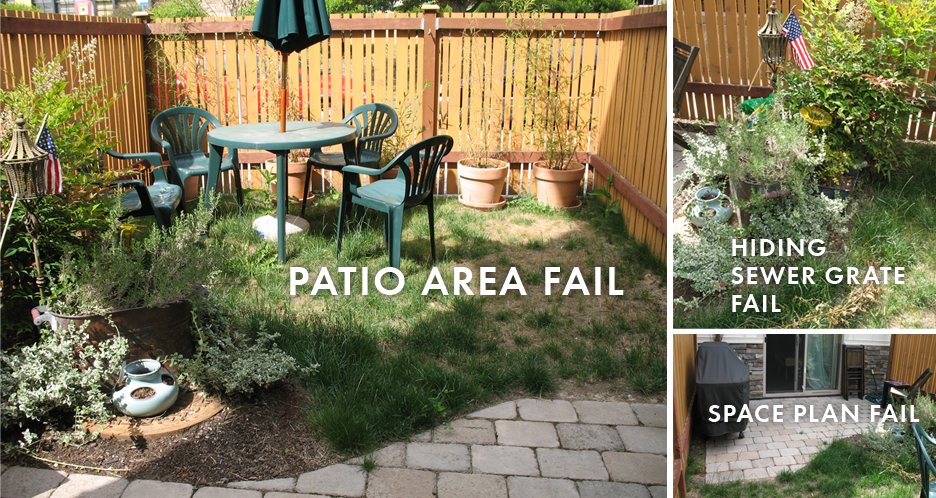
We bought our tiny townhouse in 2007, and the yard was pretty useless. It’s 11.5 feet wide by 13 feet deep. (I did say it was tiny.) Did I mention that there’s a sewer grate in the middle? And that the street level is about 6″ above the house level? And that there’s no gate? And the original patio couldn’t fit a table with chairs? All of these things challenged my engineering and design brain, and it’s taken 5 years of trial and error to get it right.
2008
With a lumpy yard that was the only area for a table and chairs, a sewer grate right in the middle, and no privacy from the street, something had to change.
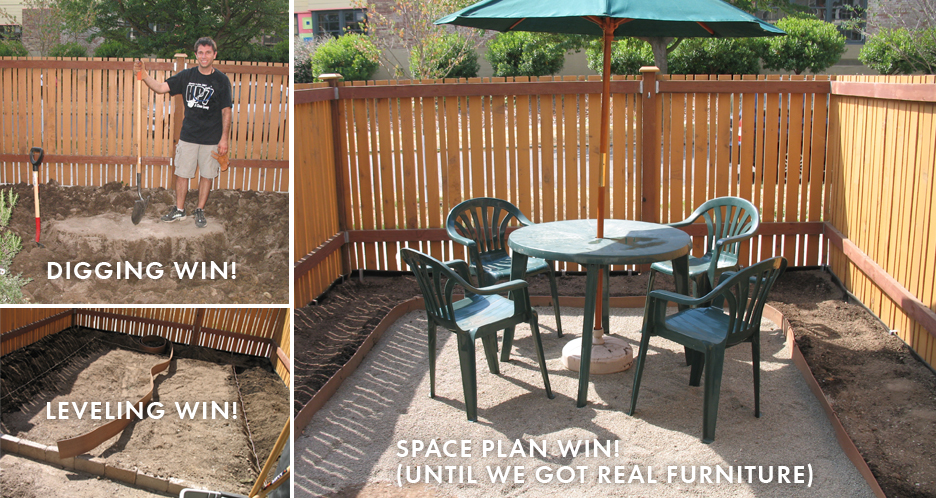
I removed the curved part of the patio and used the bricks to create a straight edge. We dug up all of the dirt, re-graded the yard, then tamped down the middle area, added compost around the edges, and voila! Got ourselves a little patio! The center was filled with reclaimed gravel I found on Craigslist. A preschool across the lake was redoing their yard and giving away their gravel. So I picked up several large Rubbermaid containers and a shovel, and loaded it into my hatchback.
2010
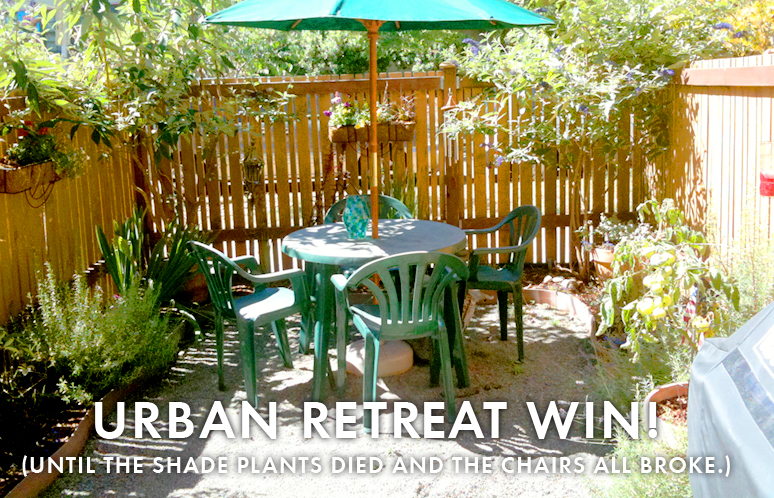
Things went swimmingly for two whole years! Our plants filled in nicely, giving us a comfortable, private patio. But it bothered me that we could only seat 2 friends at a time, and getting around the crappy table meant stepping in the plants. We weren’t in college any more; what were we doing with rotting plastic patio furniture? So my lovely husband picked up a beautiful wood set for our 5th wedding anniversary (which happens to be wood-themed.) Then all the shade plants went kaput. Then weeds started taking over the gravel, which was disappearing rapidly.
2012
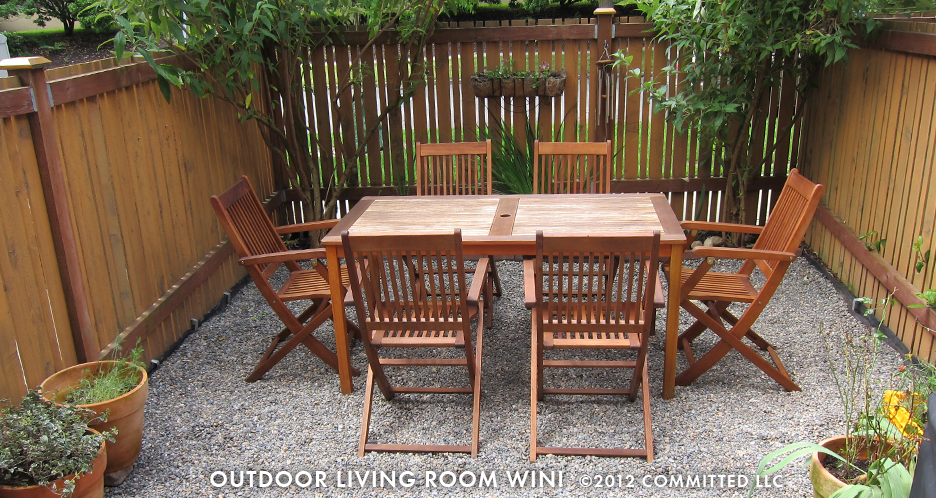
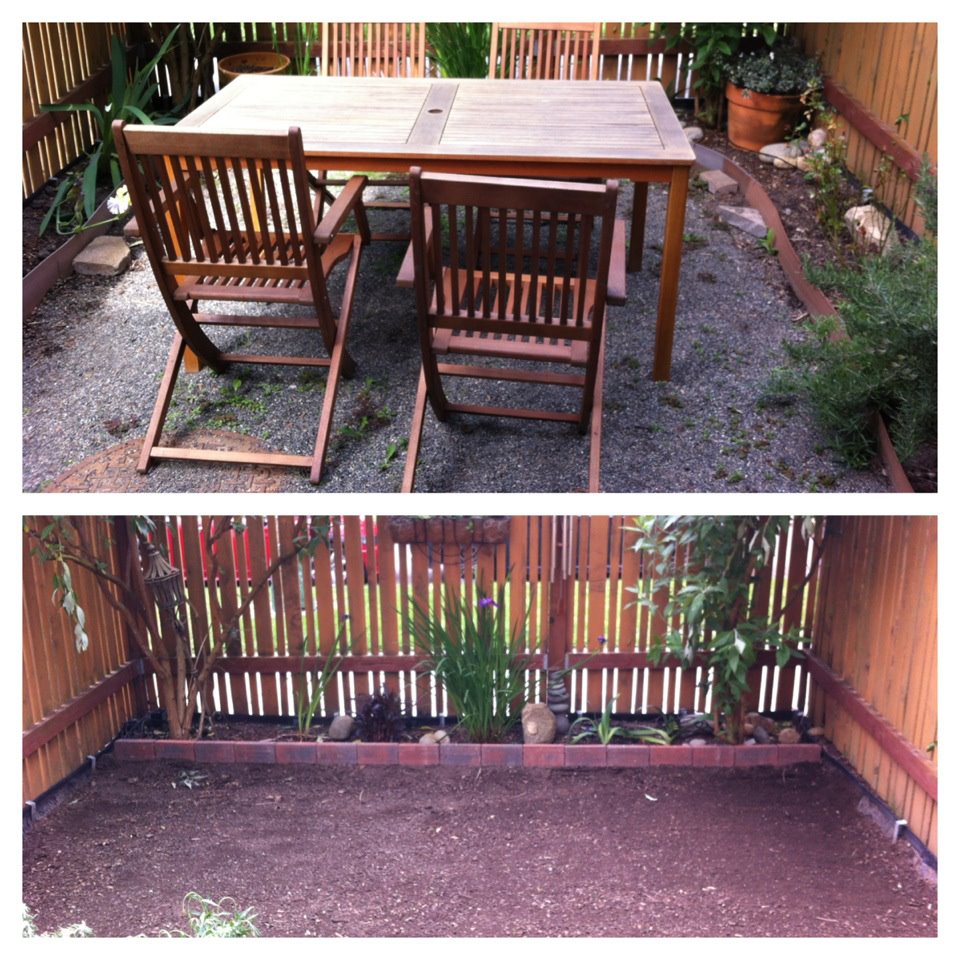
I’d been perusing Pinterest, gathering inspiration, and getting desperate. One Saturday, I’d had enough. So I dug up all the gravel, pulled the weeds, removed the side flower beds, re-dug everything, re-leveled everything, tamped it down by hand, added edging, and laid down essential garden fabric.
Then, a few weeks later, I bit the bullet and took 3 trips to Home Depot and bought a ton of gravel. We hauled each 60-lb bag through the house and dumped it into the yard one one by one. I’ll tell you that this kind of manual labor makes me giddy with happiness. In one afternoon, we’d tamped it down, placed the furniture, and even got a little sunshine to go with it! Success!
We can now comfortably fit 6-10 people; no need to step on flower beds. If I ever need to replace any of the gravel, I know where to get it! I’m sure I’ll putter around and make small changes, but for now, I’m just going to enjoy a beverage and get some rest!
Do you have any garden projects that you’re proud to share?

Looks great! How is it holding up? What kind of gravel did you use? How did you pick that style? Thanks! Lorie 🙂
Hi Lorie,
It’s 3/8″ pea gravel from Home Depot (Kwikrete brand). When I’d gone a week earlier, the gravel was much tinier, which was really what I wanted. This gravel is a little larger and kind of slippery, but it’s holding up well! My daughter is loving playing and scooping the rocks, and it’s *relatively* comfortable on bare feet. Gravel was the best option for us since we don’t have a gate and needed to transport any covering through the house. Plus, we have a storm drain in the patio area. It limited our options for inexpensive solutions.